Srikhand Mahadev Part II
Trek to Srikhand Mahadev Part II
The climb to the Sirikand Mahadev starts after Bhim dwari.
Now we are passing through “Parvati ka Maidan”.
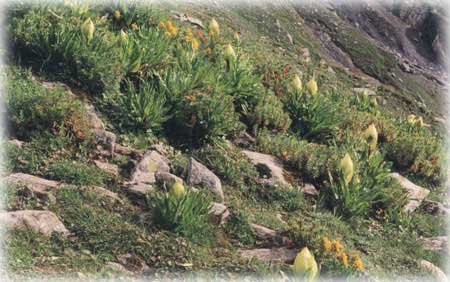
The place was full of Brahma Kamals.
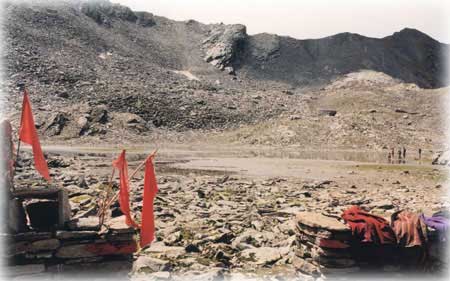
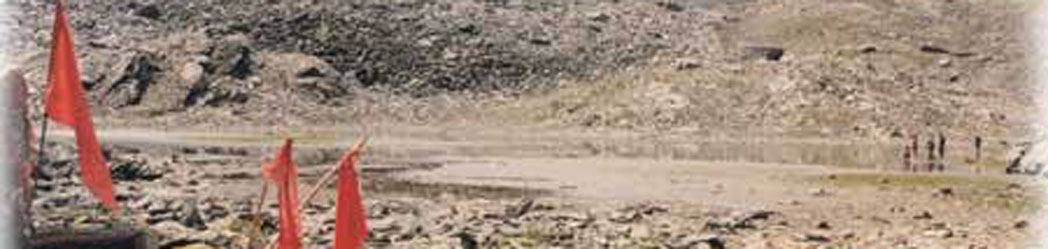
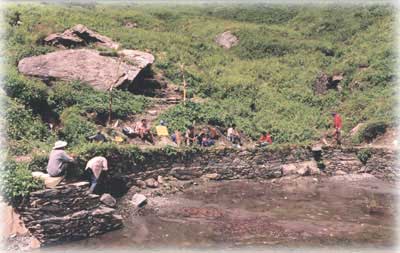
The “Nayan Sarover” has a small shrine.
Pilgrims take bath here before moving up
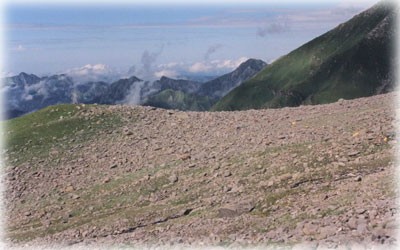
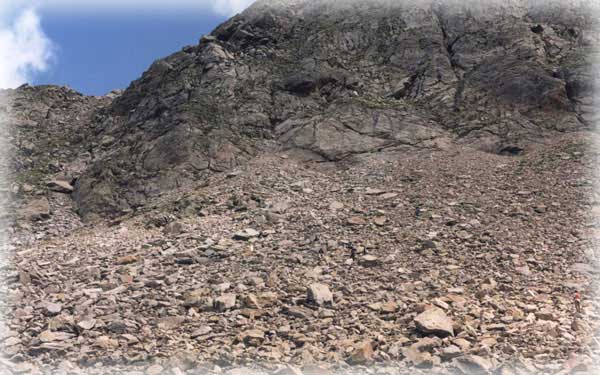
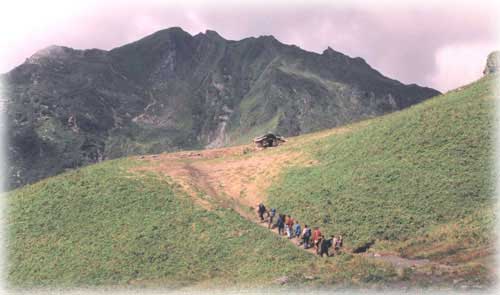
After Nayan Sarover the trail climbs quite steeply.
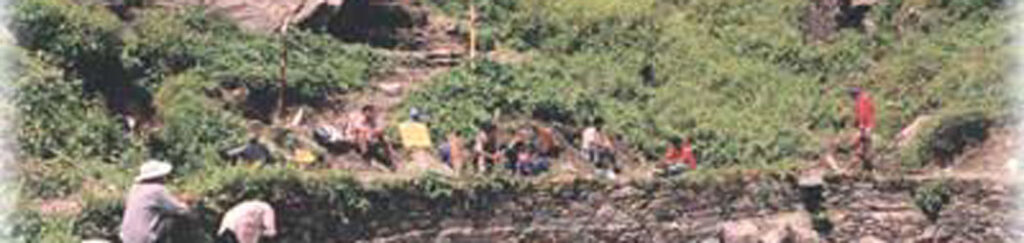
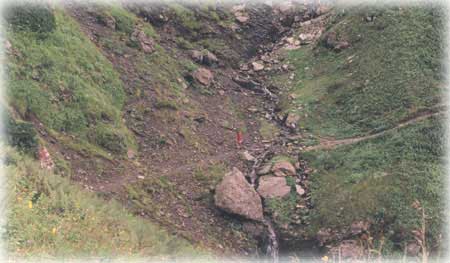
The view of our route from Bhim dwari, which is the sunny spot in the center of photo..
Spot the trekkers.
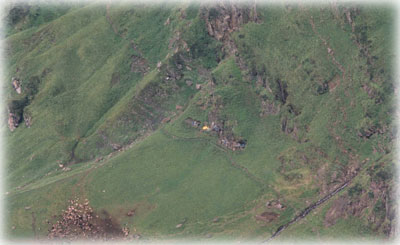
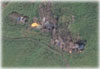
Bhim dwari
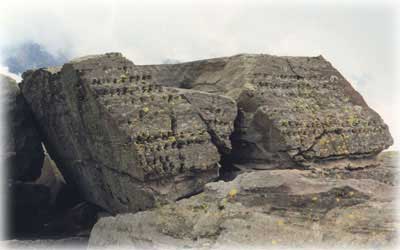
Bhim Bhai, the leafs from the account book of Bhim.
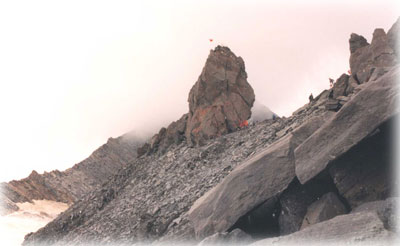
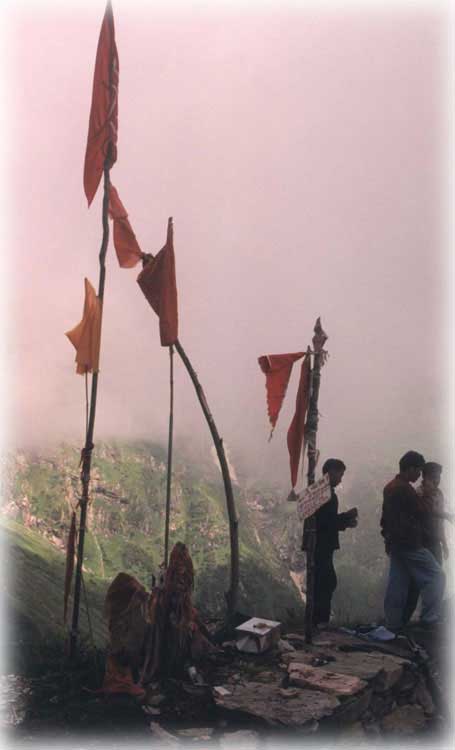
The Sirikand Mahadev is finally few hundred meters away.

Now we stand at 5200 maters, in front of the 27 meters natural Shiva lingam.
A lone trekker.
Mission accomplished, the group moves back.
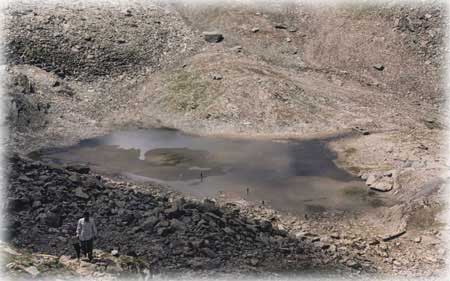
The “Kali ghati ka sar”, a small pond next to the trail.
The climb of Kali ghati starts immediately thereafter.
Finally we reach the top of Kali ghati climb.
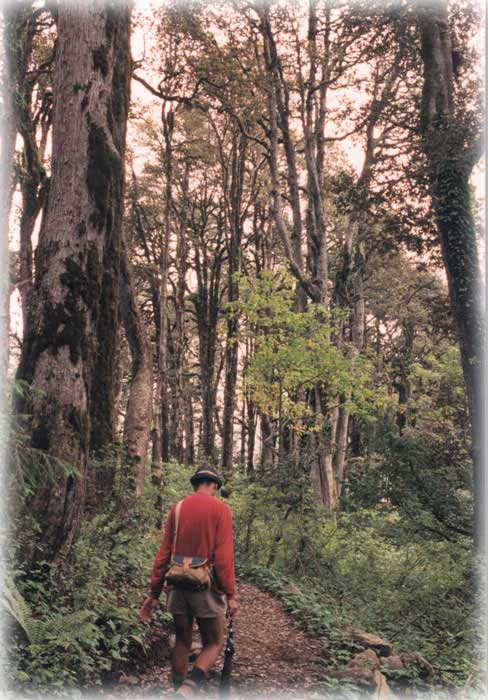
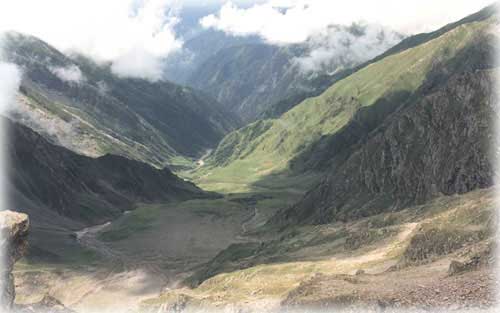
Thereafter we are once again in lush green jungle.
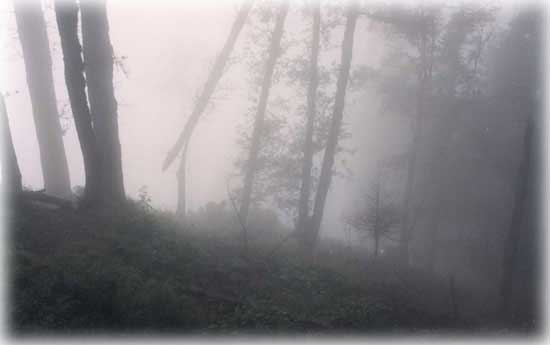
Clouds give us company in the jungle.
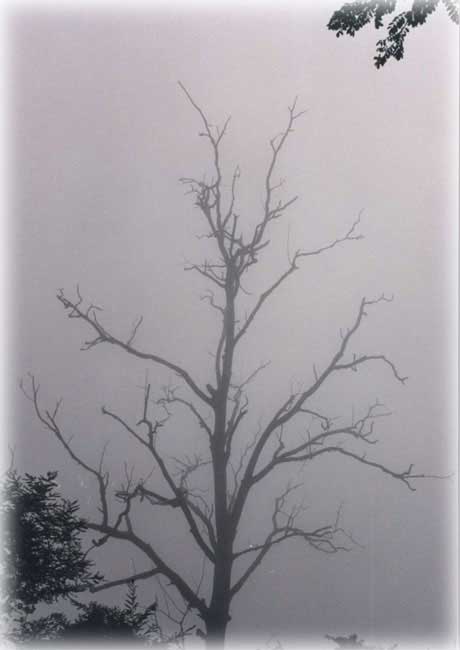
A lone leafless tree adds to the mystery of the jungle.
Gallery Srikhand Mahadev Part I
Keep The Mountains Clean