Srikhand Mahadev part I
Trek to Srikhand Mahadev Part I

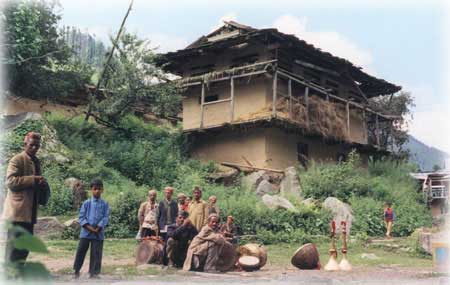
The village of Galianhar. Celebrations of Janamashtmi in progress.
It takes one 02 hours to reach this village from Bathad village.
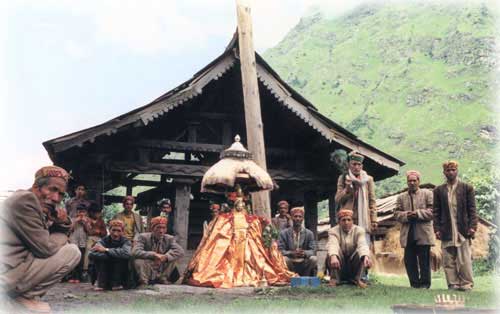
The village deity is ready for procession.
The musicians are there to accompany the procession.
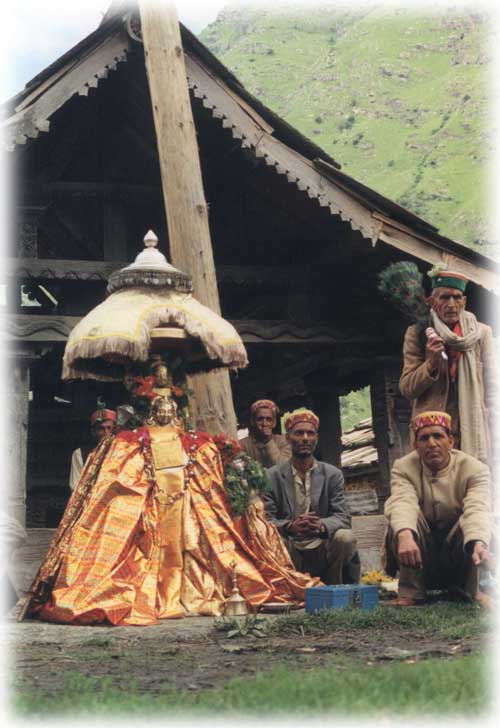
The village deity.
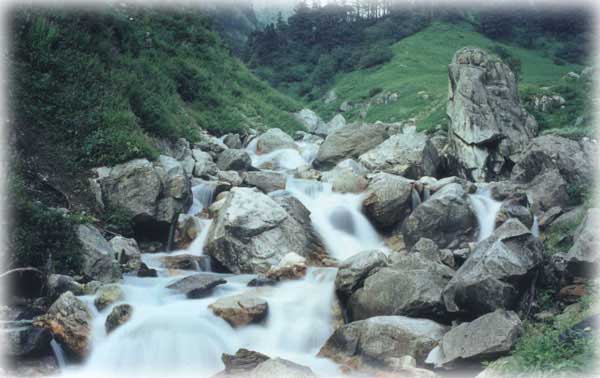
The trail is along the Palachan Gad.
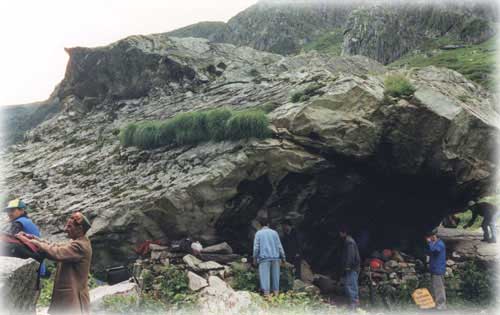
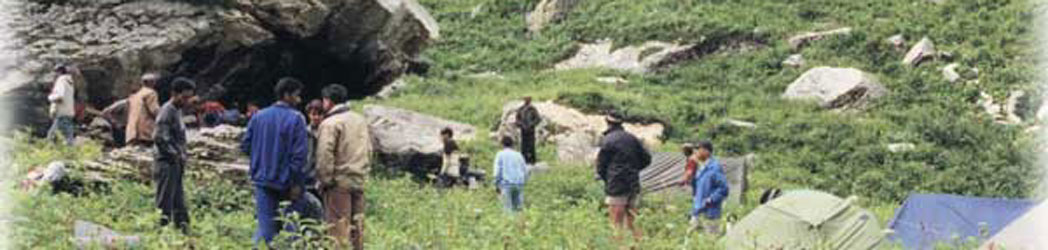
The big slanting stone provided us the place for kitchen.

The Plash camp is next to the Palachan Gad.
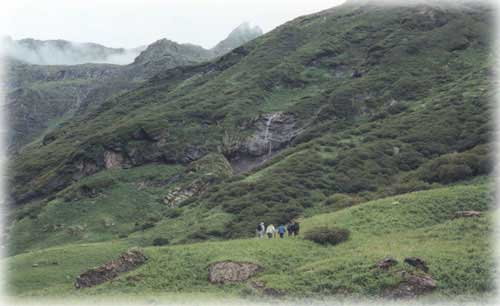
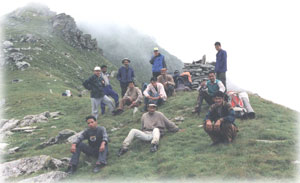
Trekkers moving ahead of plash camp in scenic surroundings.

The route moves towards the ridge on right side.
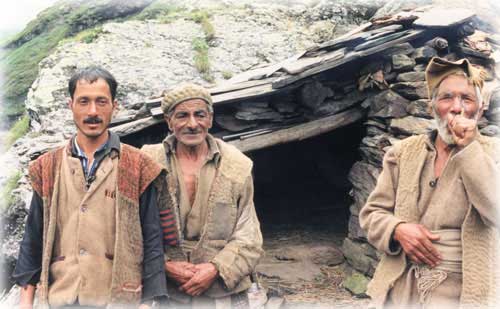
Nothing much seems to have changed for these Shepard’s since stone age.
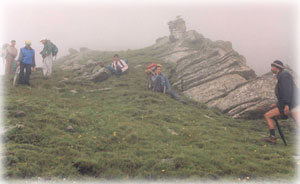
Finally we have reached the top of the ridge.
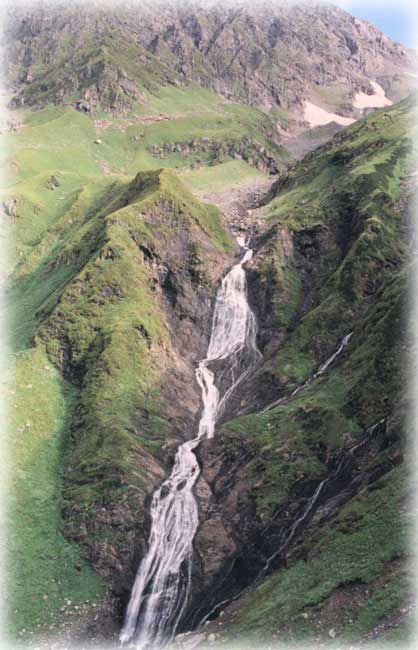
The first of the two big waterfalls visible from Bhim dwari.
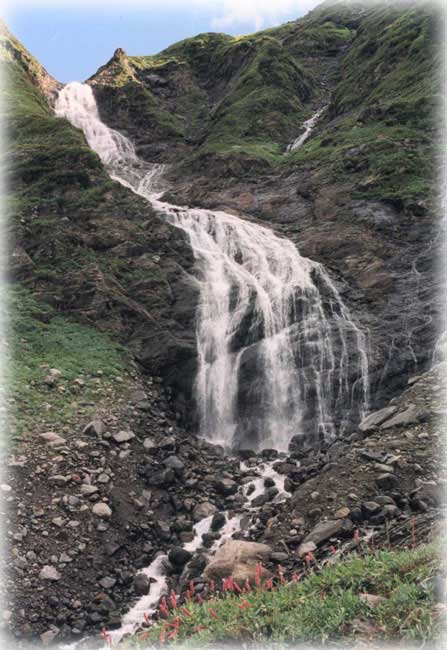
The second waterfall.
The route passes below these falls and one has to cross the stream.
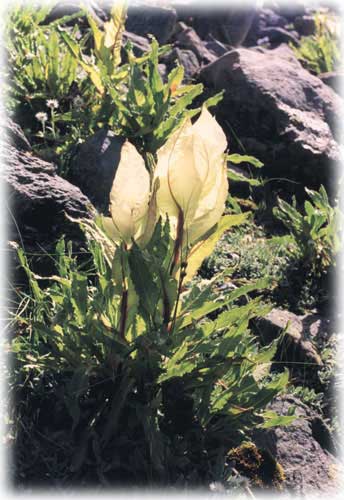
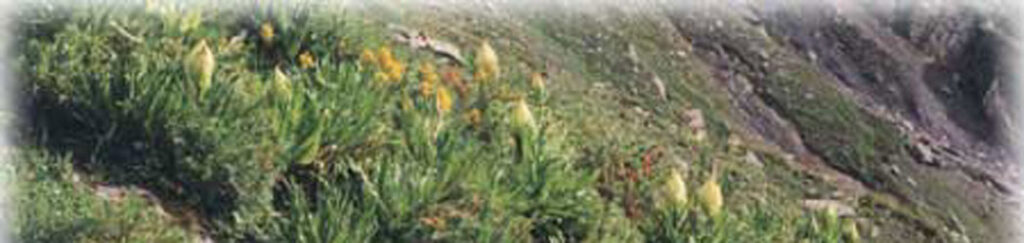
The Brahma Kamal
Gallery Srikhand Mahadev Part II
Keep The Mountains Clean