Satopanth Peak Part I
Trek to Satopanth Peak Part I
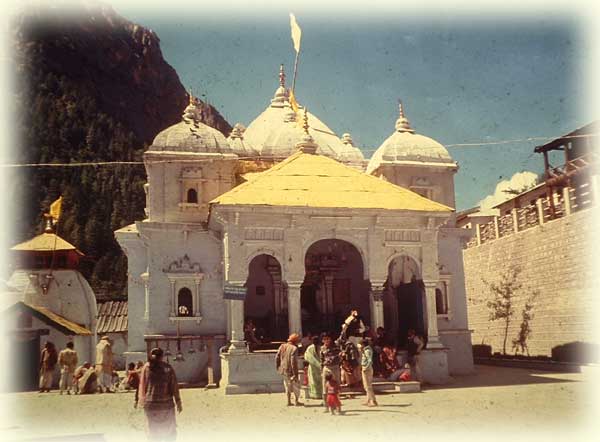
Gangotri Temple, the starting point of the trek.
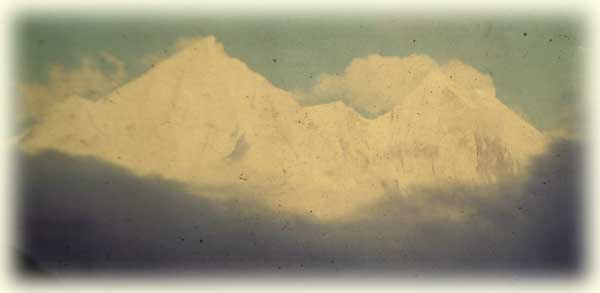
The Bhagirthi group of peaks from Bhojbasa.
Gaumukh, the snout of the Gangotri glacier.
The snout of the Chaturangi glacier, beyond it lies the Nandanban.
The view of Shivling and Kedar dome from Nandanban.

Kedar dome from Nandanban.

The camp at Nandanban with Shivling in the background.
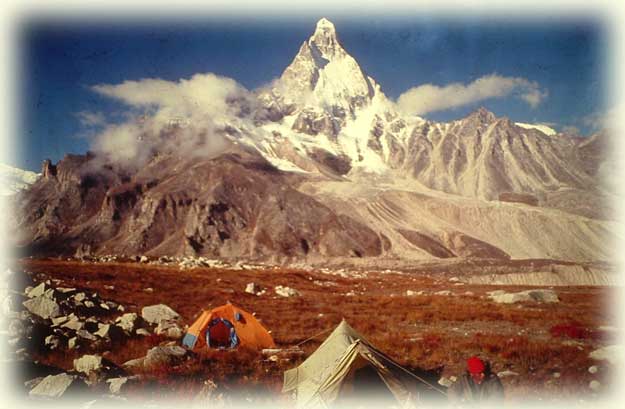
The view is out of this world. Tapovan is at the base of Shivling.
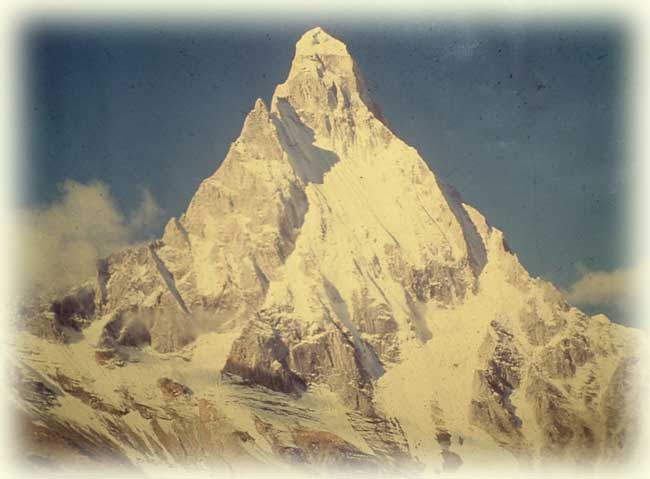
Shivling

The trail from Nandanban towards Vasuki Tal.

Now we move along the trail with Chaturangi glacier on the left side.
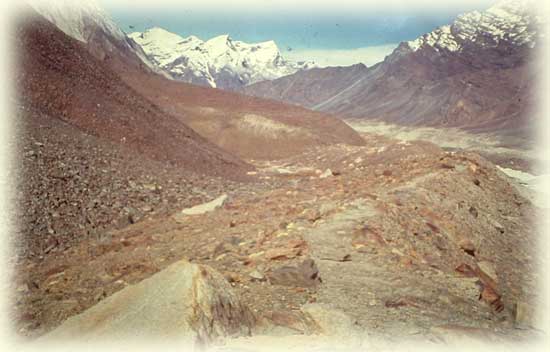
The trail before Vasuki Tal.
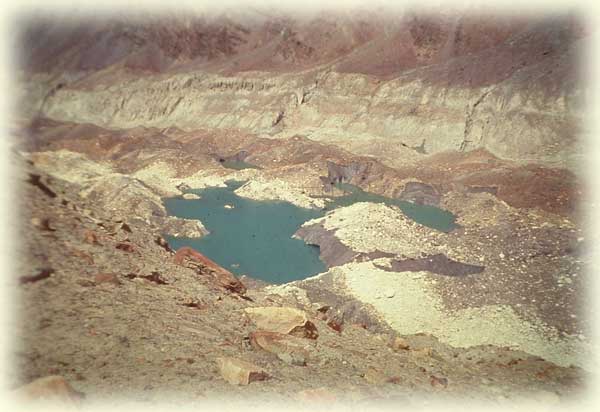
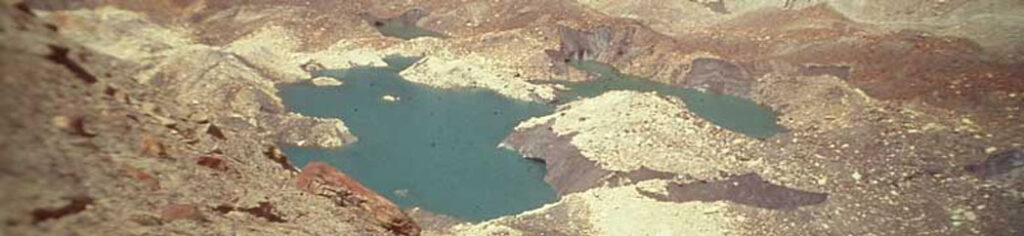
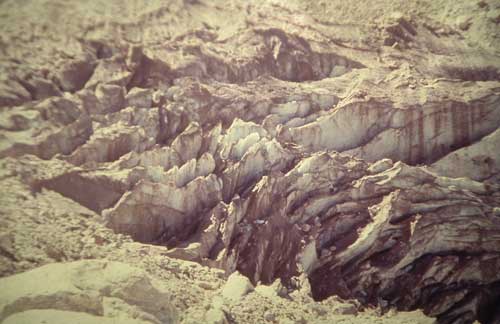
Glacial lake on the Chaturangi glacier.
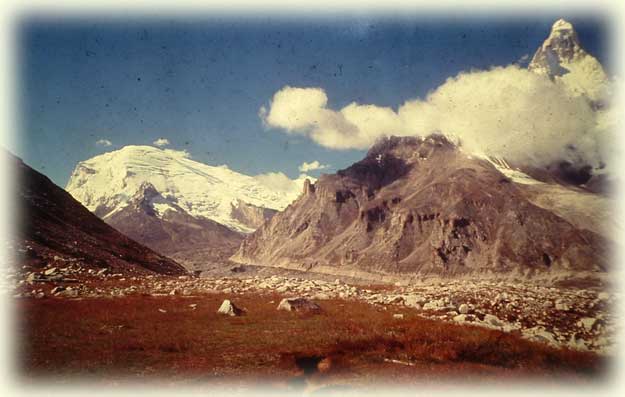
The peaks towards Nandanban. Shivling is out of view.
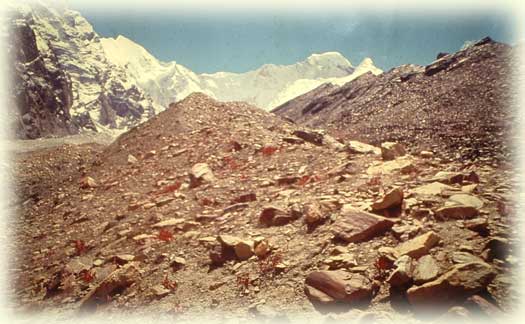
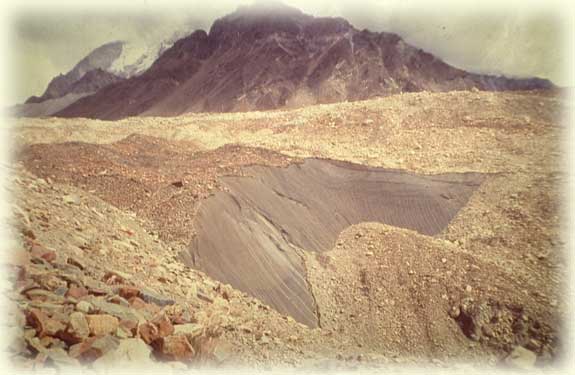
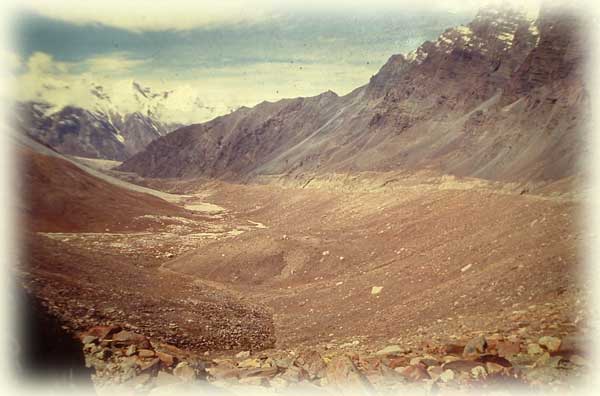
We reach the snout of the glacier joining the Chaturangi glacier from the left.
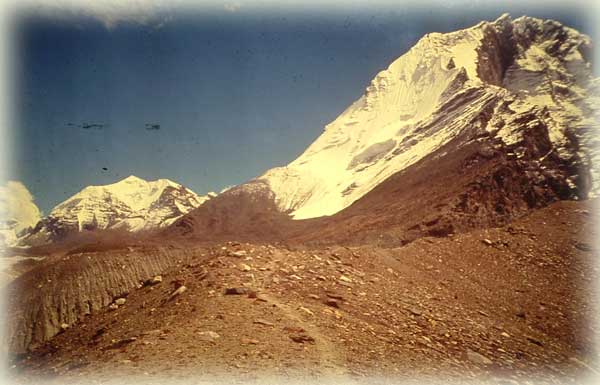
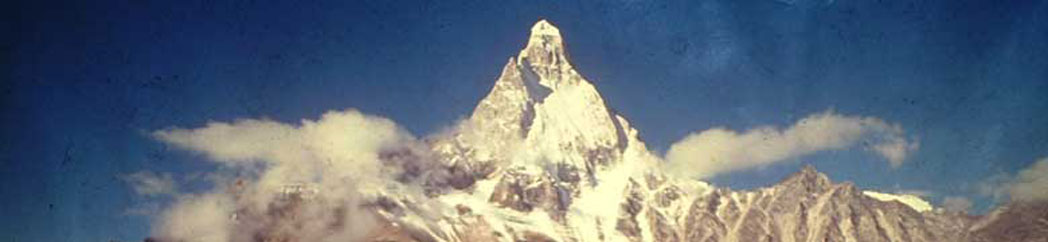
Vasuki parvat, just below which the Vasuki tal is located.
Gallery Satopanth Peak Part II
Keep The Mountains Clean