Milam Part II
Milam Part II
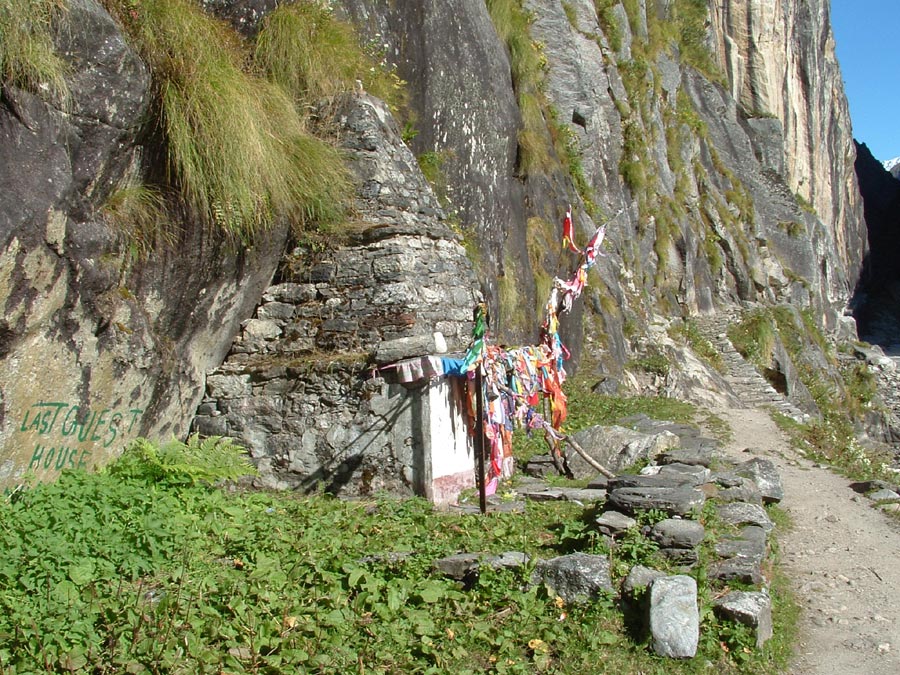
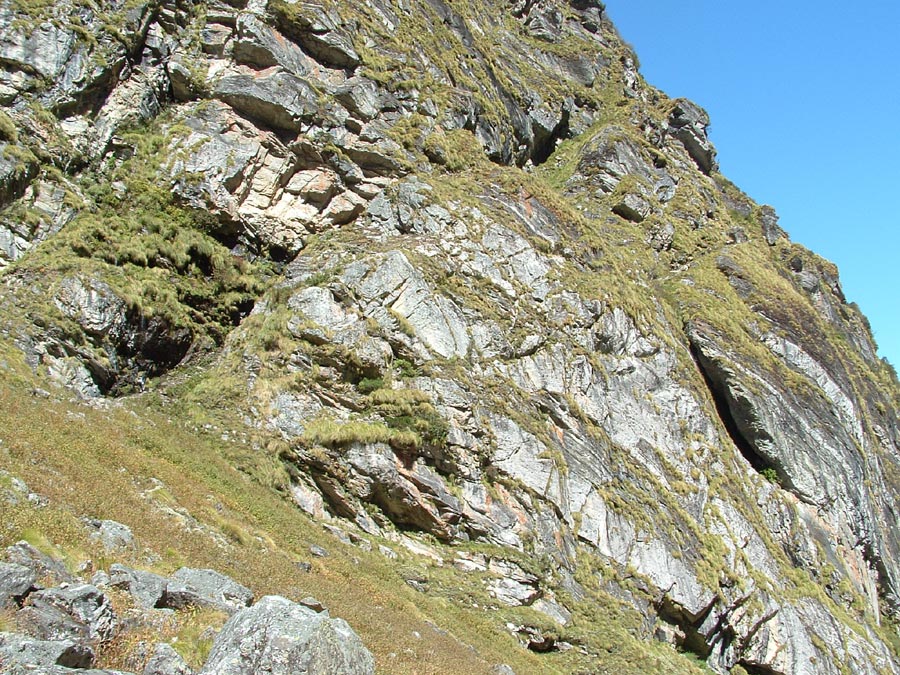
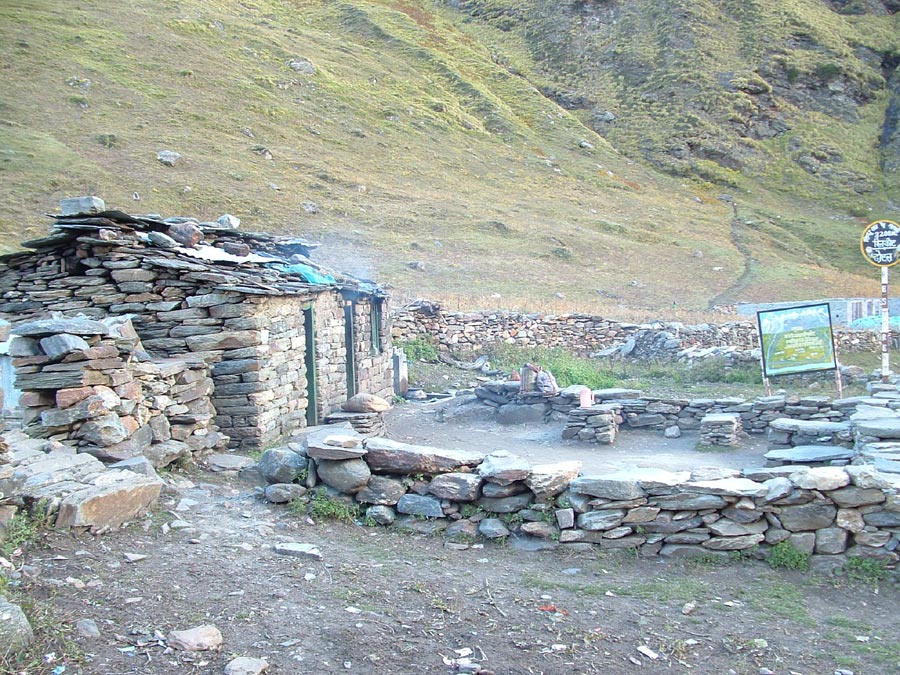
As we move out of Nahar Devi we reach this small temple under the cliff.
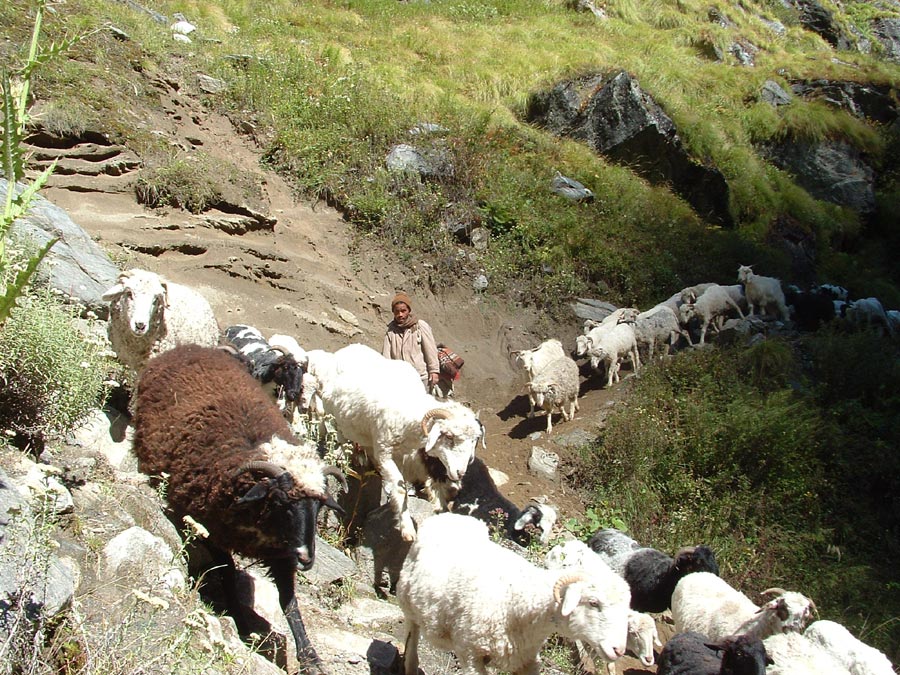
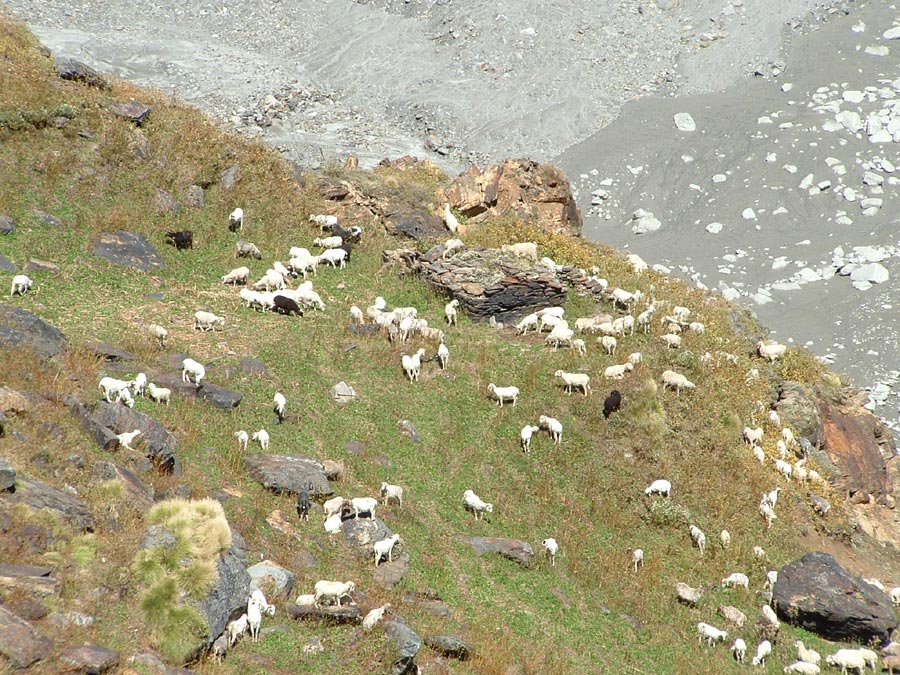
Winter is approaching and sheep are going to lower hills. No rules here, you better move out of the way.
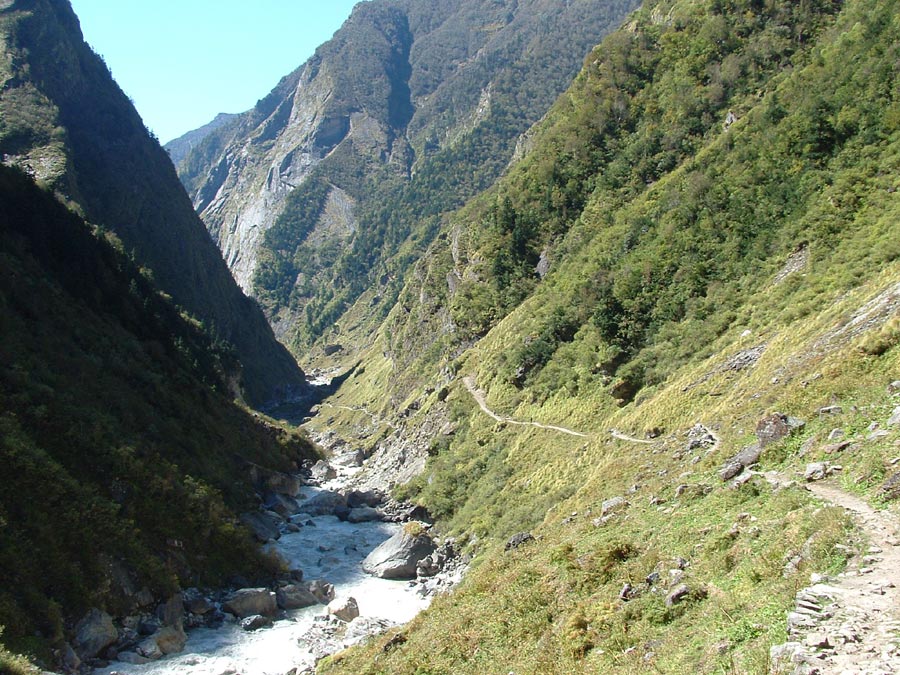
We came here following this trail.
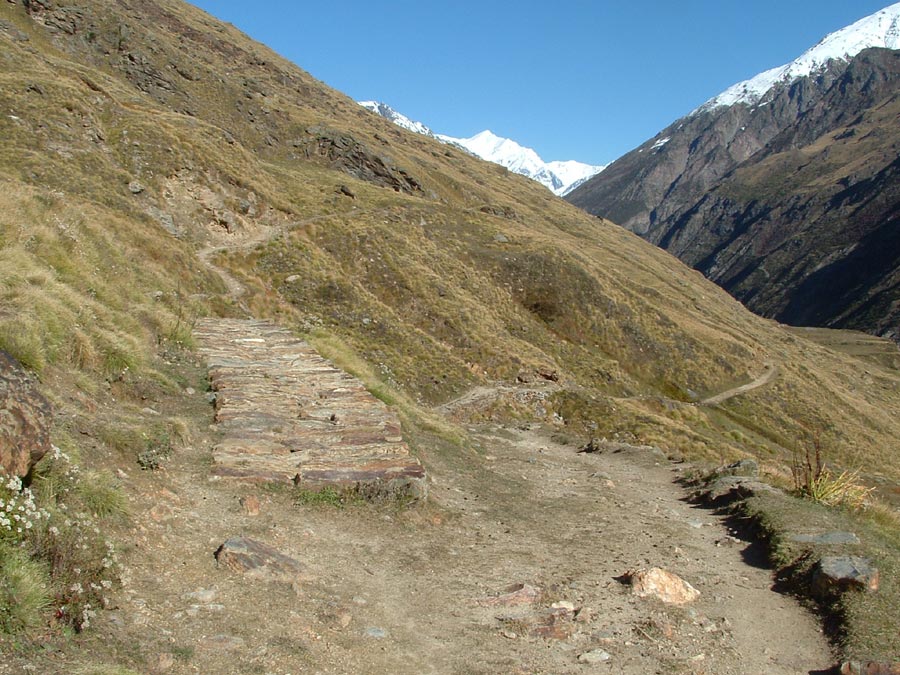
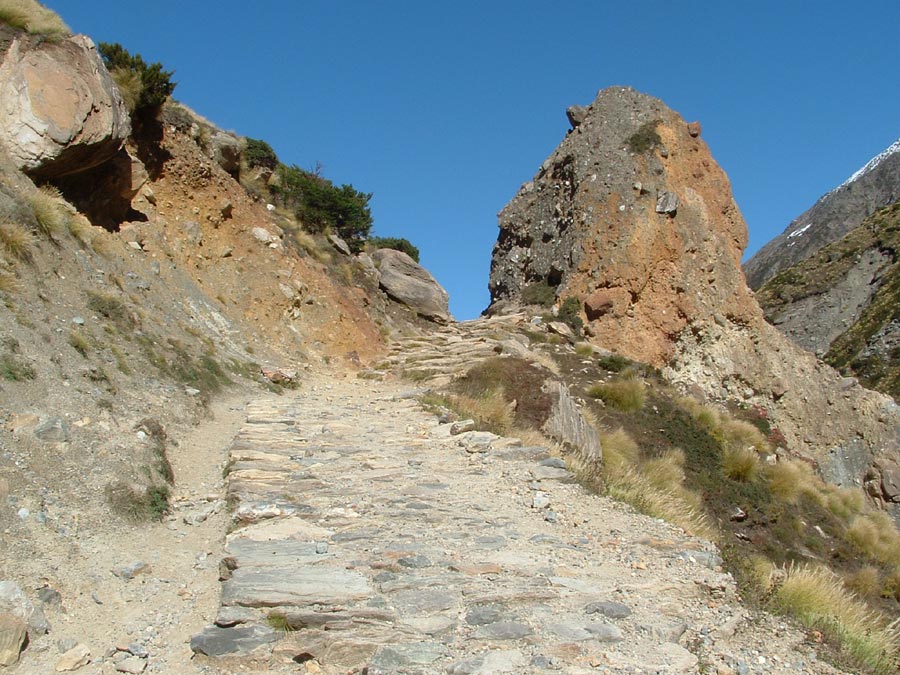
Don’t worry, there is a good path climbing up this section.
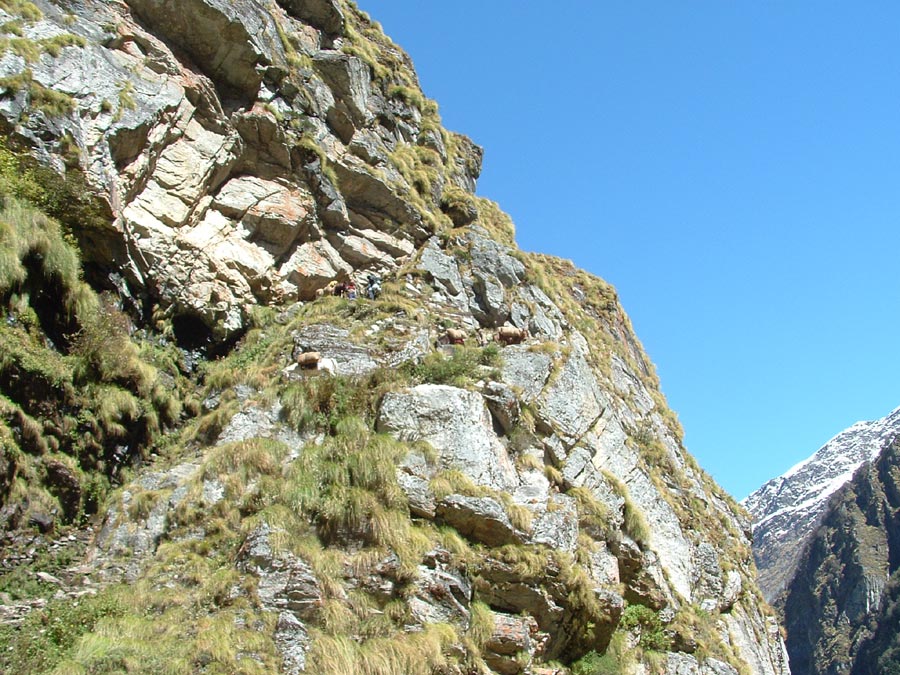
The team half way up the climb.

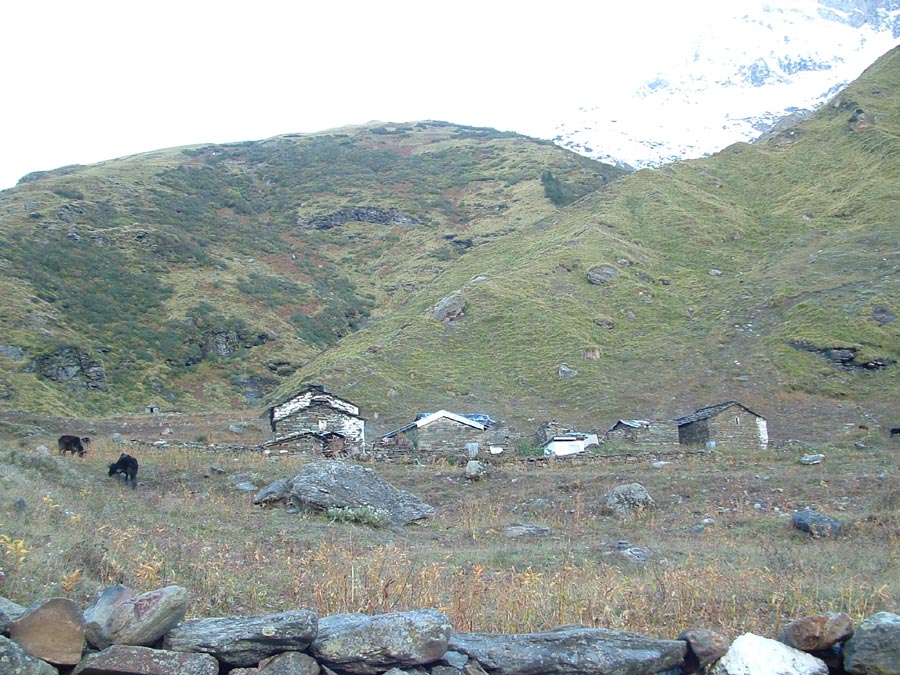
The camp of survey party at Mapang.
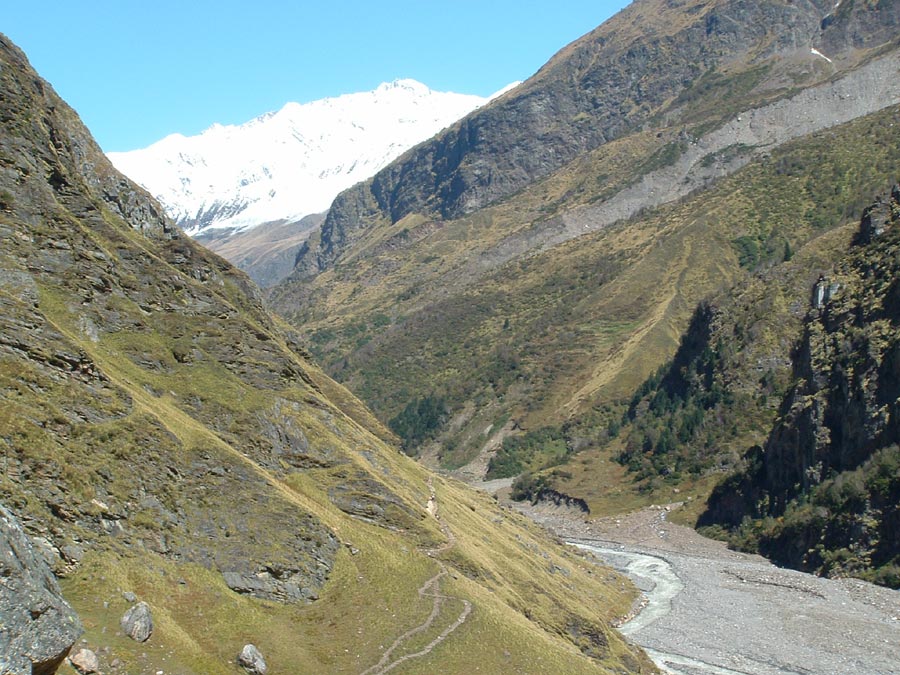
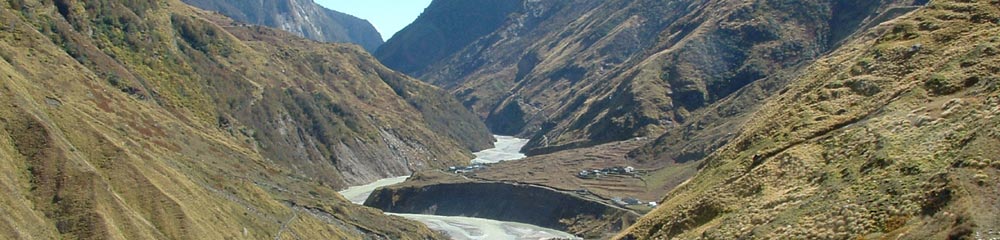
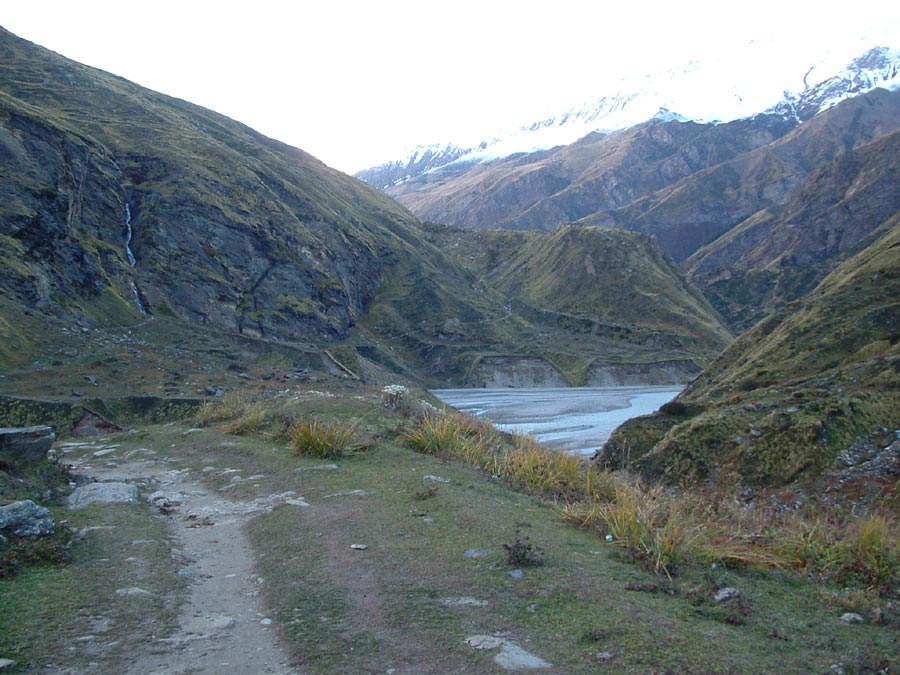
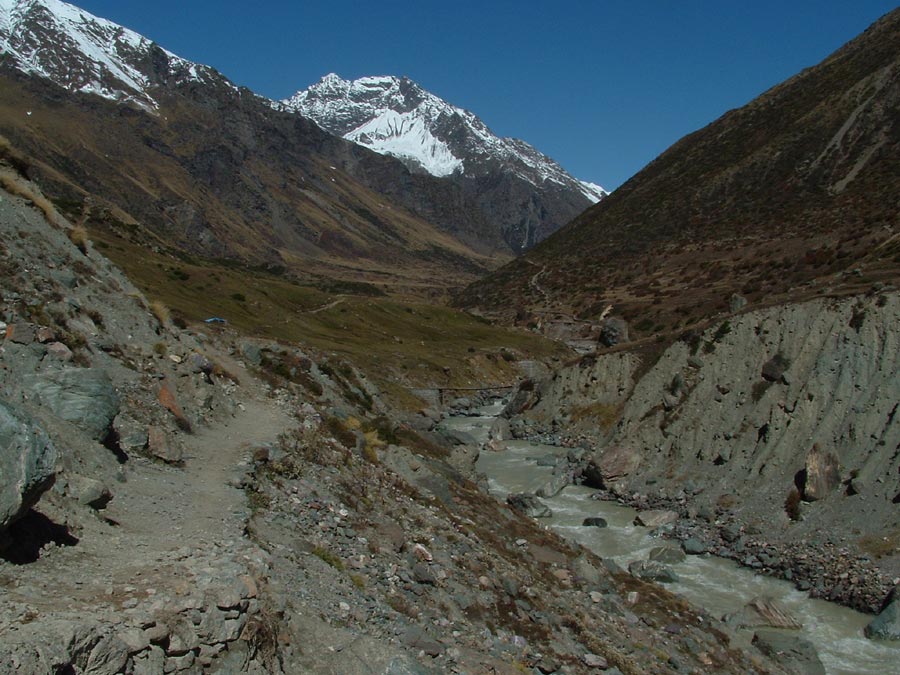
Gori flows between high rising hills on both sides and it seems like a suitable place for a dam.
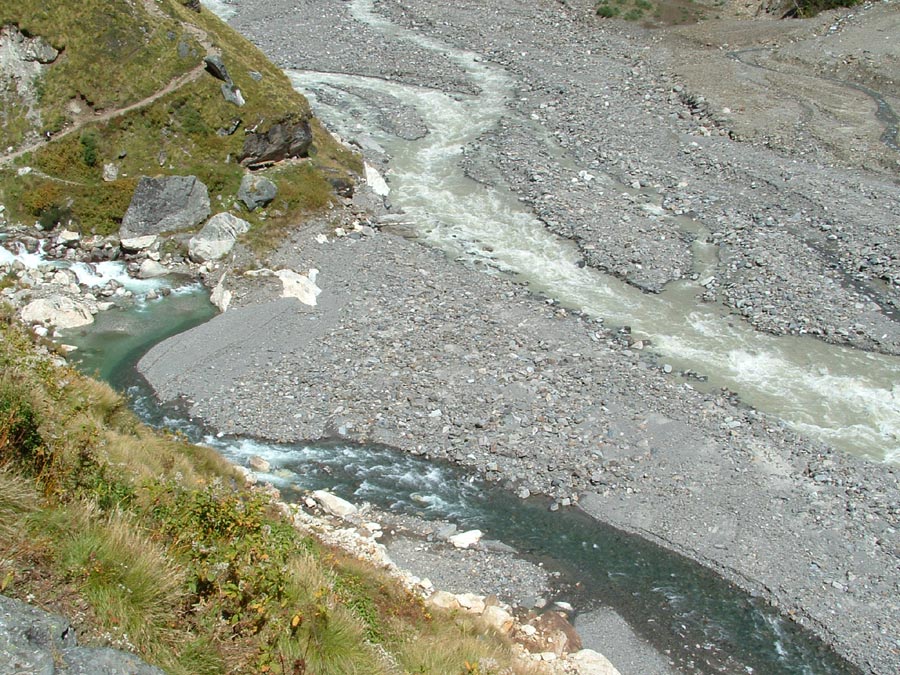
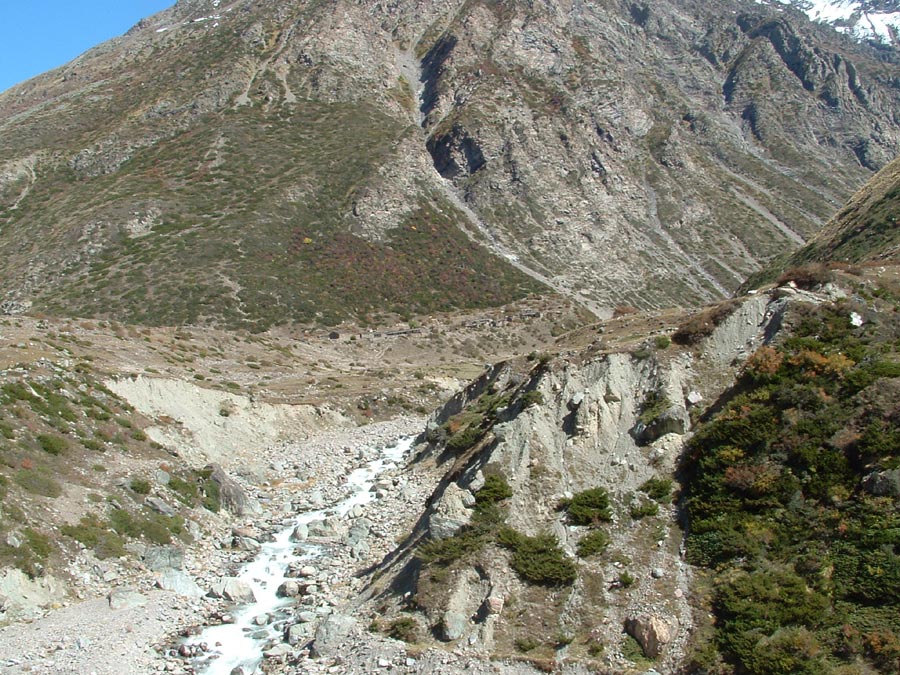
Pabadli gad flowing from Shalang Dhura coming to meet Gori.
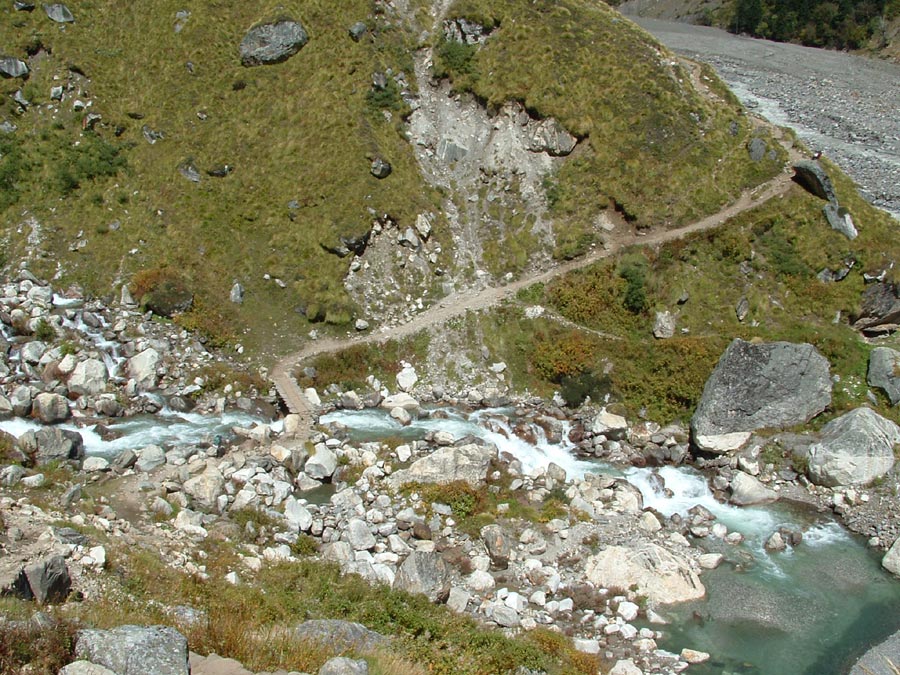
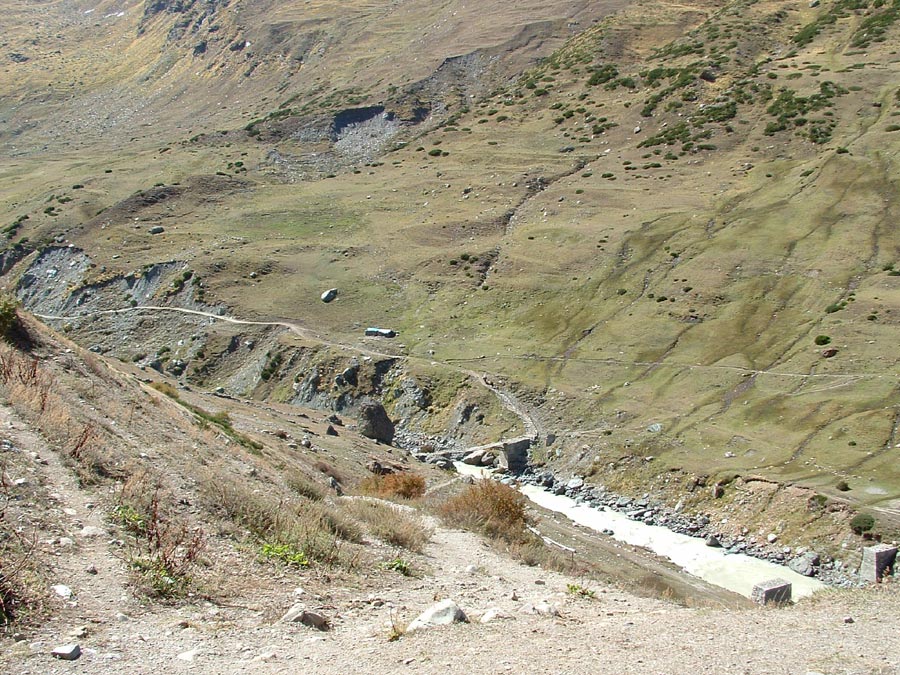
Across the Pabadli gad the trail climbs up. The lower trail was damaged and so we used the upper one.
A Shepard’s camp above Gori..
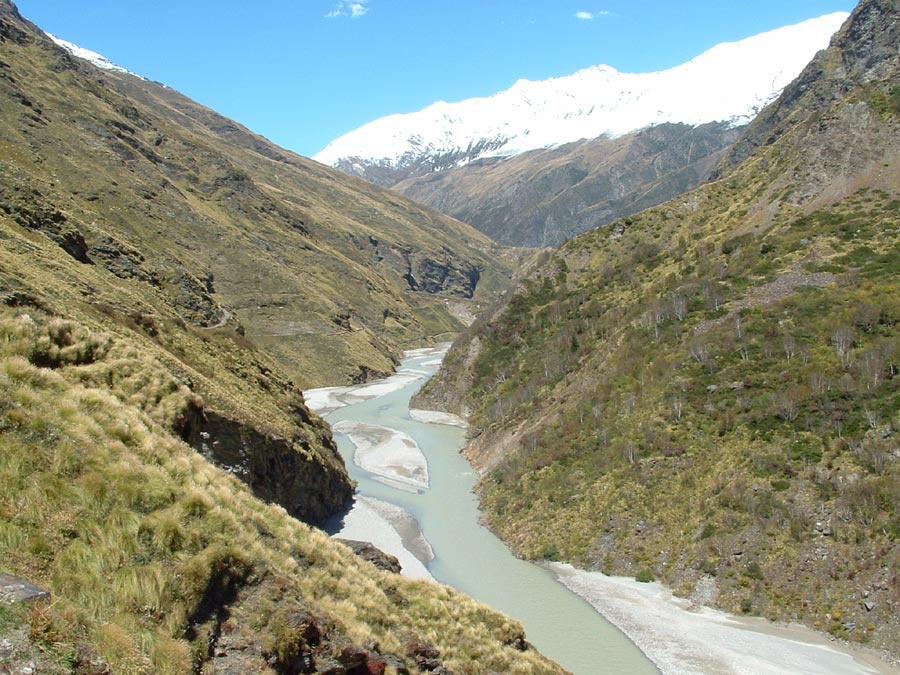
The trail follows the Gori with small climbs and descents.
The Rilkot village, we are now in the rain shadow zone.
Hotel at the Rilkot village.
The trail beyond Rilkot can be seen climbing all the way up to old Rilkot on the flat above Gori..
The upper trail goes to Martoli village and the one going down goes to the Lawn gad.

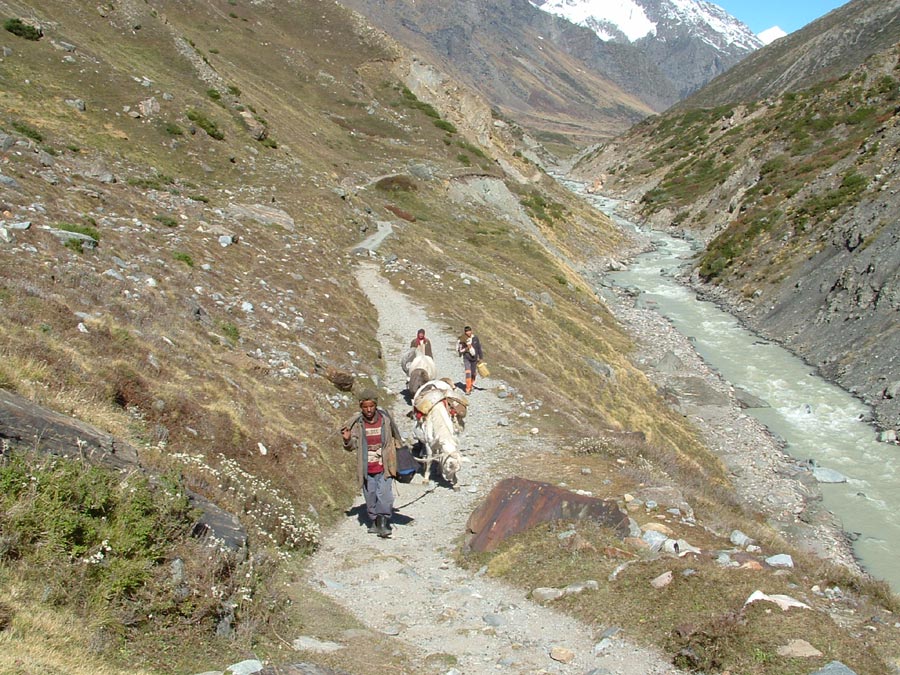
We took the trail going down and saw the horses returning to road head from Martoli village.
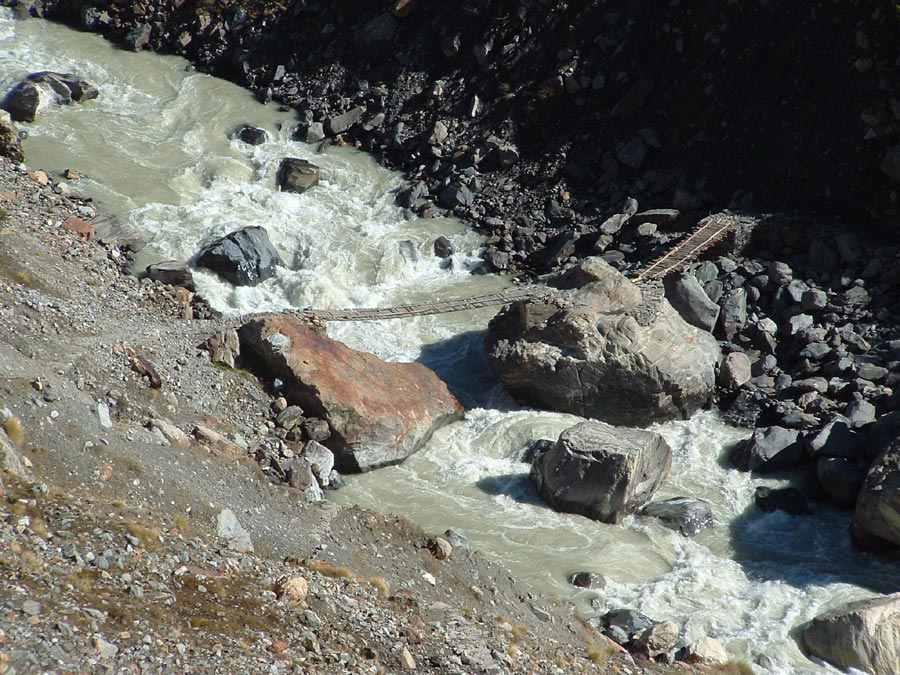
The log bridges on the Lawn gad.

Our trail ahead of Lawn gad along the Gori.

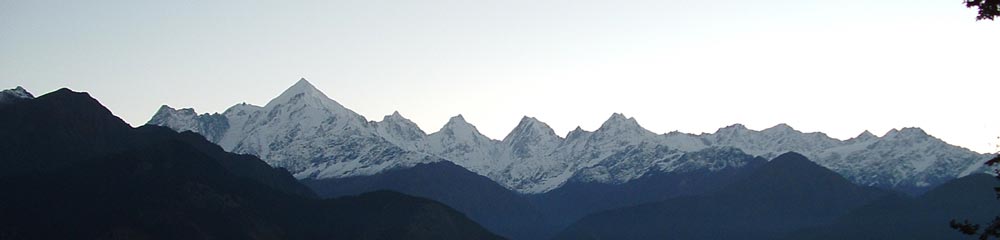
As we looked back, the Martoli peak dominated the scene and the trail going to Martoli from the bridge on Lawn gad can be seen.
We cross the gate way to heaven..
The trail is not much of a problem
Burphu gad coming from Burphu glacier. The Burphu village can be seen beyond it in the centre.
The bridge across Gori takes us to the right bank and to the Burphu village. The straight trail goes to Panchhu and Ganghar villages.
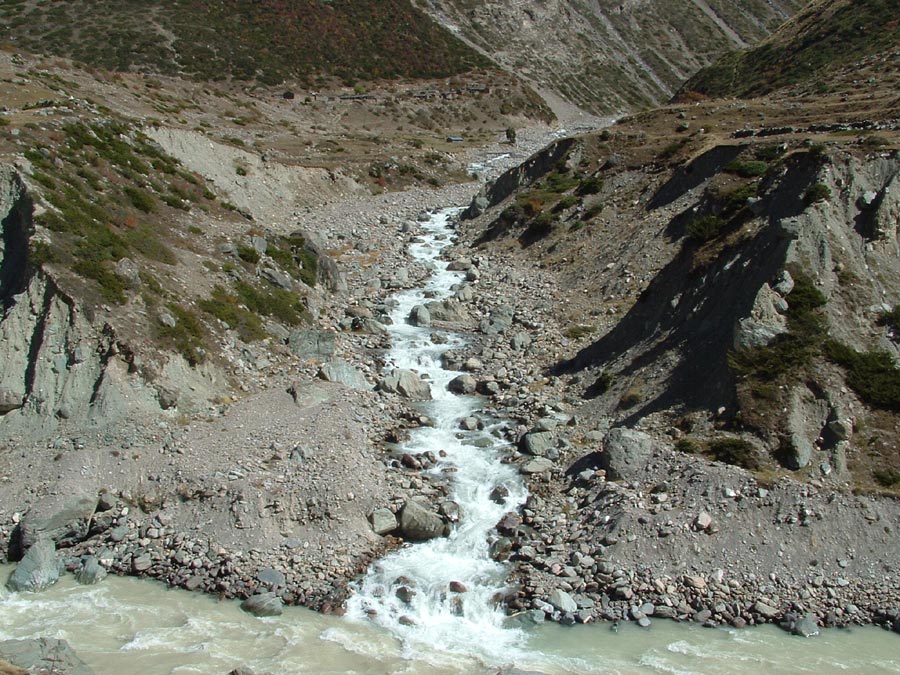
Burphu gad meeting Gori.
The trail we had followed to reach Burphu village.
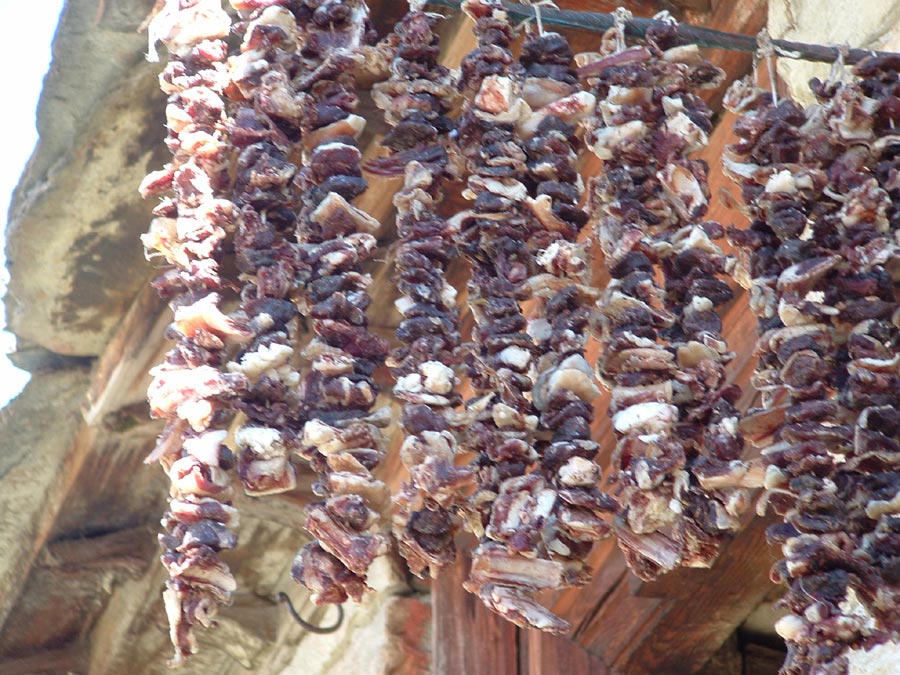
Meat of freshly slaughtered sheep hangs in the sun for drying.
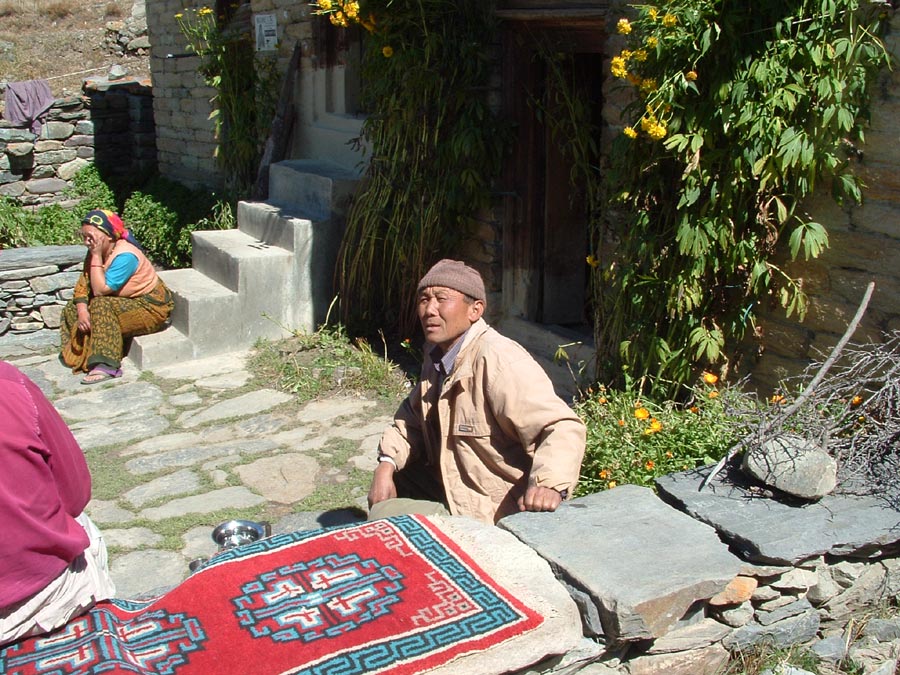
Shri Gokaran Singh at whose hotel we stopped for tea.
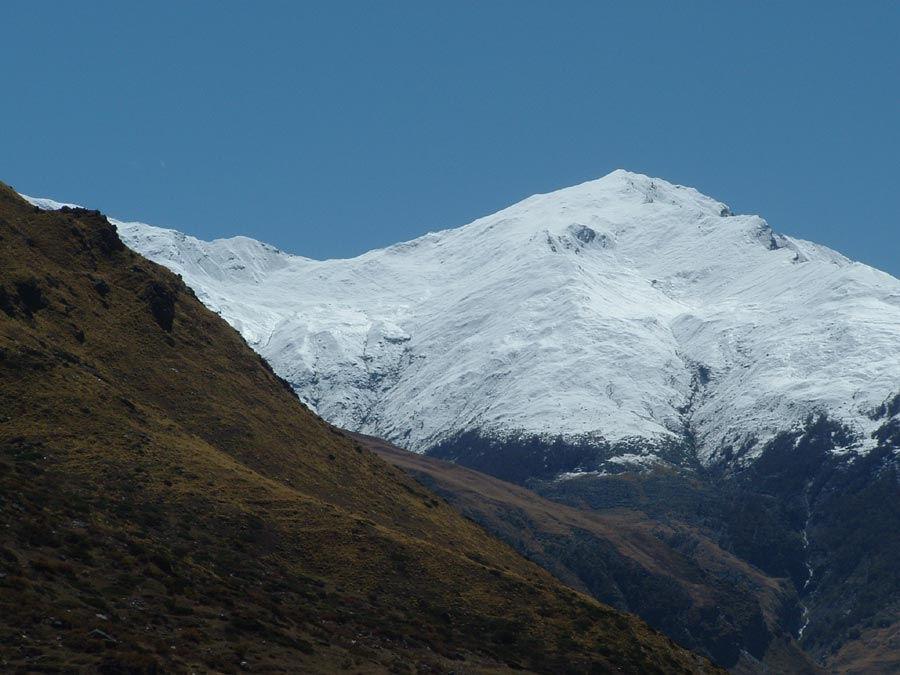
The Birjeganj Dhura is snowed out due to sudden heavy snowfall in the upper reaches. Across it is Ralam village and glacier.
Keep The Mountains Clean