Kamet
Expedition to Kamet
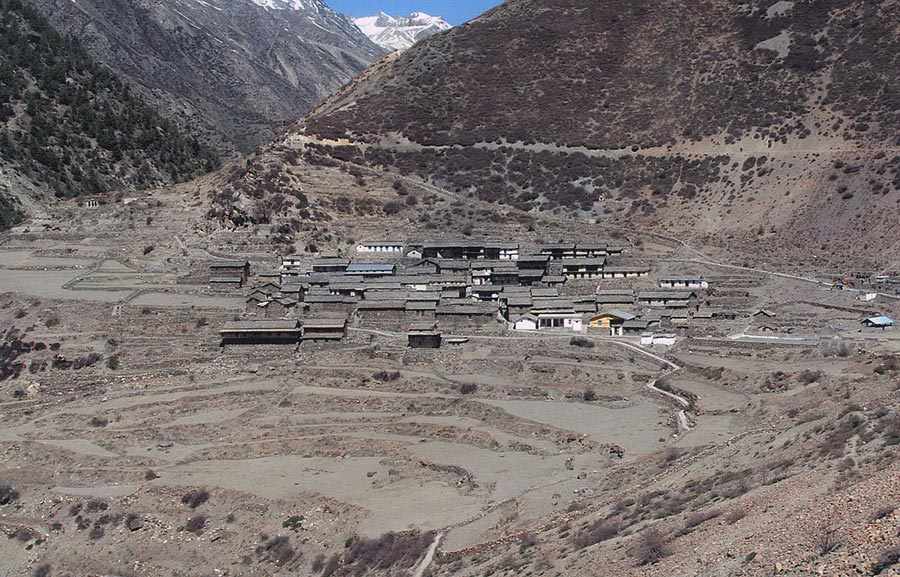
The village of Ghamsali (10780′ ) .
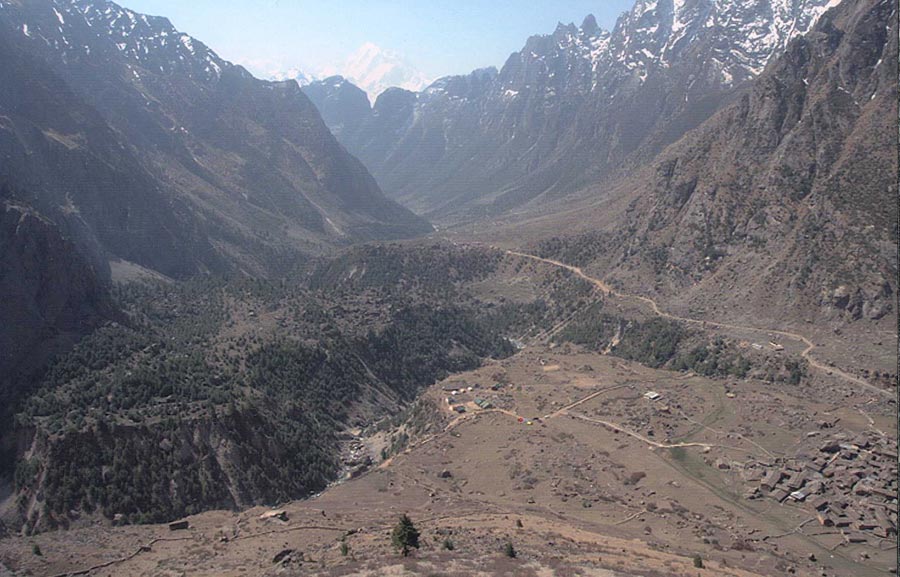
The last village – Niti .
The team leaves for Base camp .
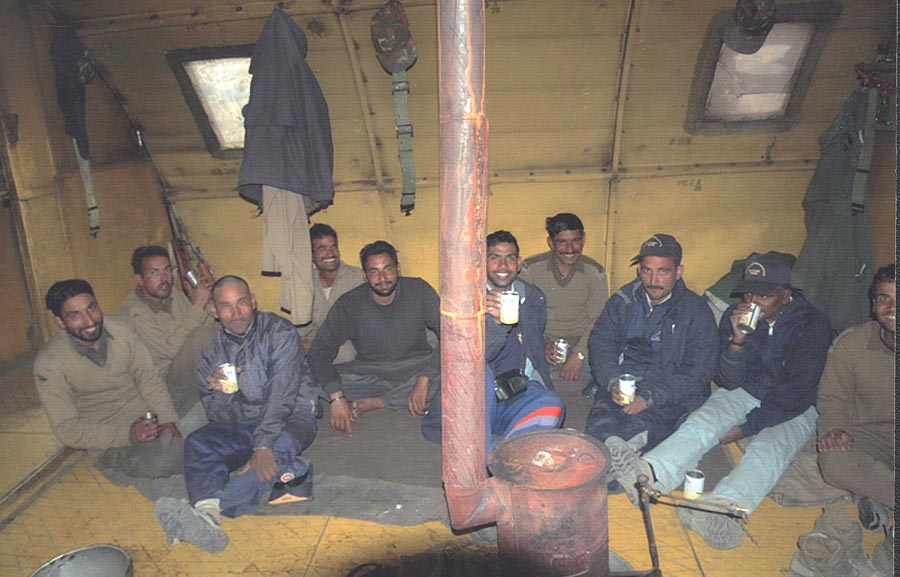
Tea break at Shabuk camp .
Shabuk (12380′ ) camp .
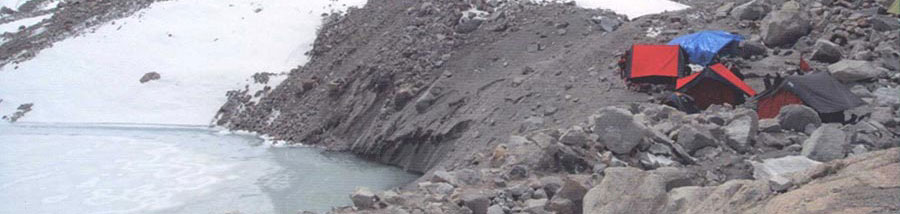
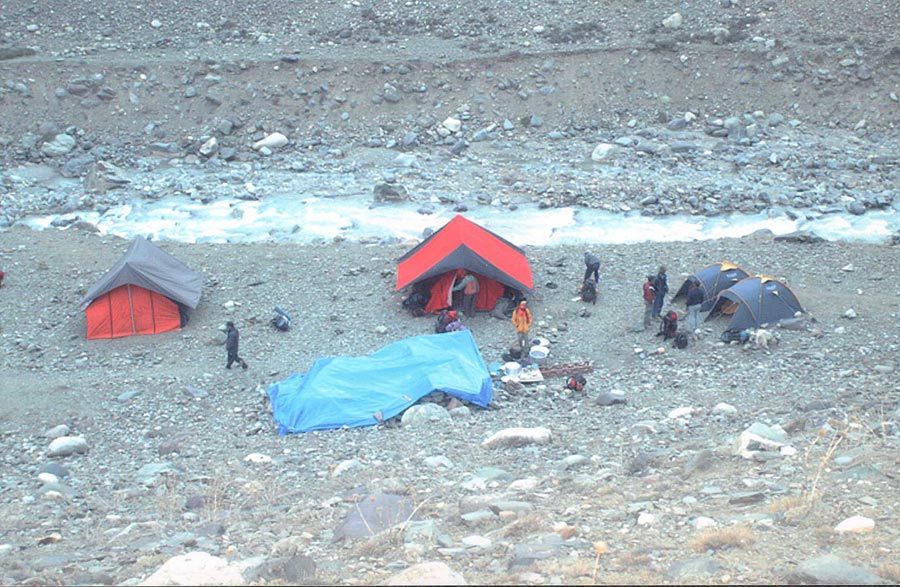
Base camp at Vasundra (15540′ ) .
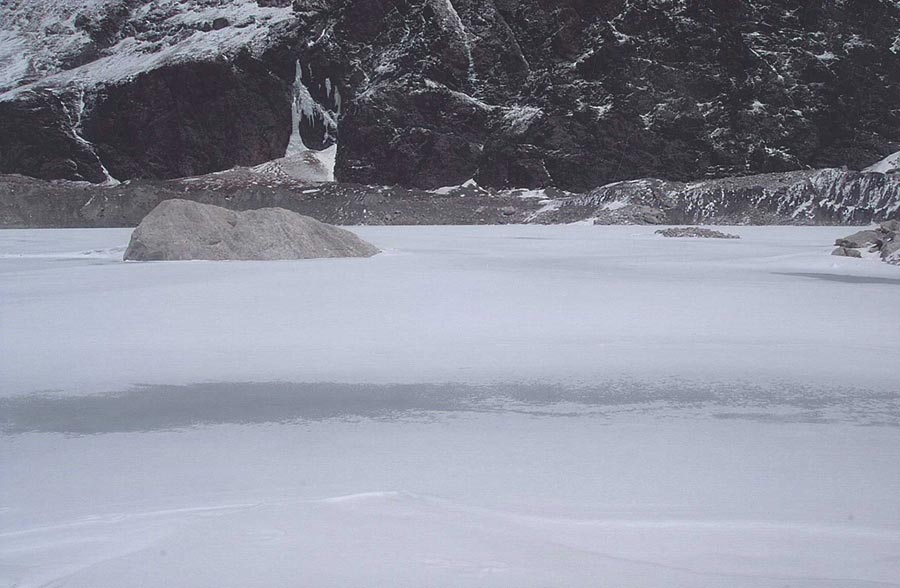
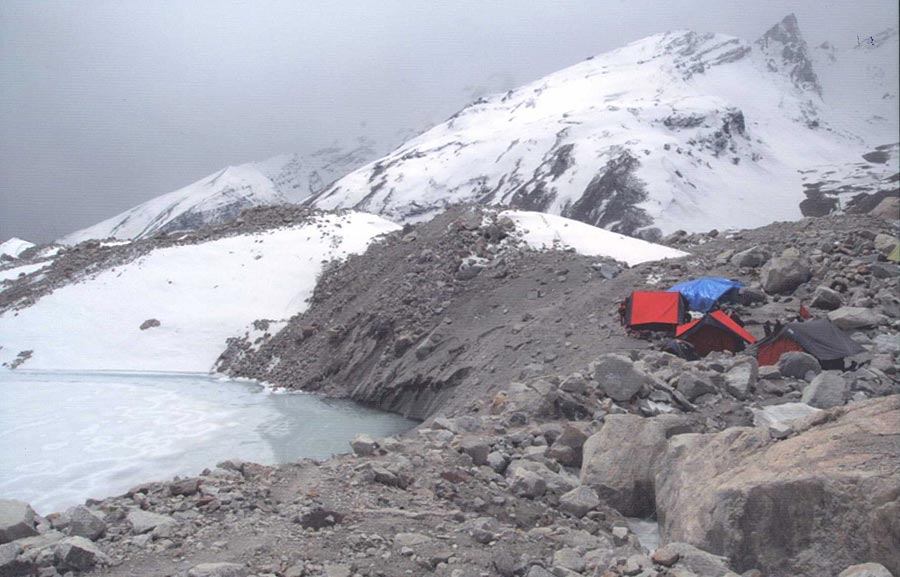
The frozen Vasundra tal at Base camp.
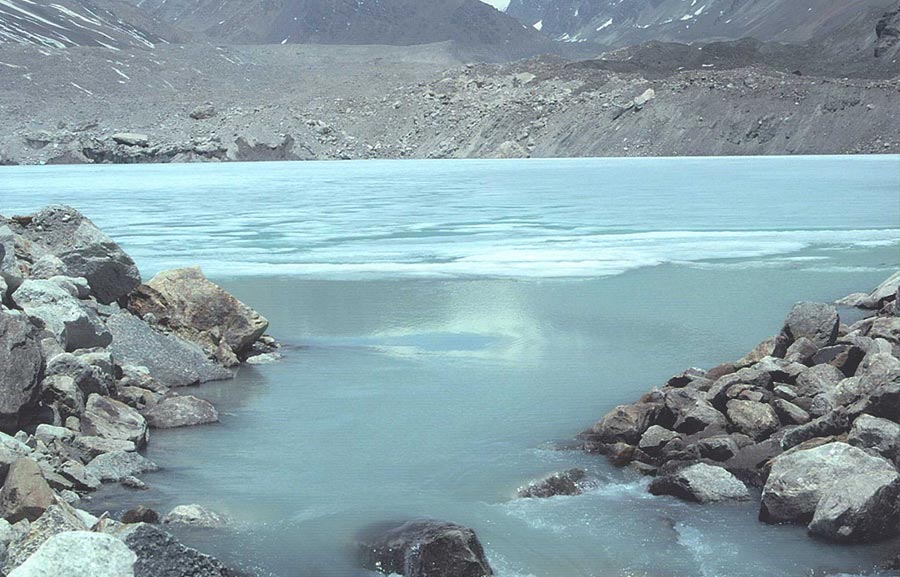
The start of Dhauli ganga from Vasundra tal.
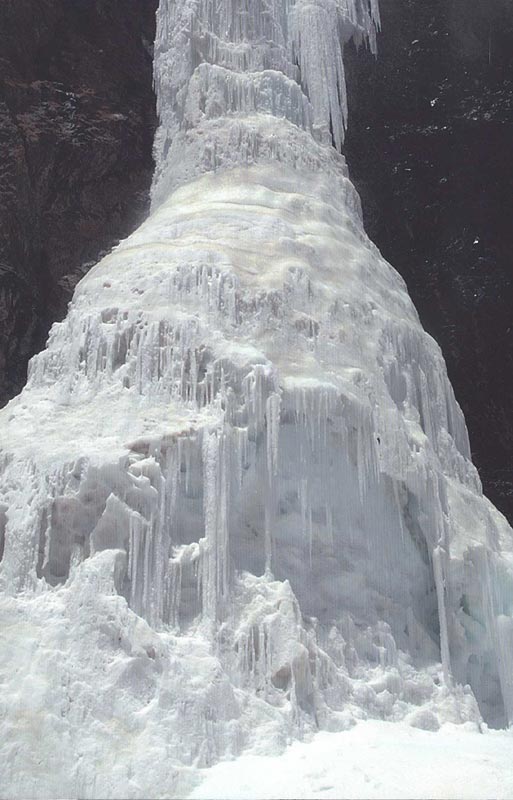
Frozen waterfall near Vasundra fall.
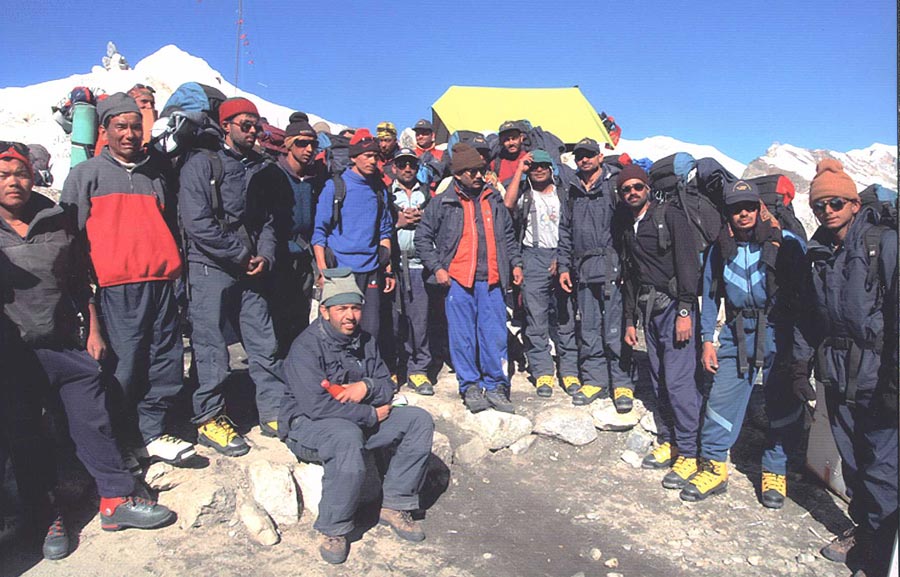
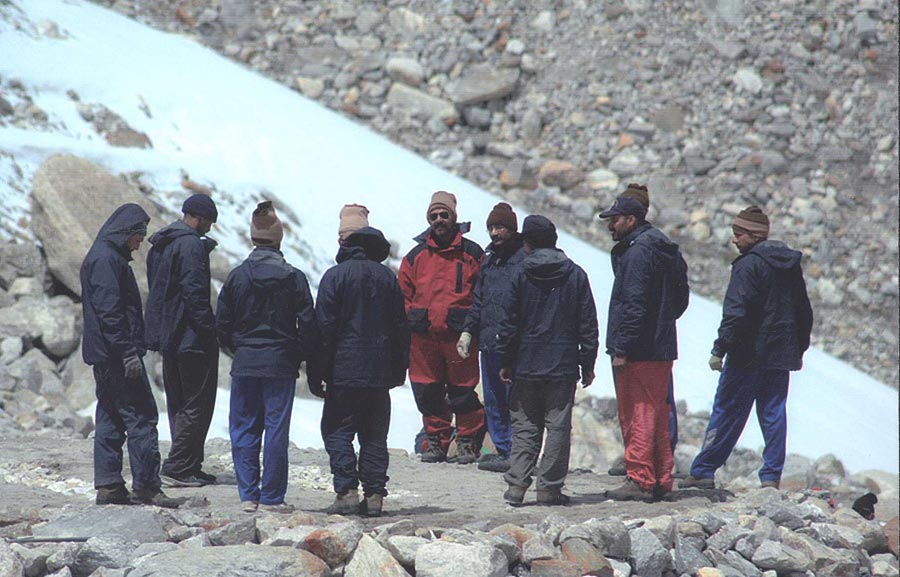
Team ready to leave for Camp I from Base camp .
Helipad being prepared at Base camp .
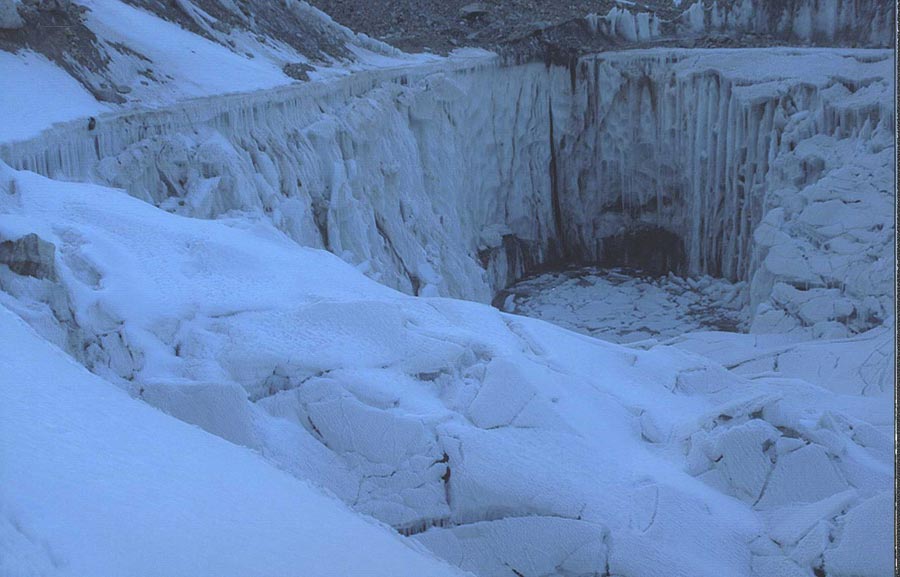
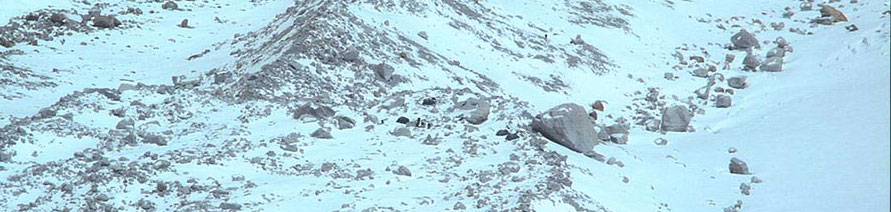
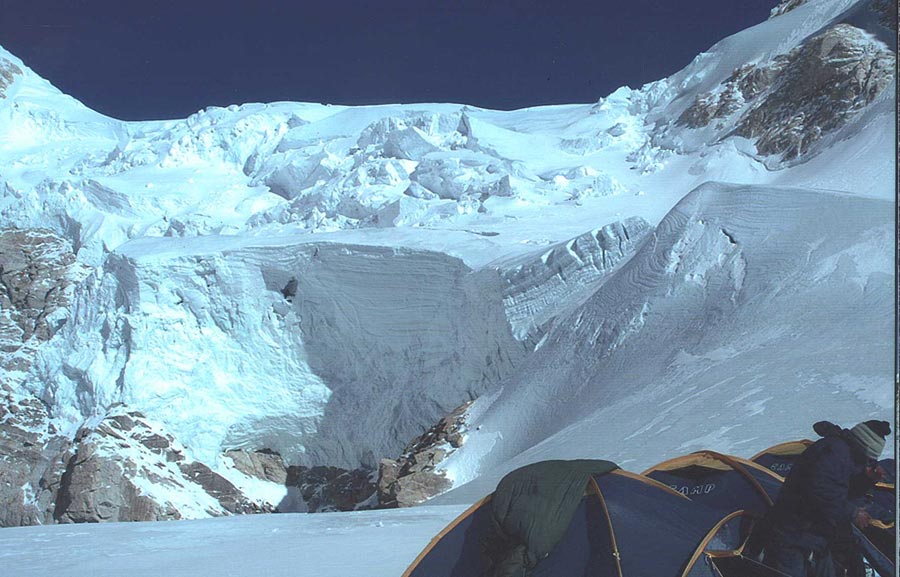
Snow well between Camp I and Camp II .
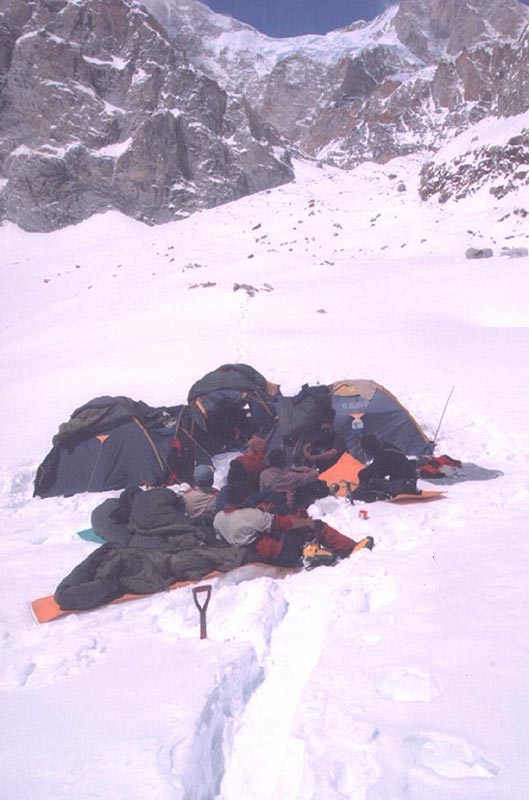
Members relaxing at Camp II .
The team returning from Camp II to Camp I .
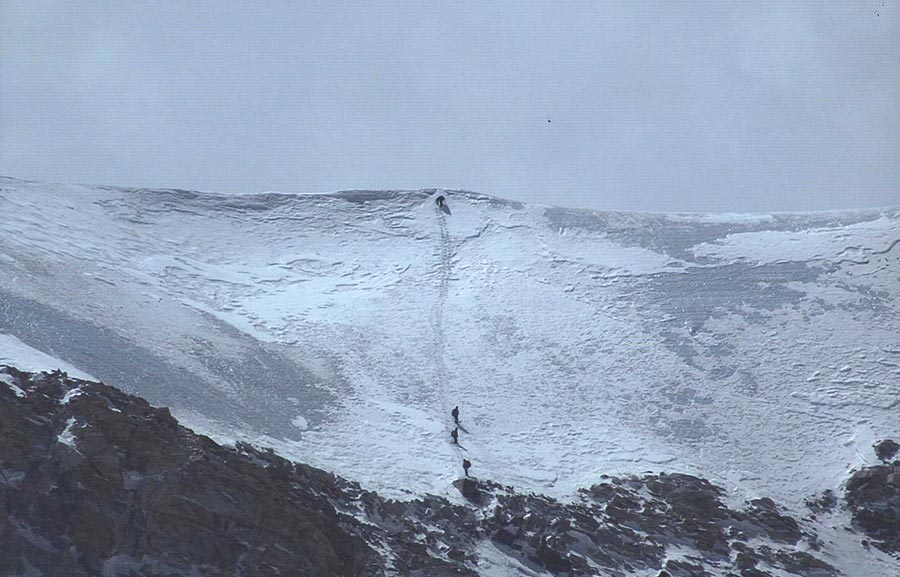
Way to Camp III from Camp II .

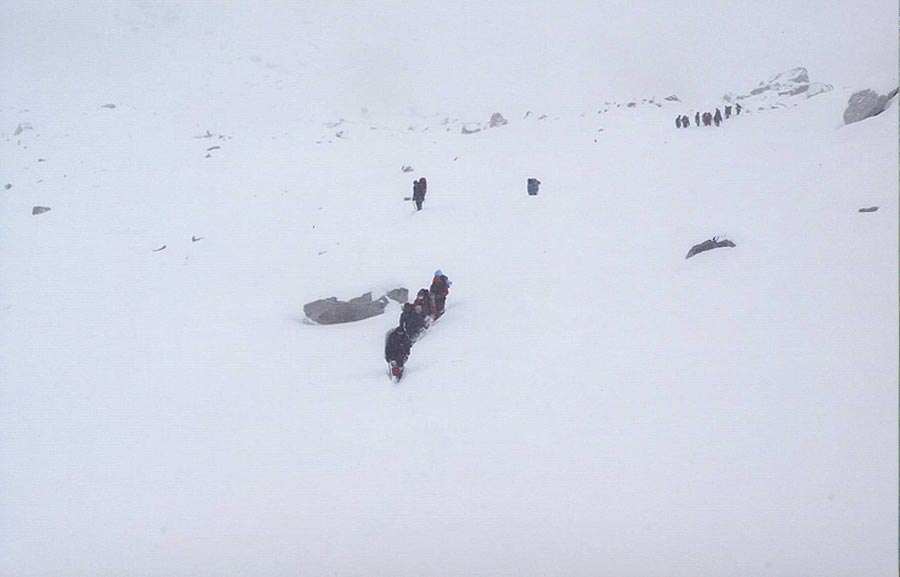
The team is moving from Camp III to camp IV .

Camp III (19990′ ) .
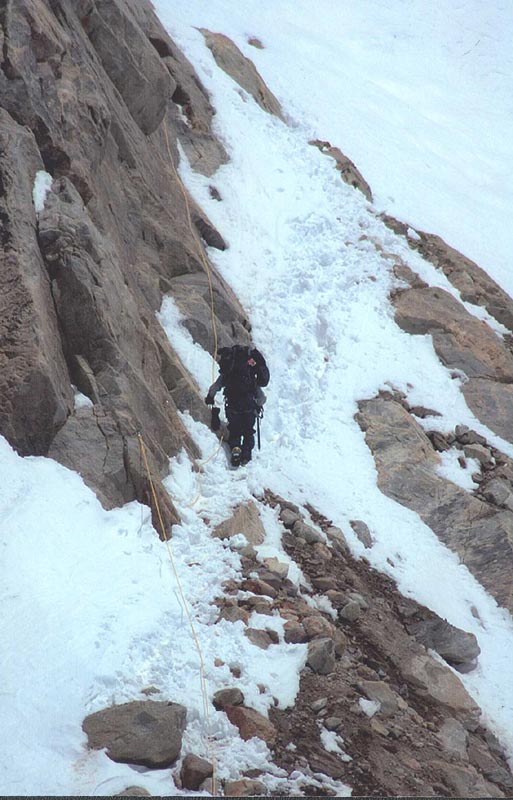
The Ice wall on the way from Camp III to camp IV .
The route to Camp V from Camp IV .
What a fine place near Camp IV .
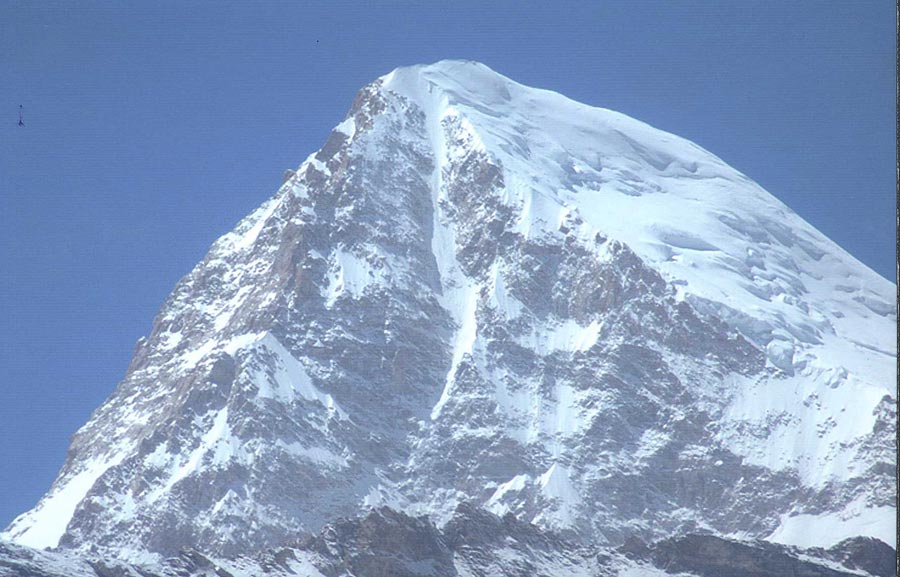
Kamet from Camp IV .
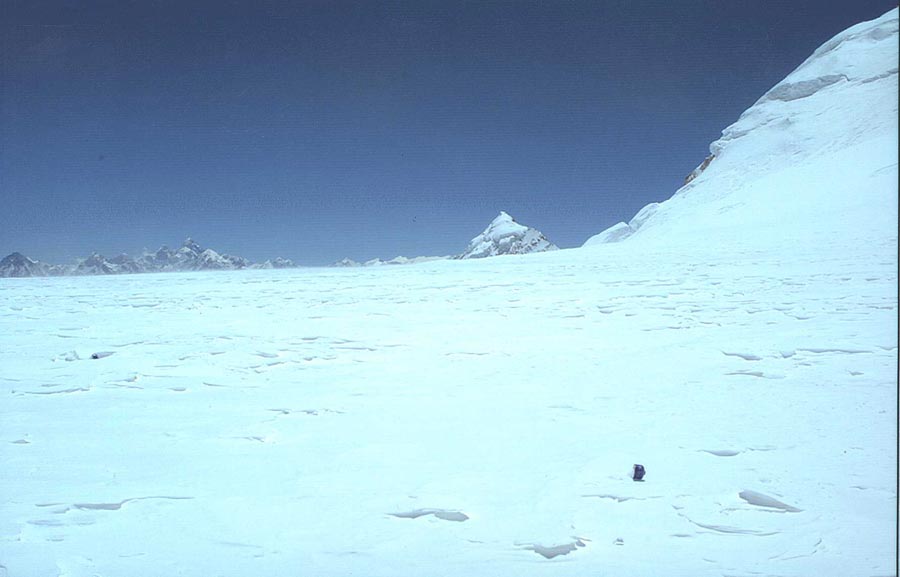
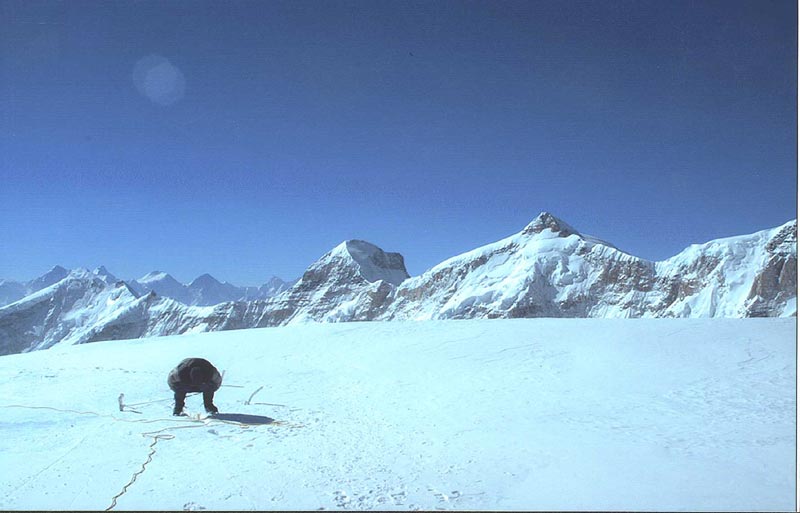
Midas col ( 23340′ ) .
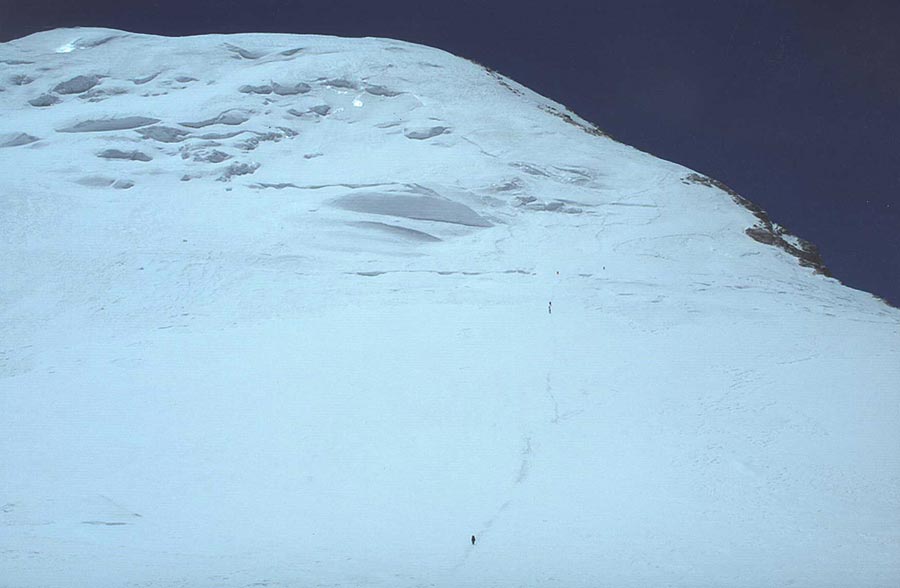
Towards summit.
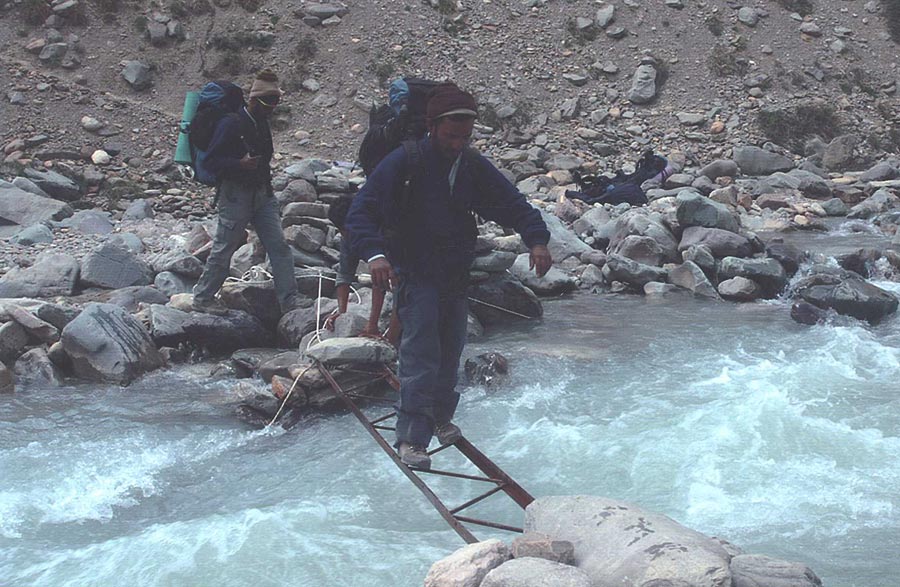
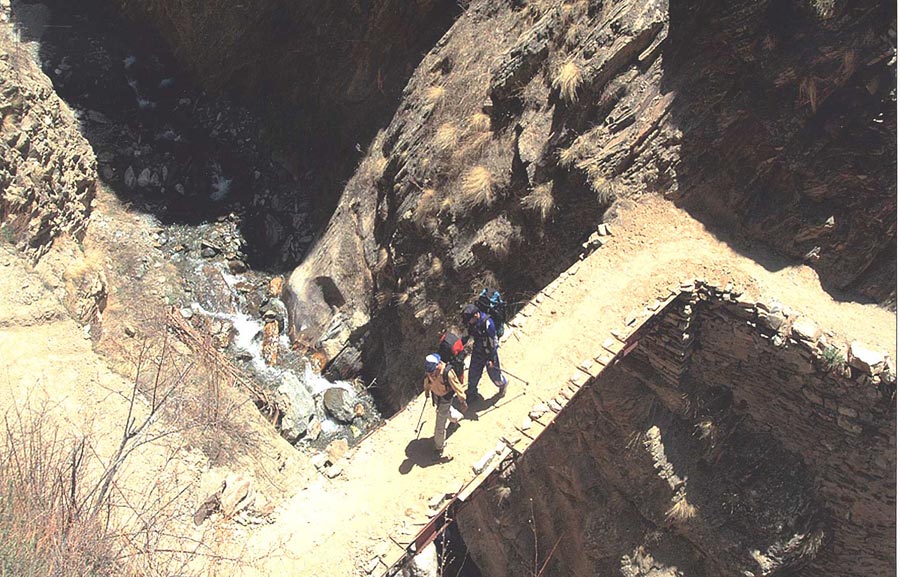
Crossing the Shabuk nala on return.
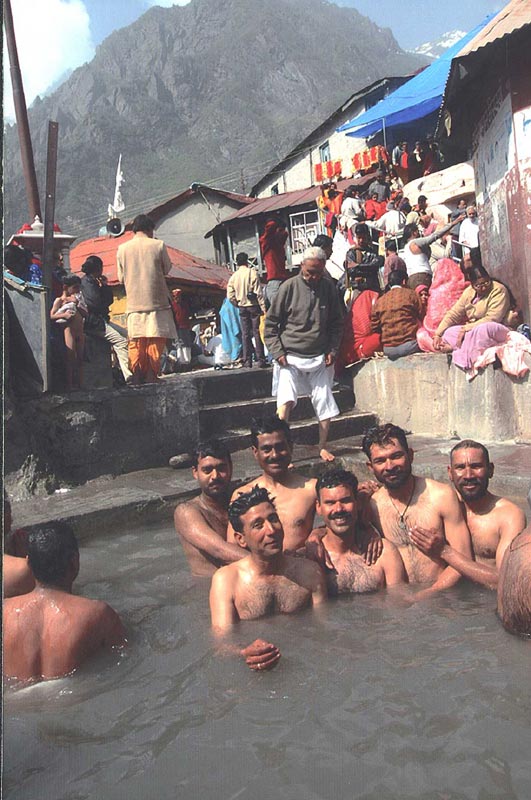
Hot water bath at Badrinath at the end of the expedition.
Note: Photos by Shri Nafe Ram.
Keep The Mountains Clean