Kalpeshwar – Rudranath Part II
Kalpeshwar – Rudranath Part II
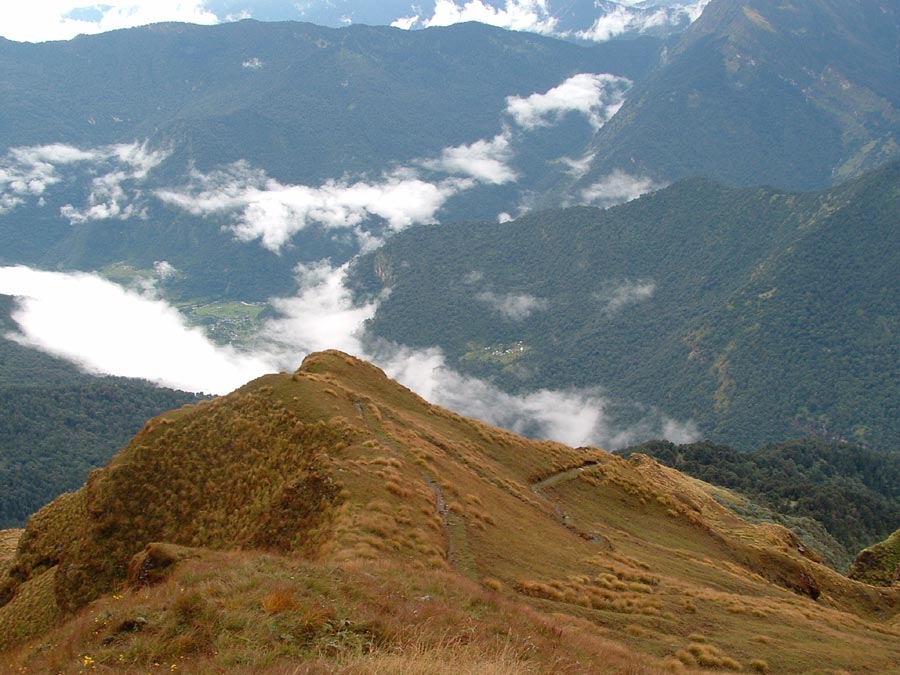
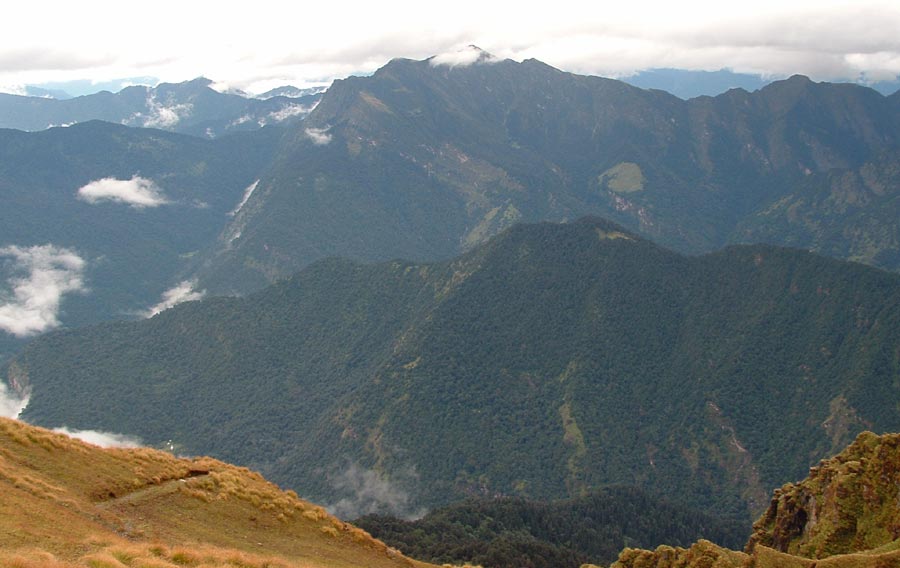
The end of the climb seems to be near.
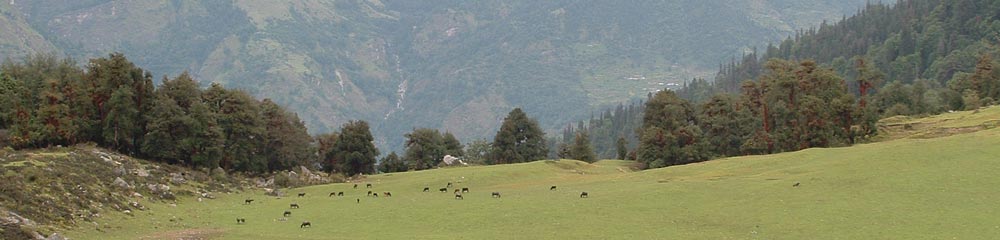
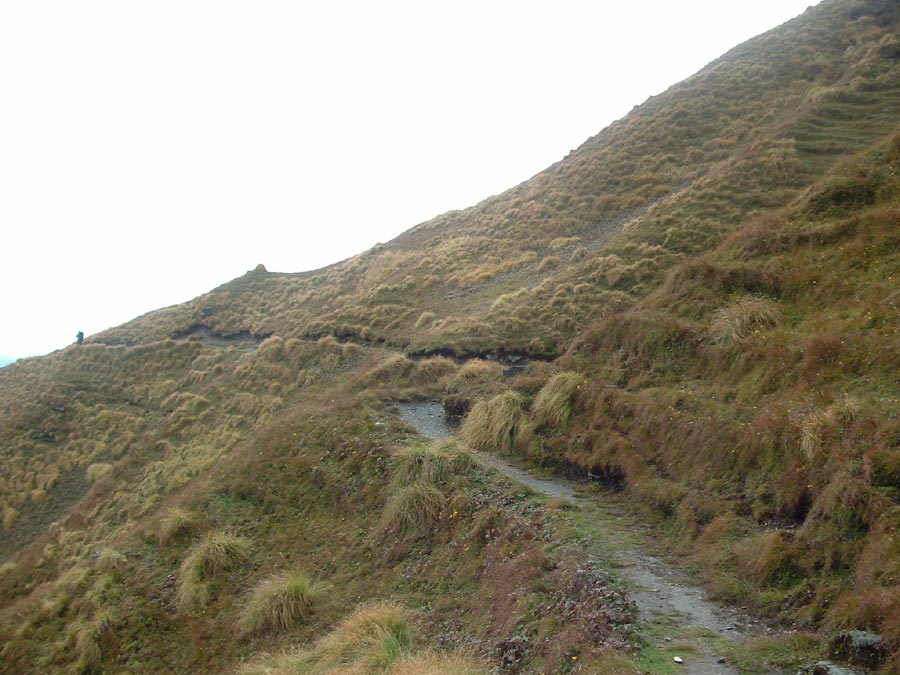
Finally we are above the jungle and on to the grass land. The trail moves along the ridge.
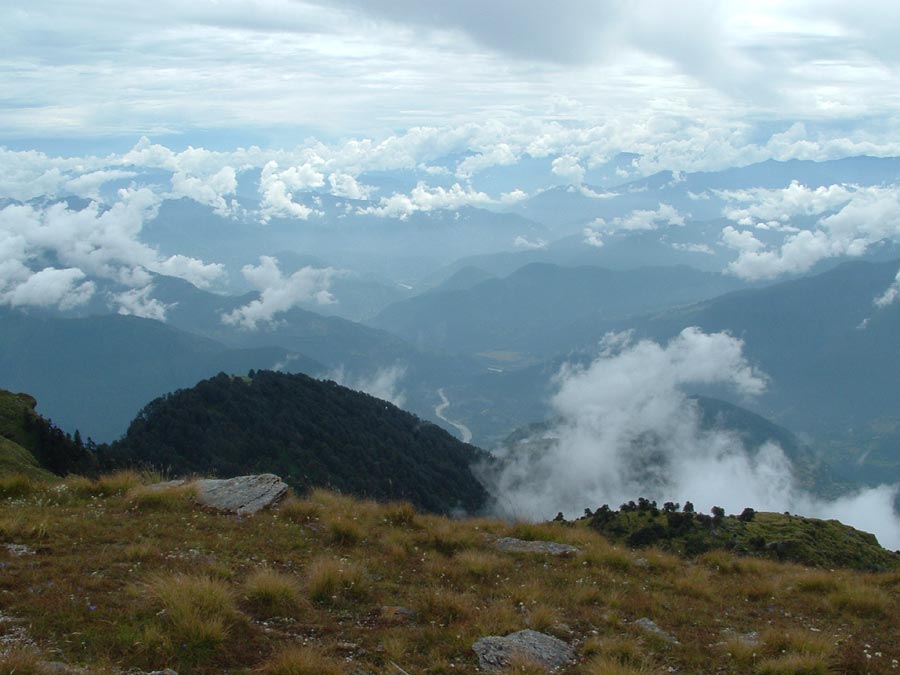
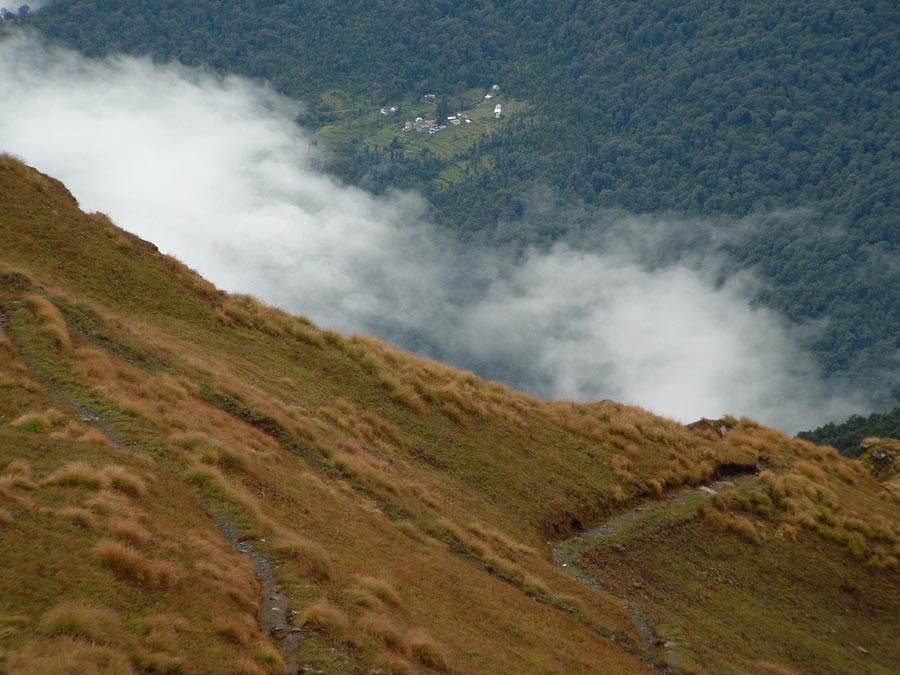
Far in the distance Alaknanda flows as we get to see on the other side of the ridge towards Gopeshwar.
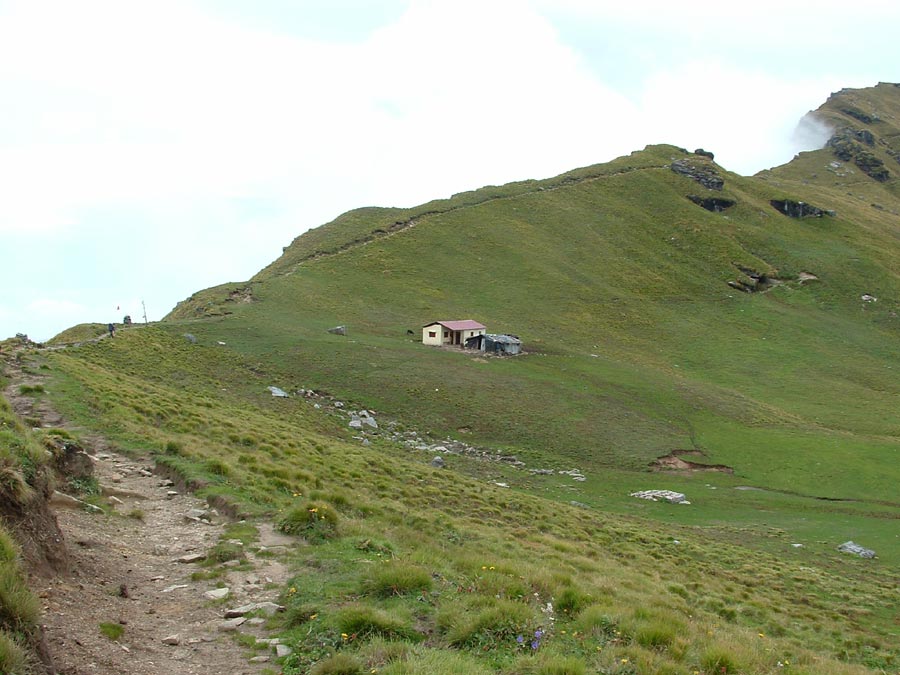
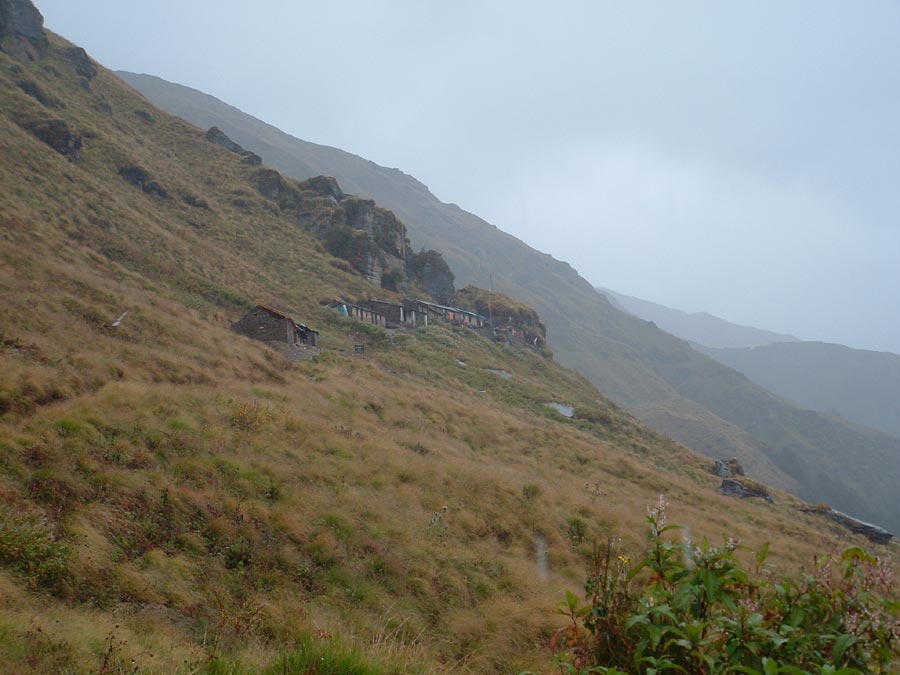
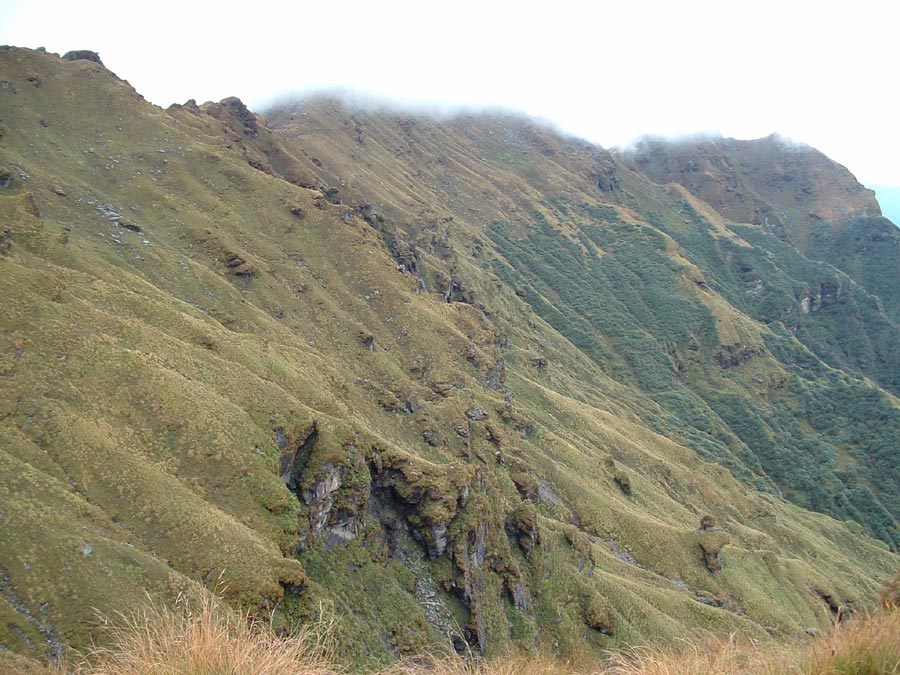
The Forest department’s hut and the hotel at Panar come into view. Mobiles pick up signal just below the flag along the trail.
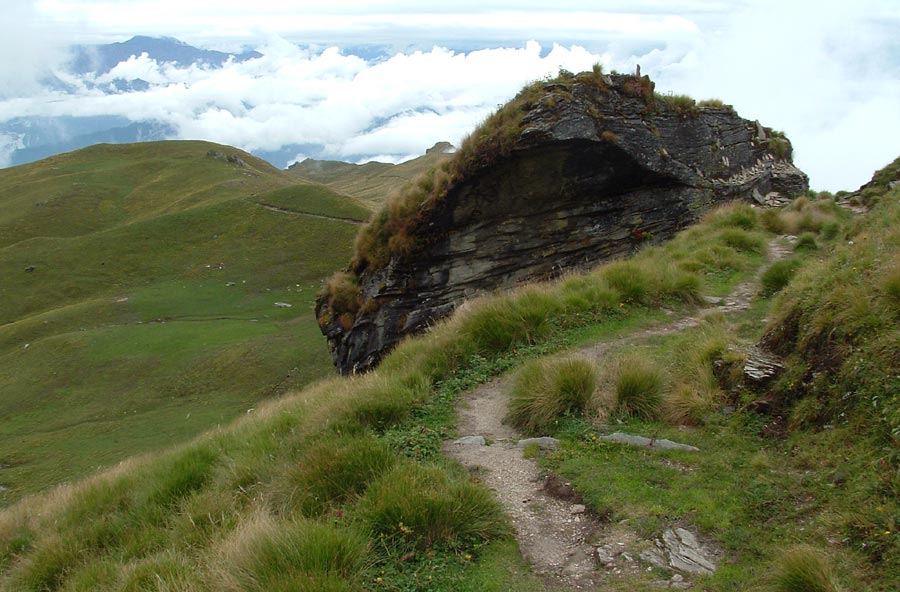
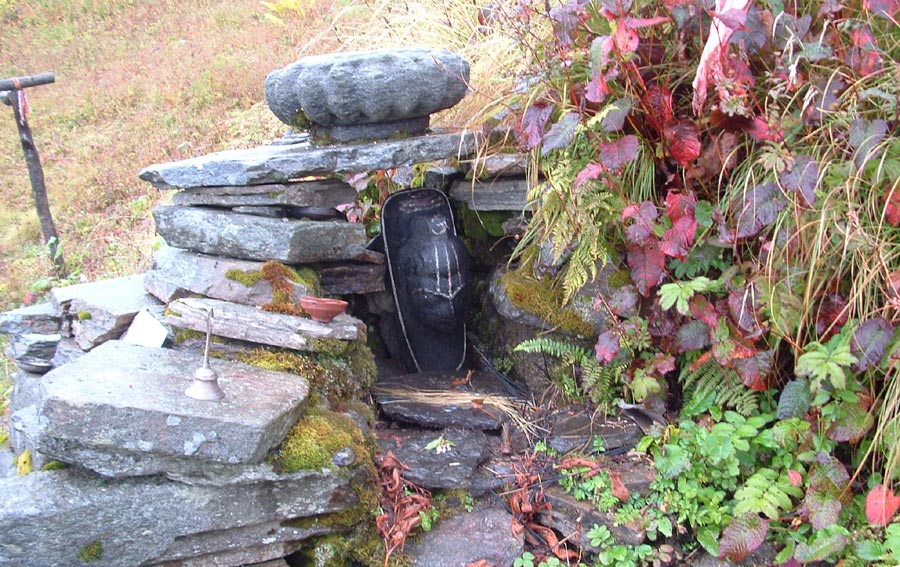
The trail goes past the Panar Gufa.
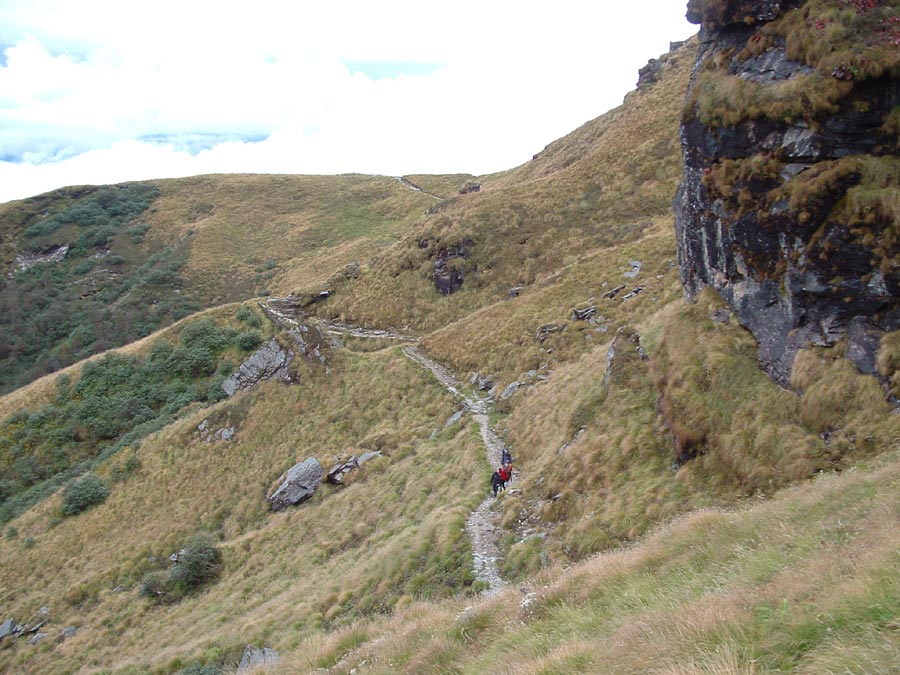
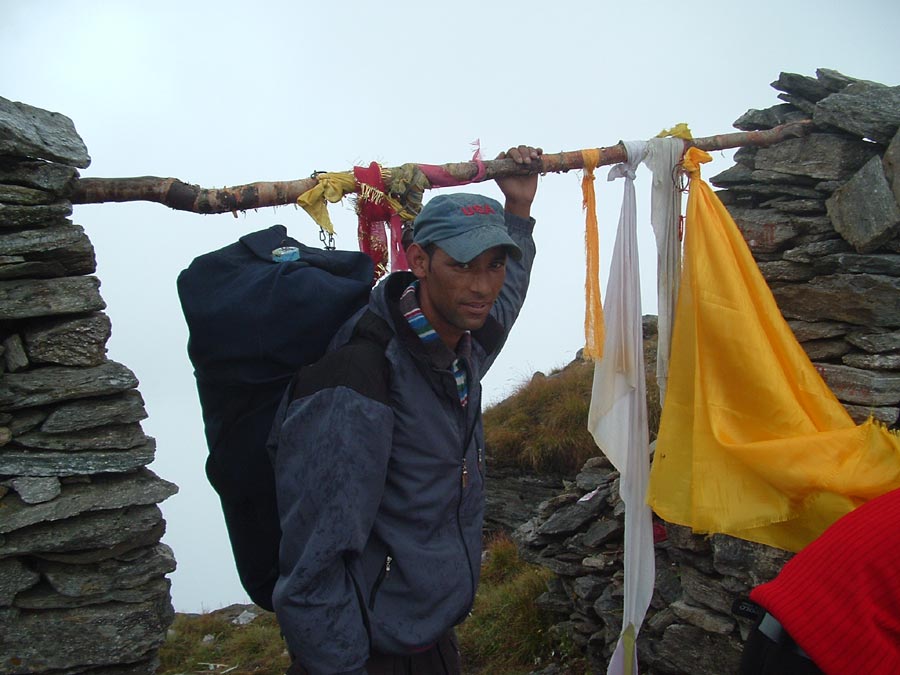
We have company.
The climb is finally over at Pitar dhar.
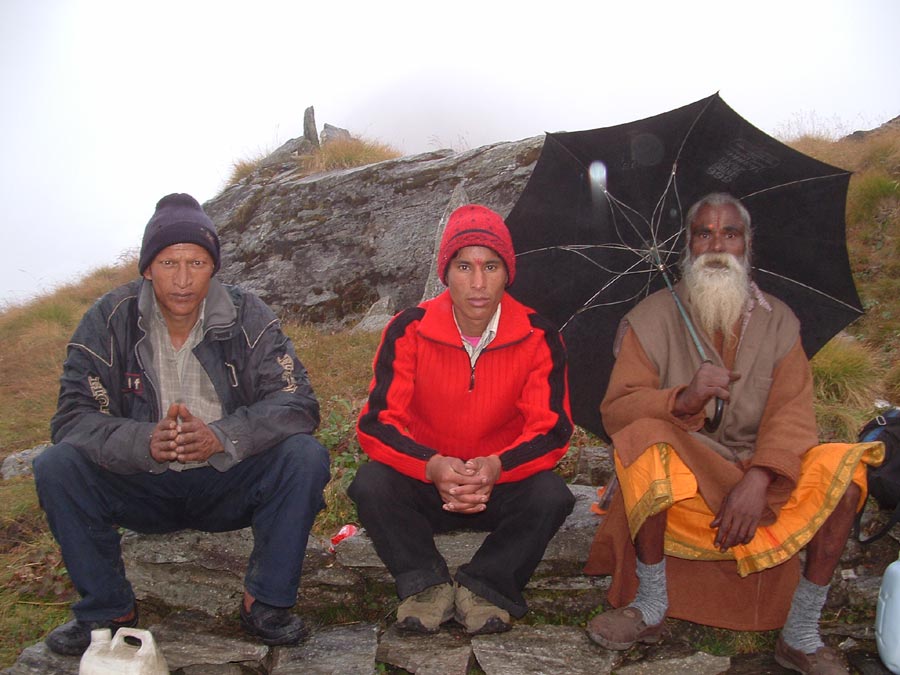
Local devotees along with the Sadhu were our companions after Panar.
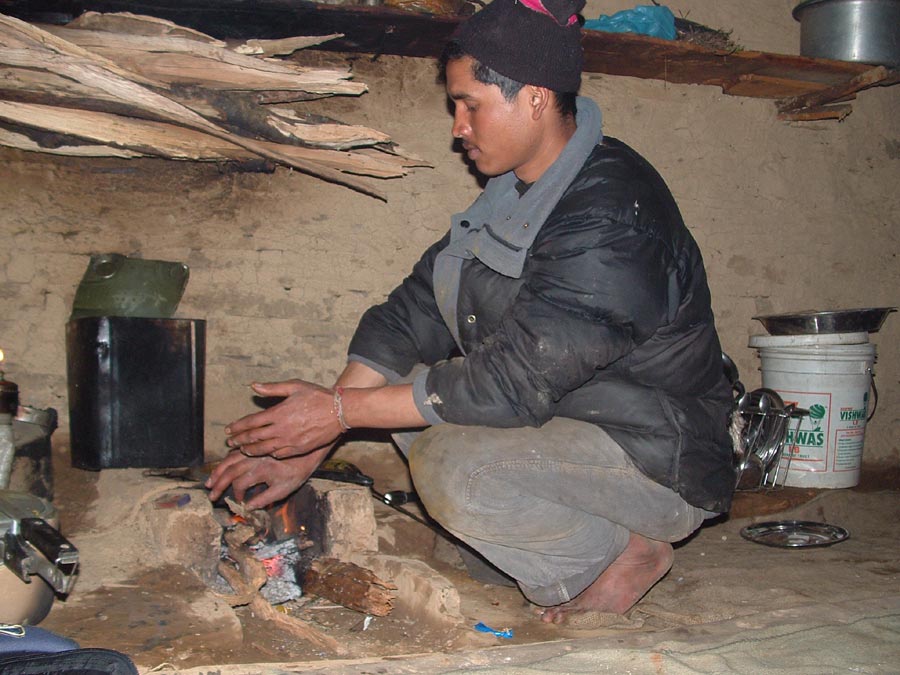
Our host at Rudranath.
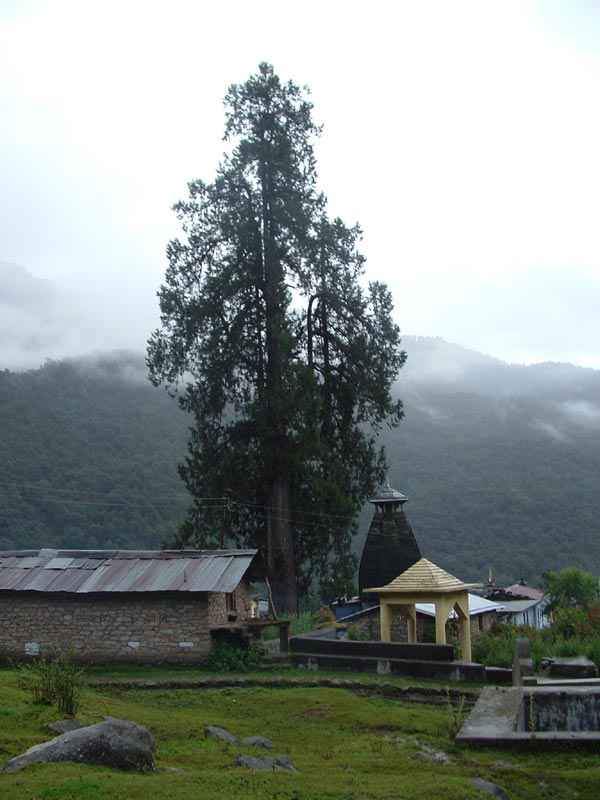
The Rudranath temple complex with the temple in the end of the row.
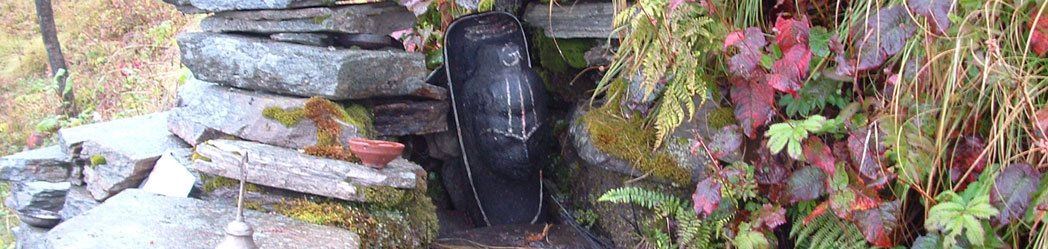
Narad kund at Rudranath.
The Nyla pass from where we start our down ward journey to Ansuiya Devi.
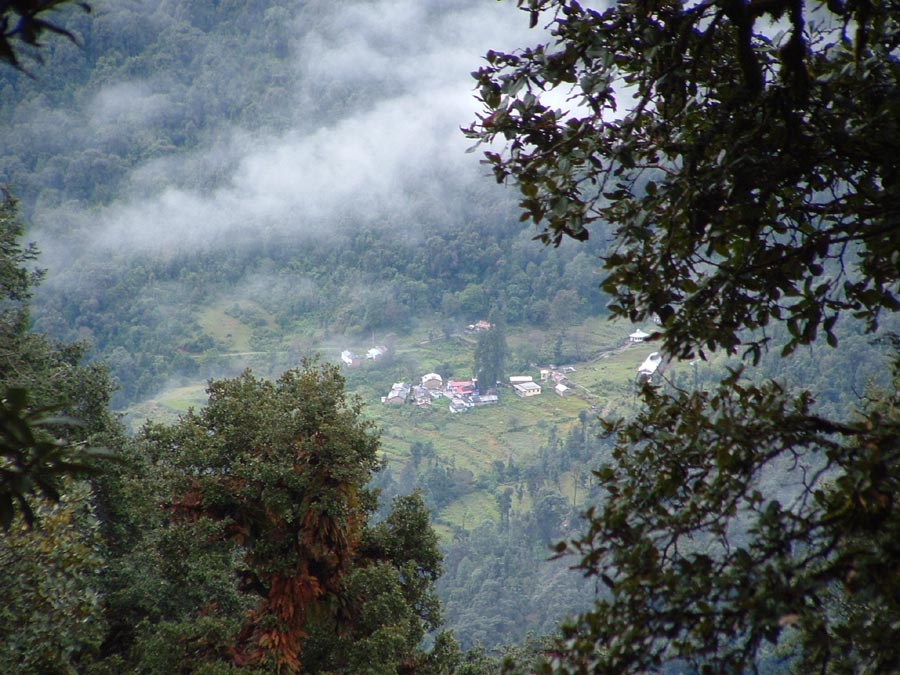
Down in the center the open patch is Ansuiya Devi and on left is Mandal. So near yet so far.
Ansuiya Devi from high up the trail.
Chandrashila, above Tungnath just peeking out of clouds in front.
Looking up we see the trail we had followed yesterday while moving to Rudranath.
Ansuiya Devi as we reach Kanda Bugyal.
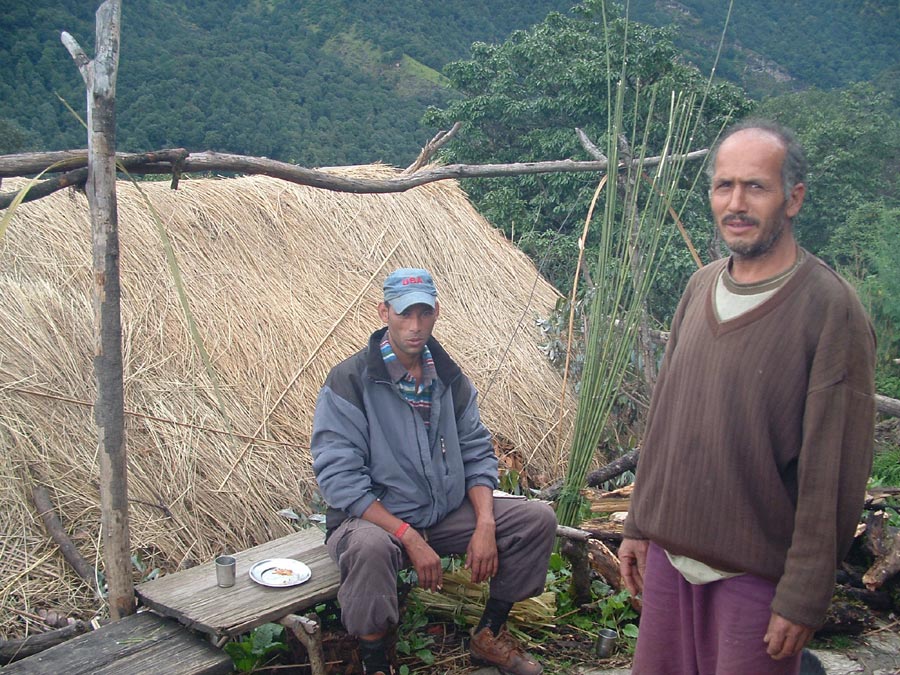
Indra with Surinder Singh the owner of the hotel at Kanda bugyal where we stopped for tea.
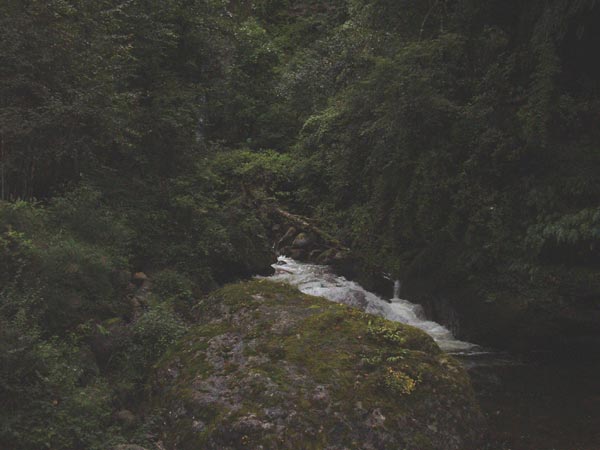
Amritganga river along which is located the Atri muni cave. We crossed over to the right bank.
Ansuiya Devi temple.
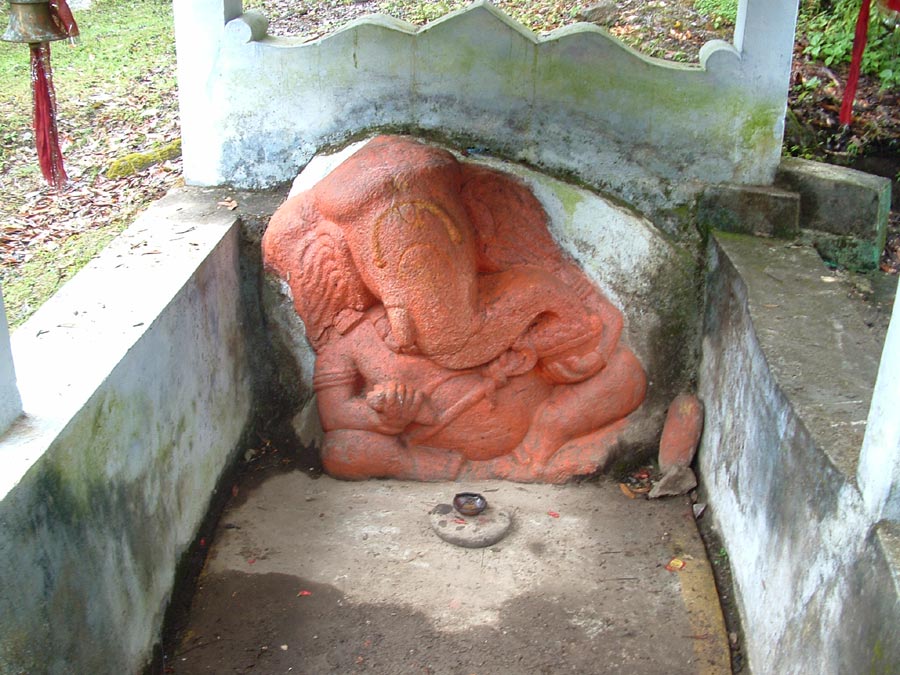
The monolith Ganesh idol along the trail from Ansuiya Devi to Mandal.
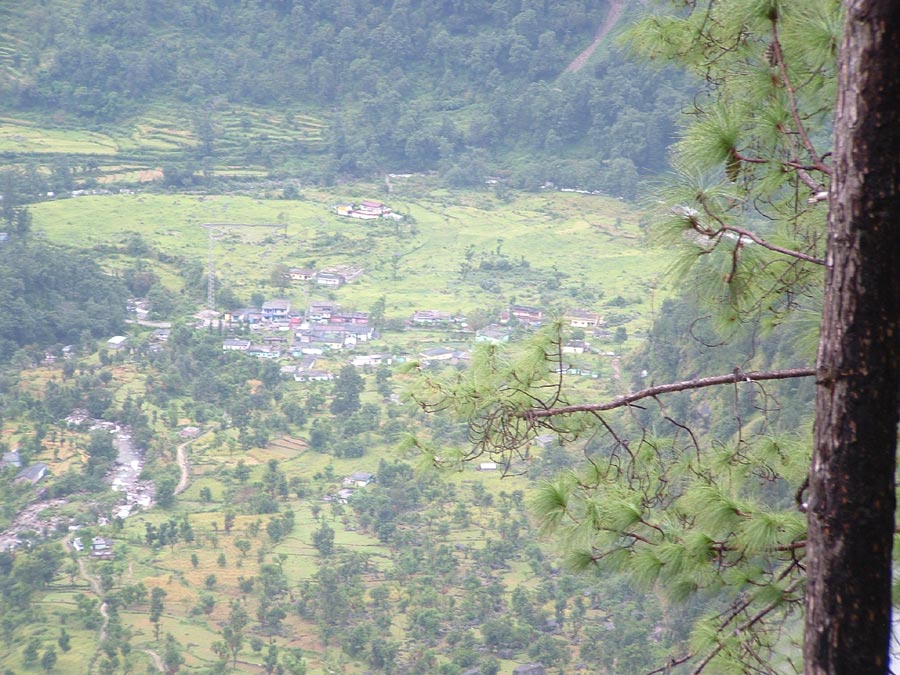
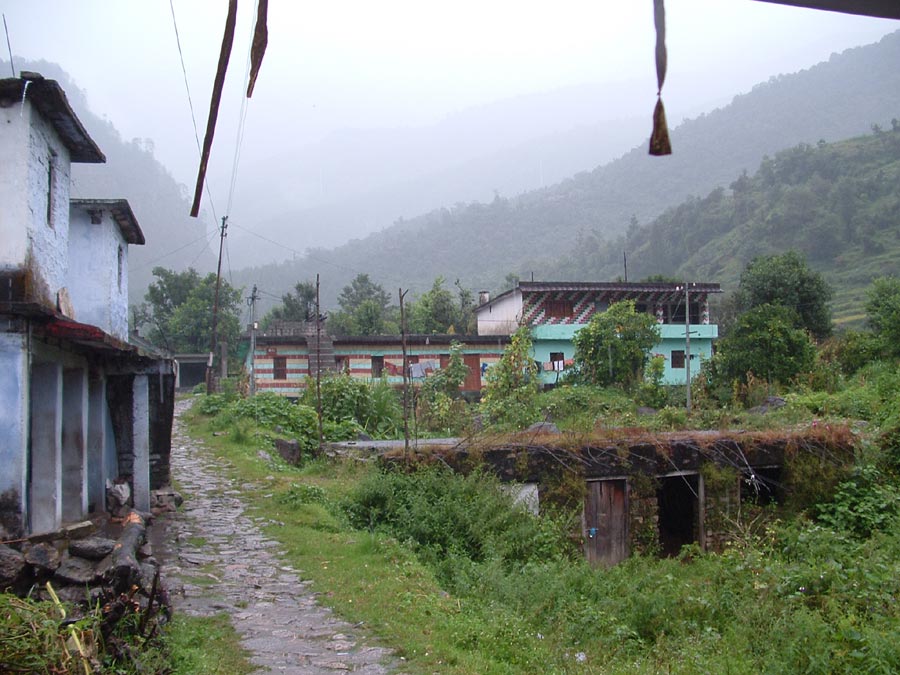
Mandal from the trail above.
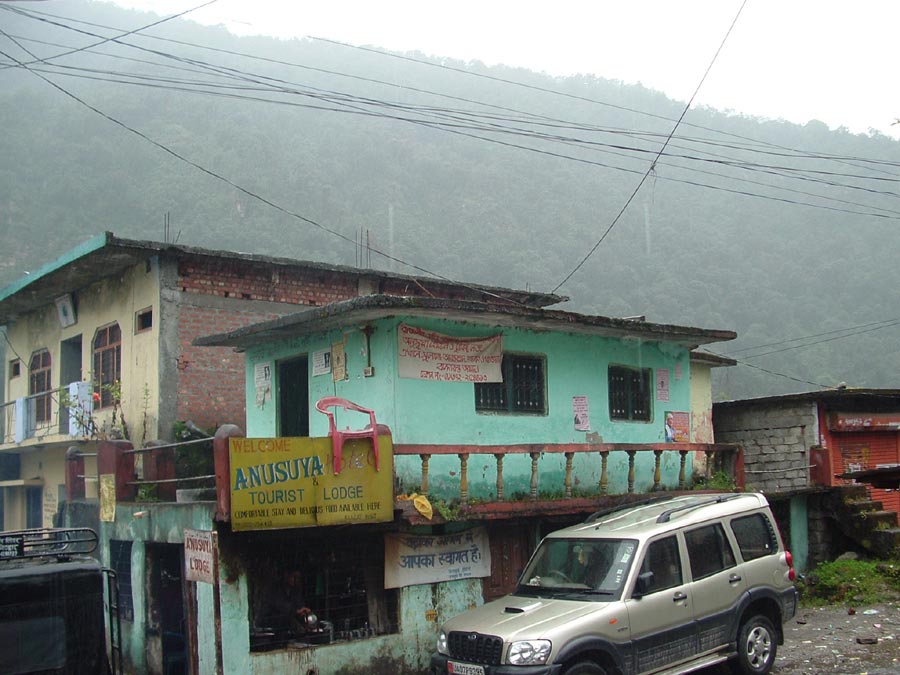
Bhagat hotel at Mandal just opposite to Ansuiya Devi gate.
We were lucky to have nearly rain free days.
Looking back – weather had packed up and it rain heavily for the whole day.
Keep The Mountains Clean