Kagbhushandi Tal Part I
Kagbhushandi Tal Part I
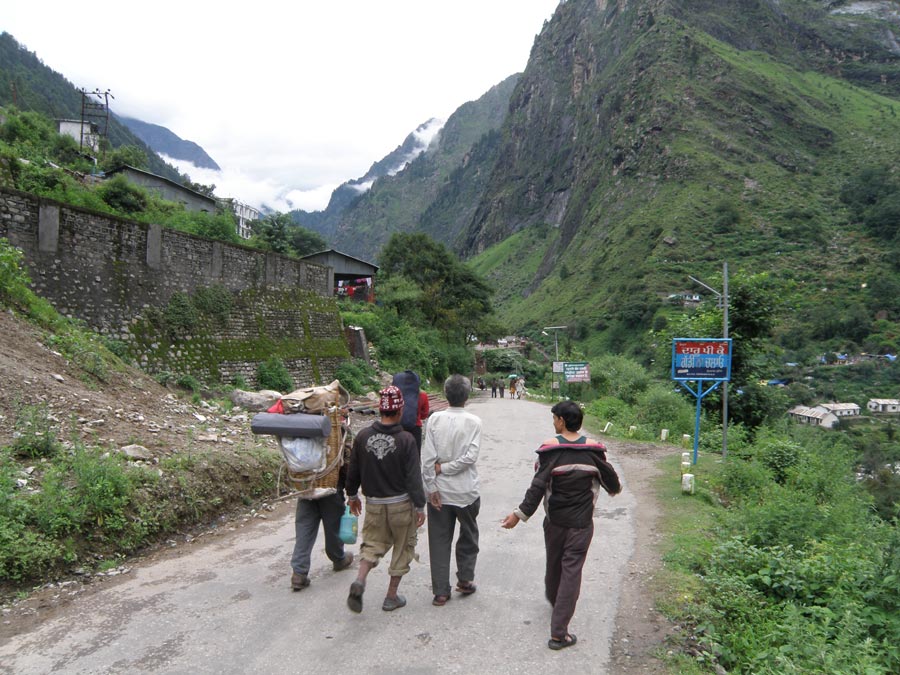
The Trek starts at Govindghat.
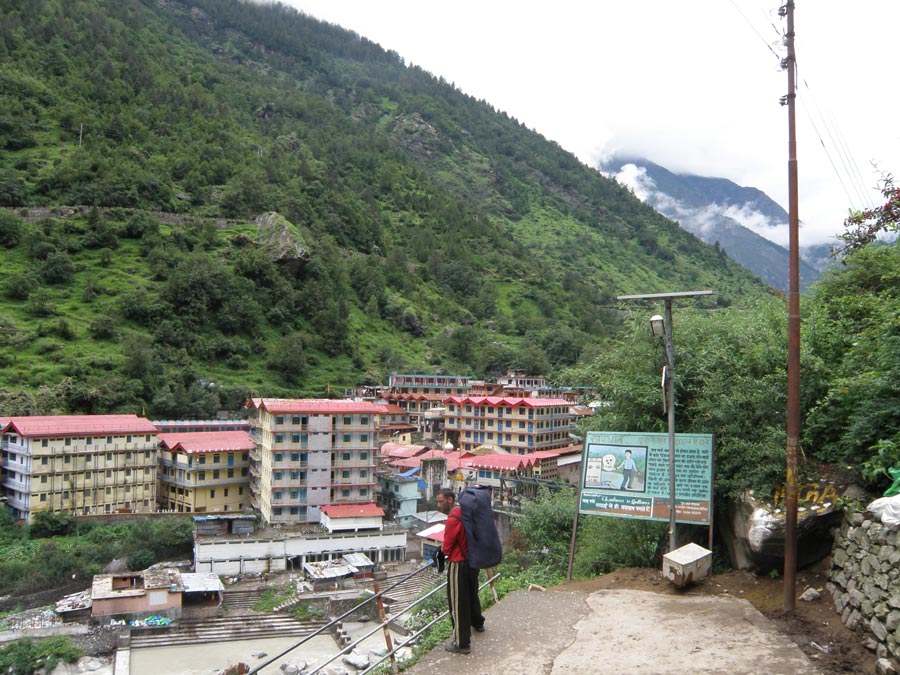
The Gurudwara complex from other side of the river Alaknanda.
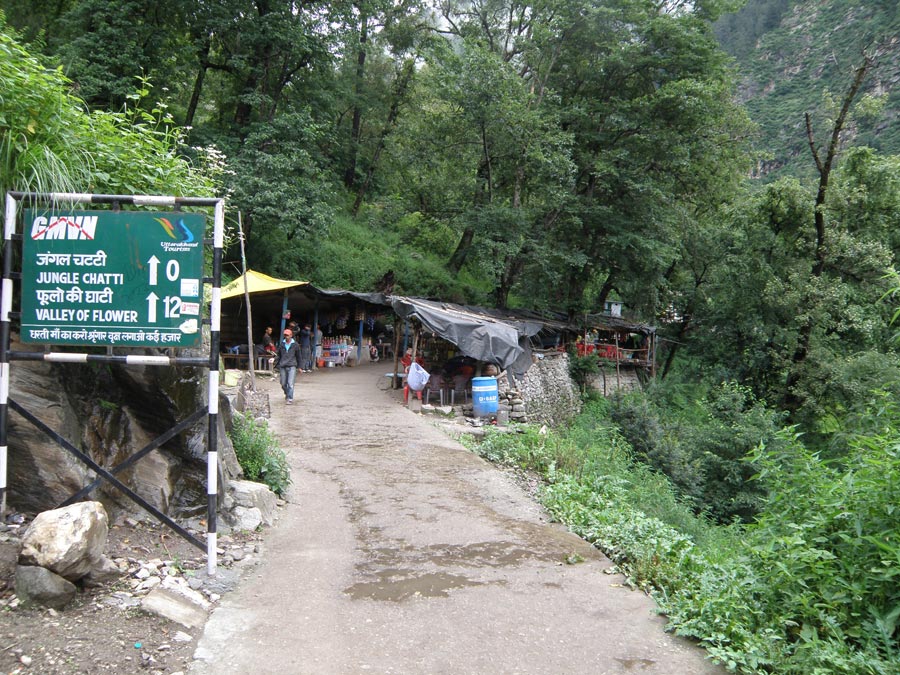
Shops at Jungle Chatti.
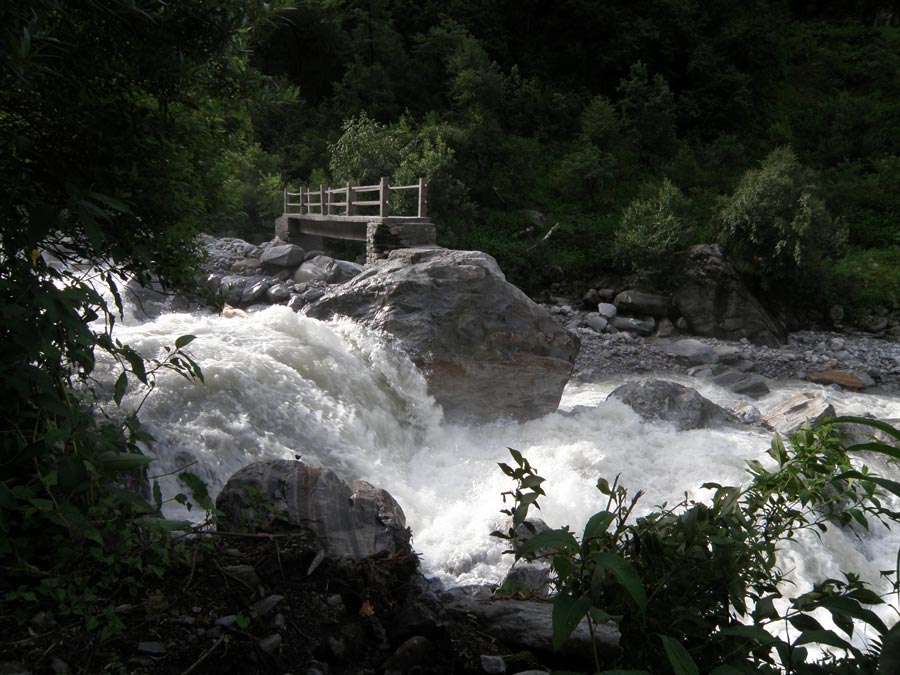
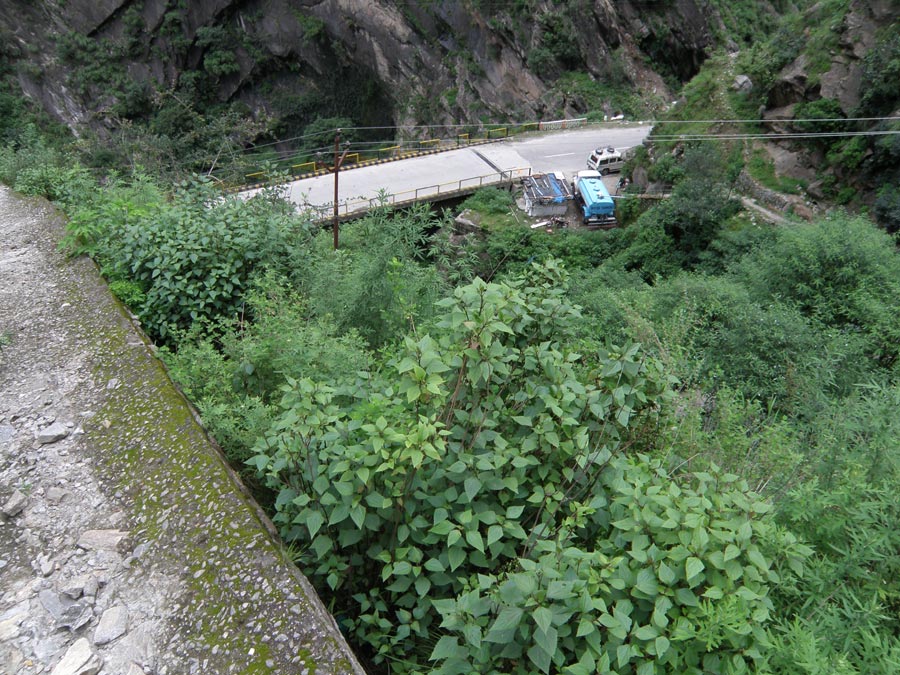
Flash floods had washed away the trail to the bridge, thus leaving it in the middle of water.
Unable to proceed further, disappointed we return back to Bhyundar village.
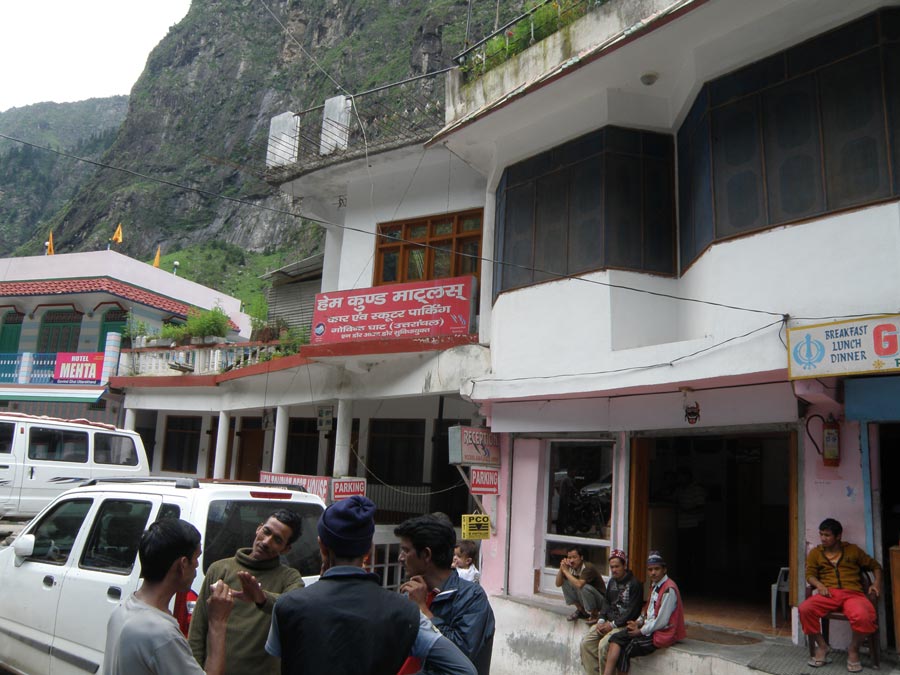
Back to negotiations Govindghat for reaching the lake from other side.
Panka village road head, from where the trail goes to the lake.
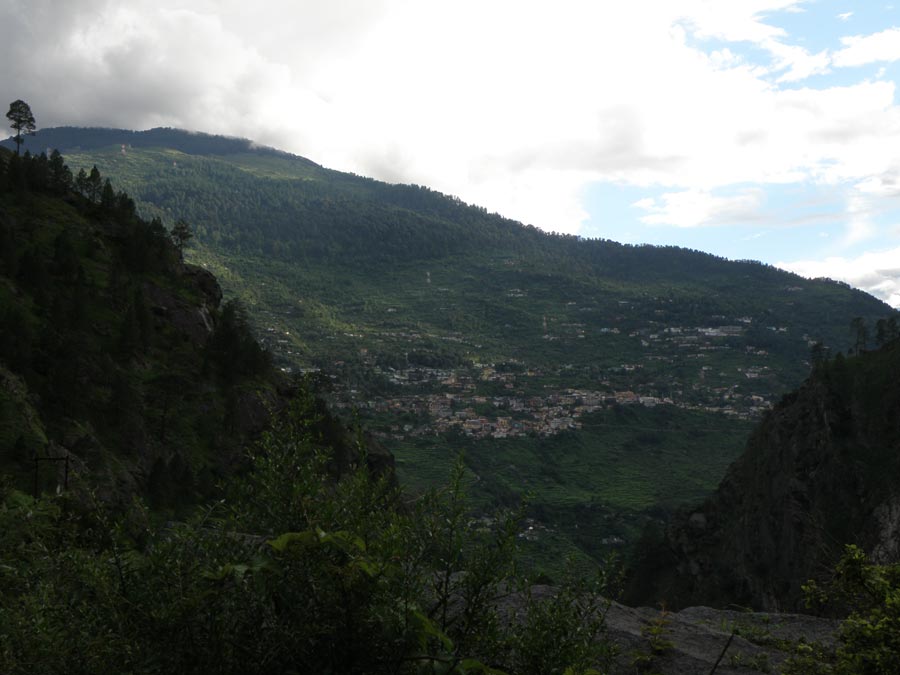
Joshimath from the climb to Panka village.
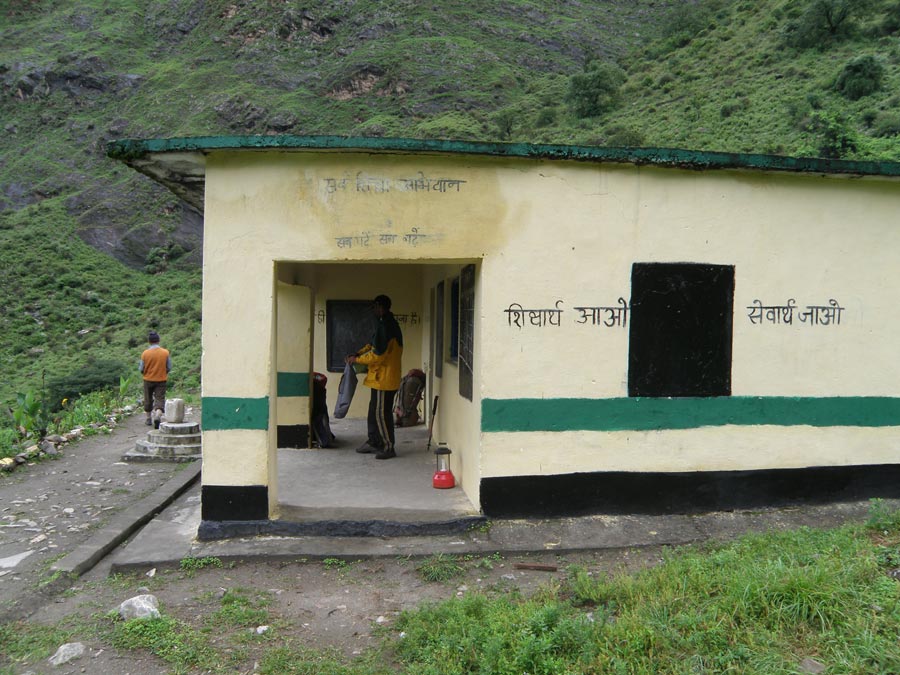
First night was spent at this school in Panka Village.
Trail into the jungle above Panka village.
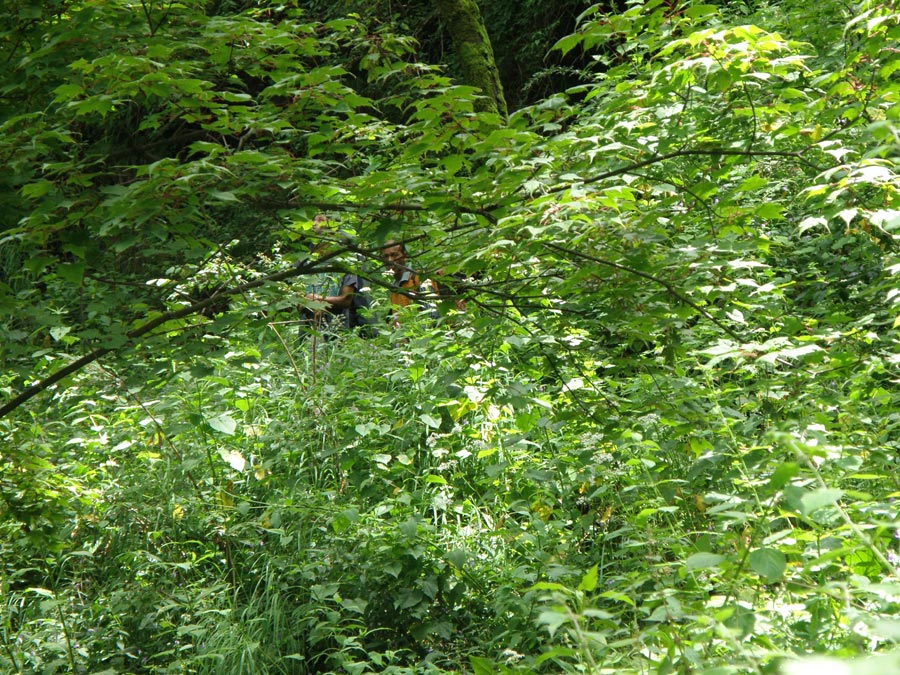
Thick undergrowth made progress difficult.
Lots of climbing with end nowhere in site.
White out as we reach the ridge.
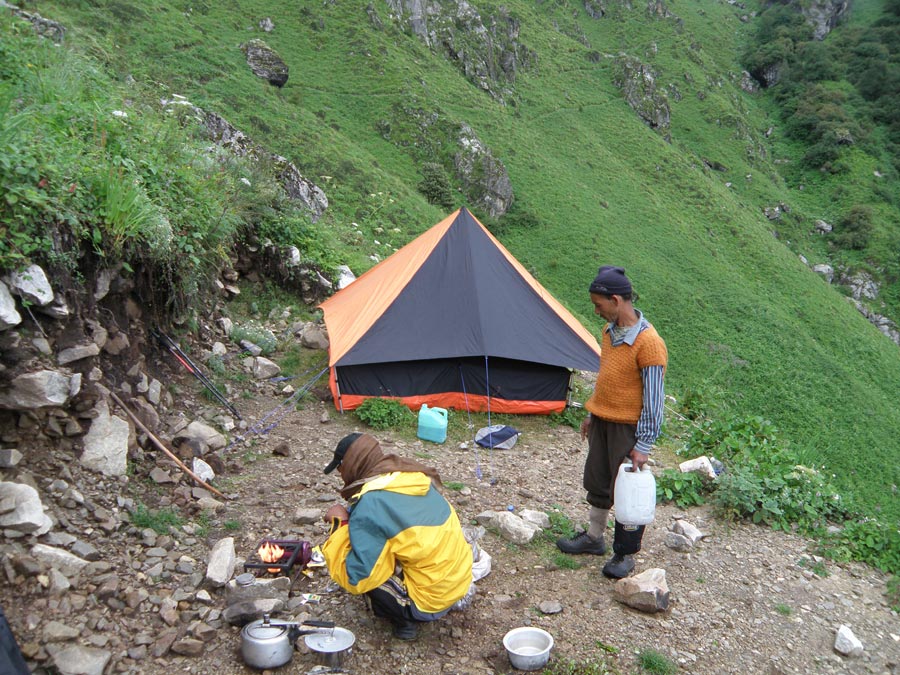
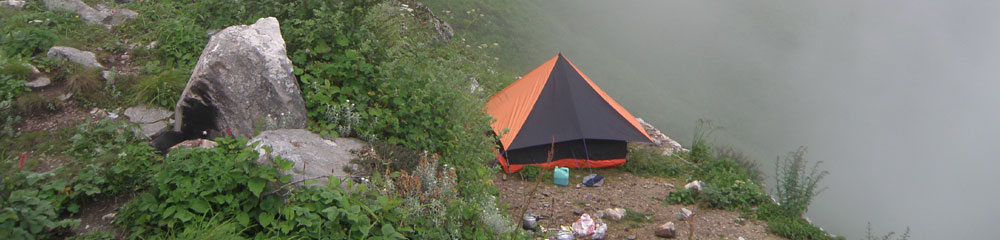
Second Camp just across the ridge, on a platform made by forest personnel. Further trail is behind the camp.
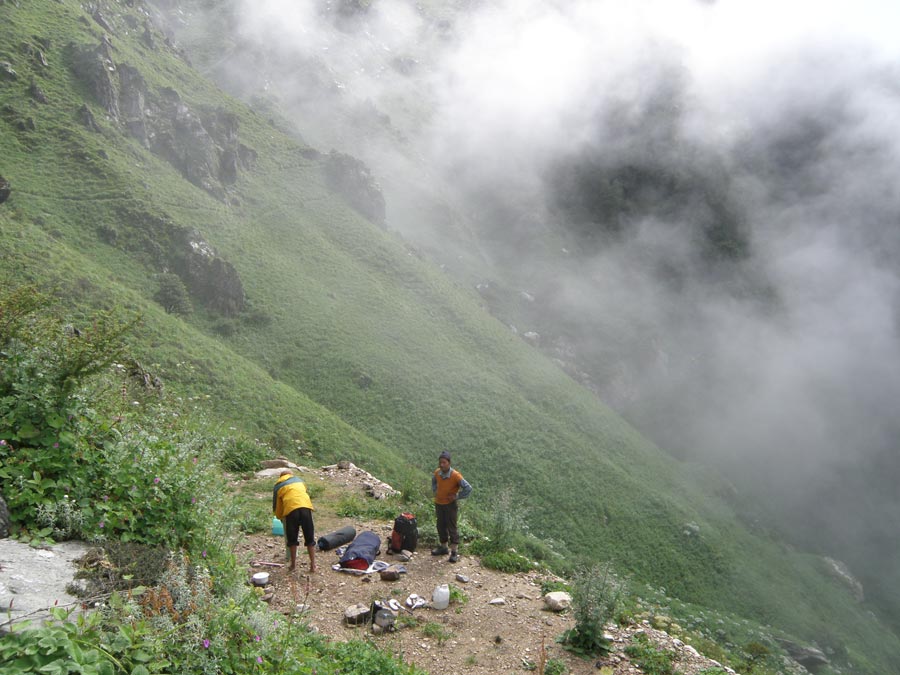
Camp struck down next day, while the clouds kept moving in and out.
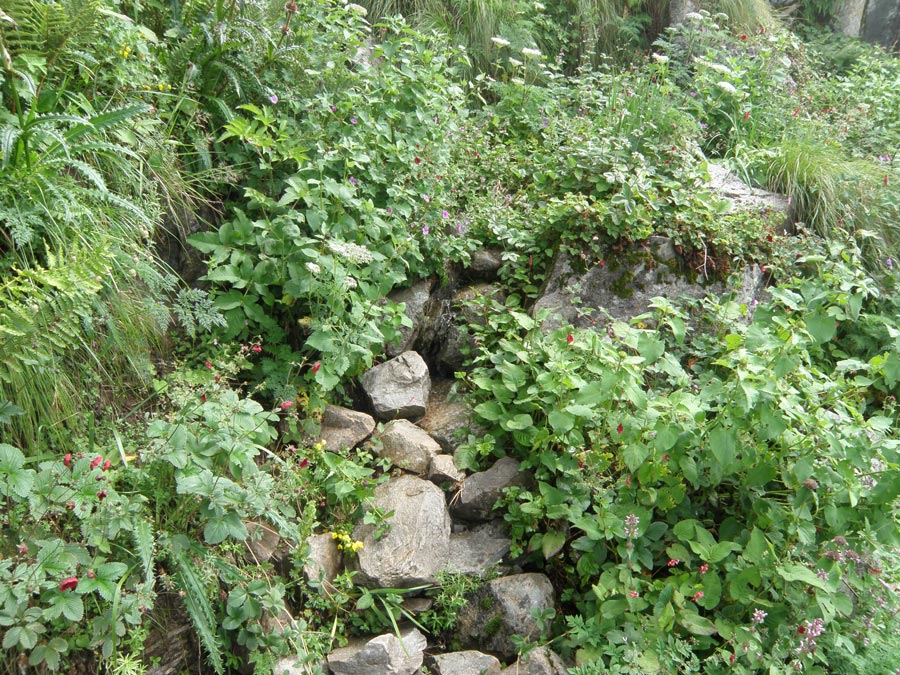
Our water point for the camp.
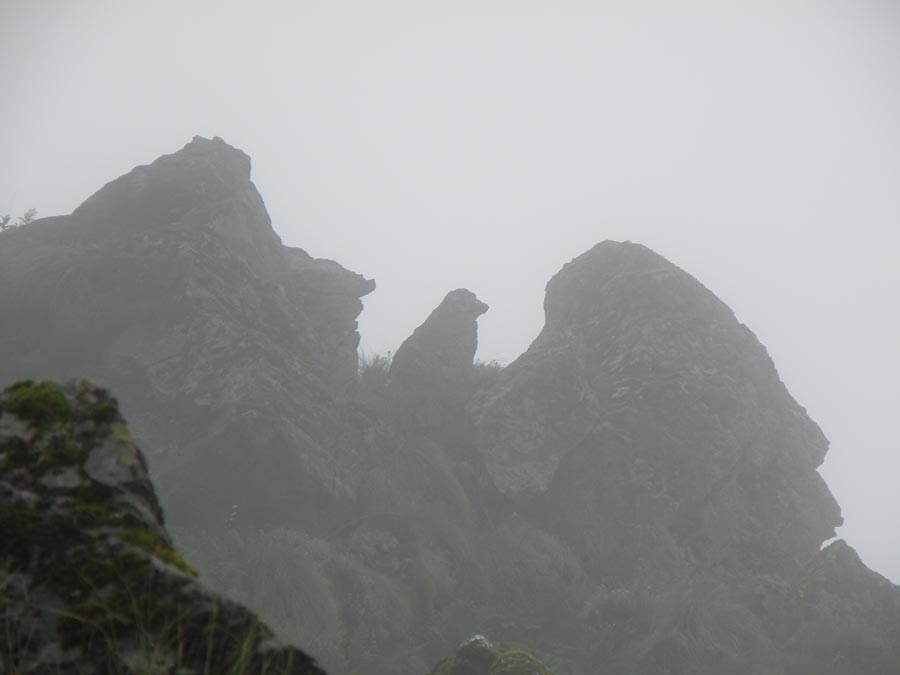
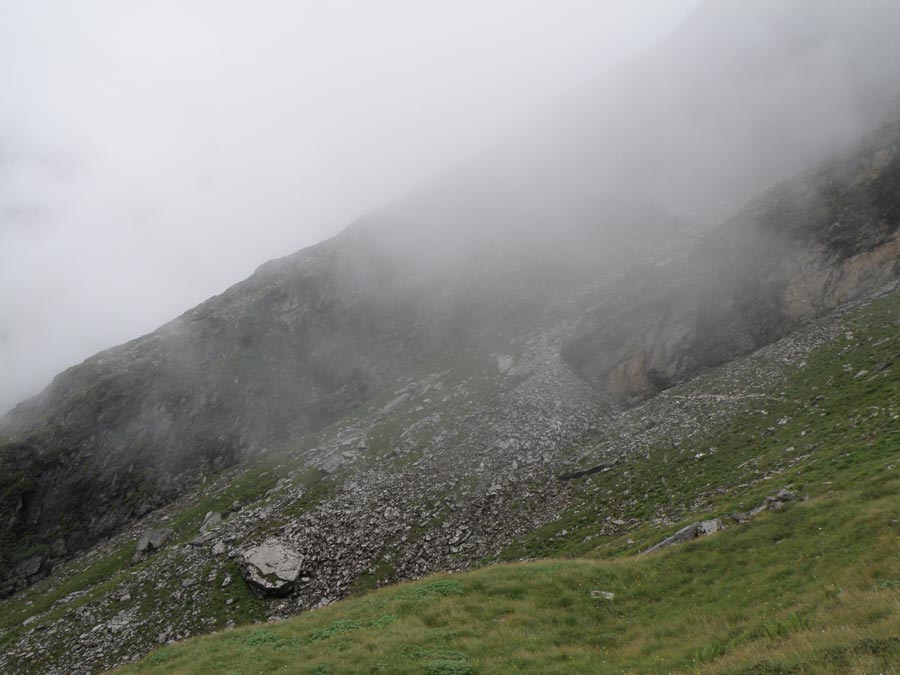
Rocks of various shapes and sizes kept coming into view as the clouds moved around.
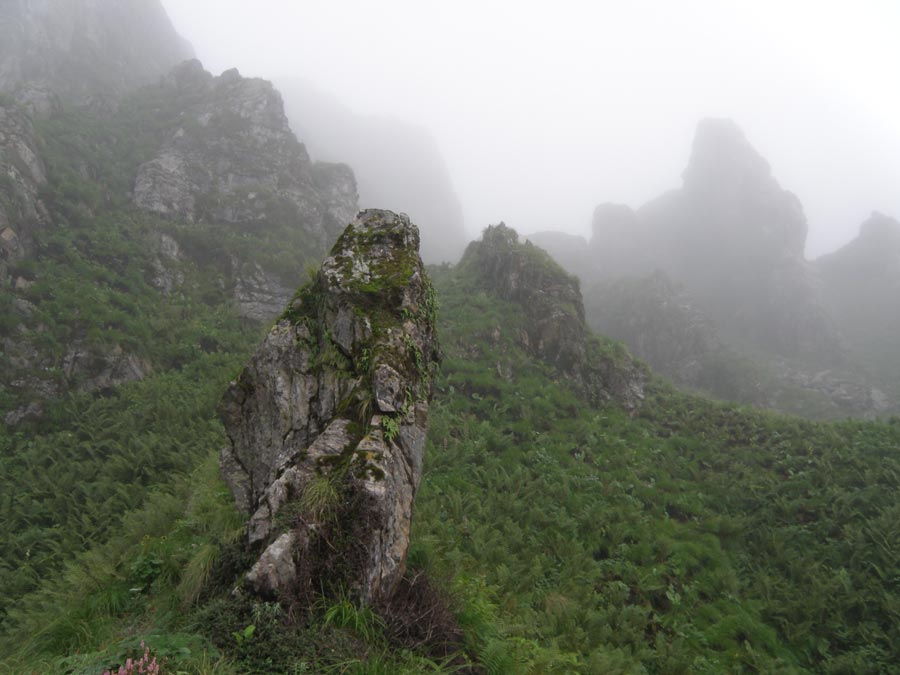
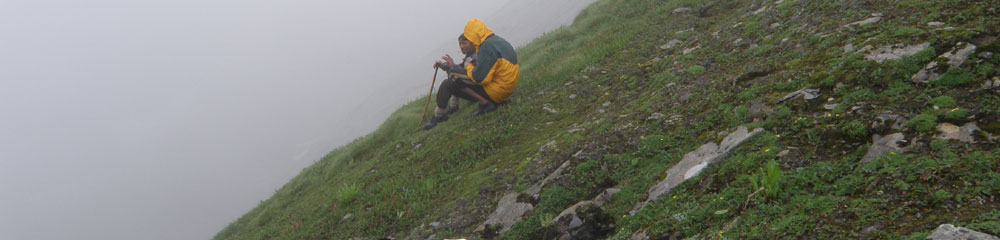
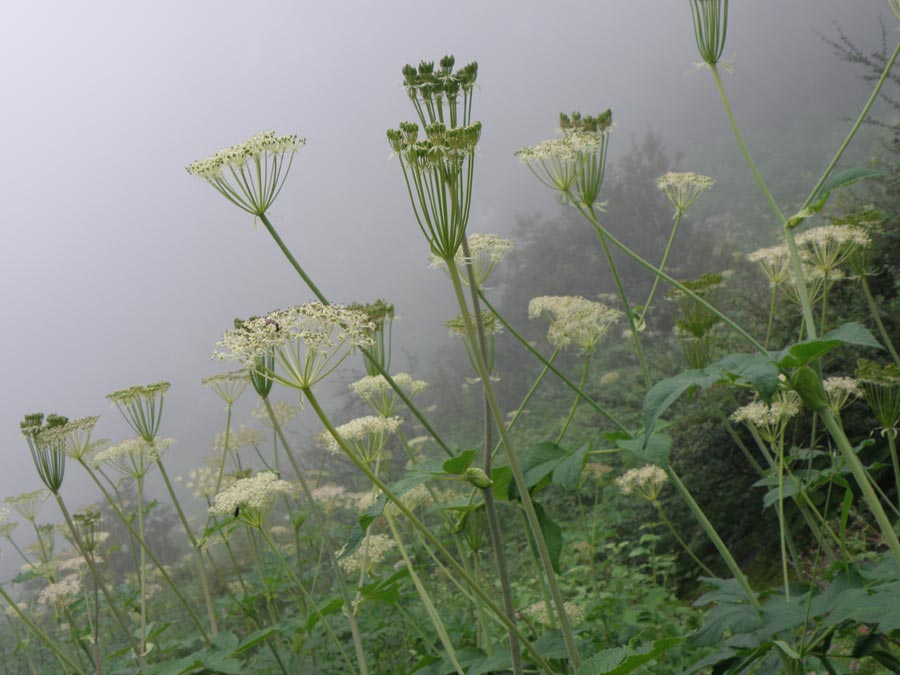
The scene was surreal.
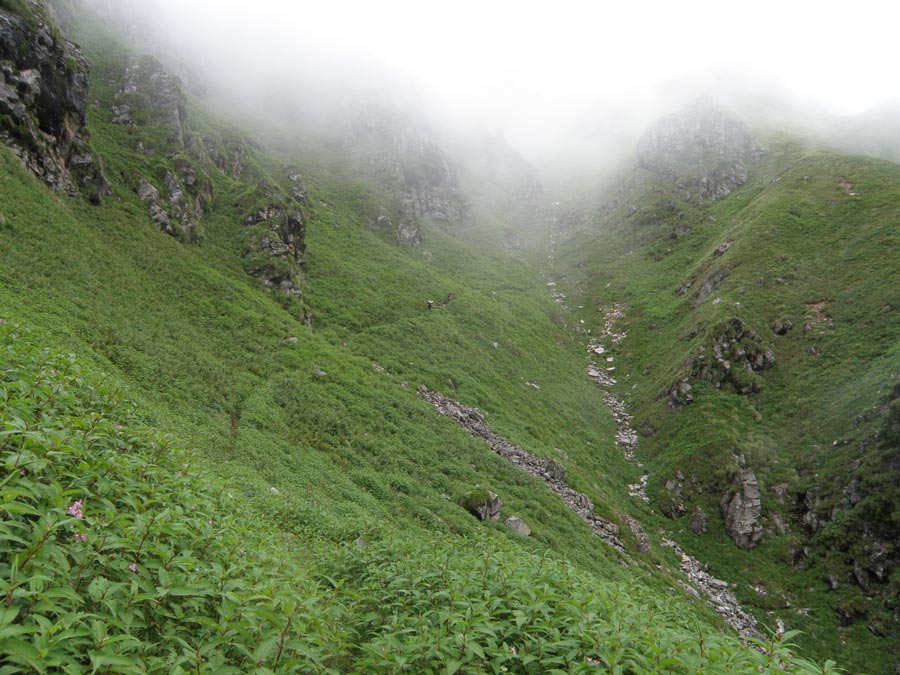
The climb continued.
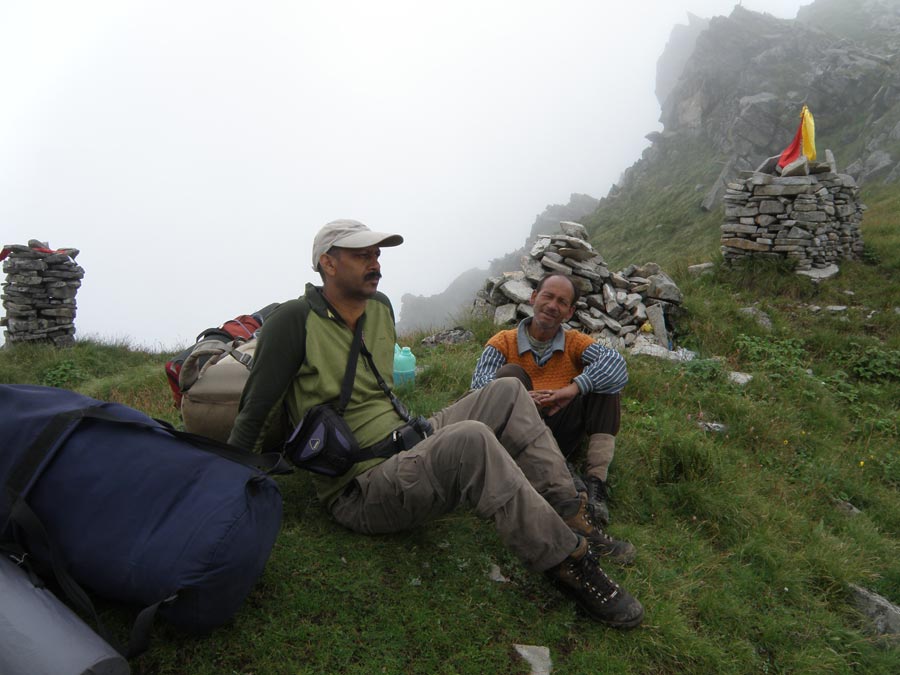
Two platforms where we had spent sometime before moving on the trail.
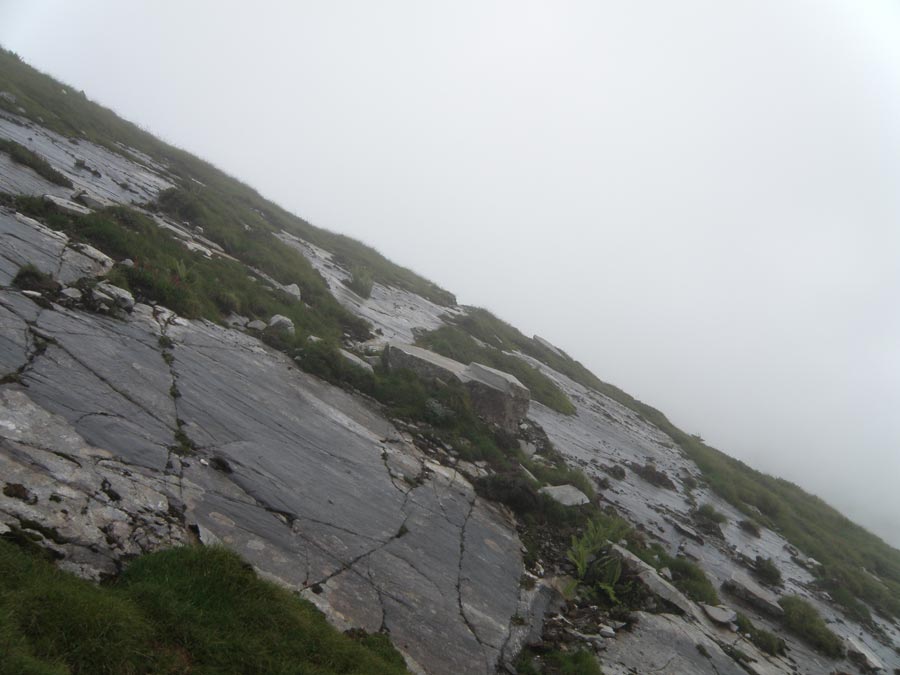
The trail was now free of thick undergrowth which had bothered us on first day.
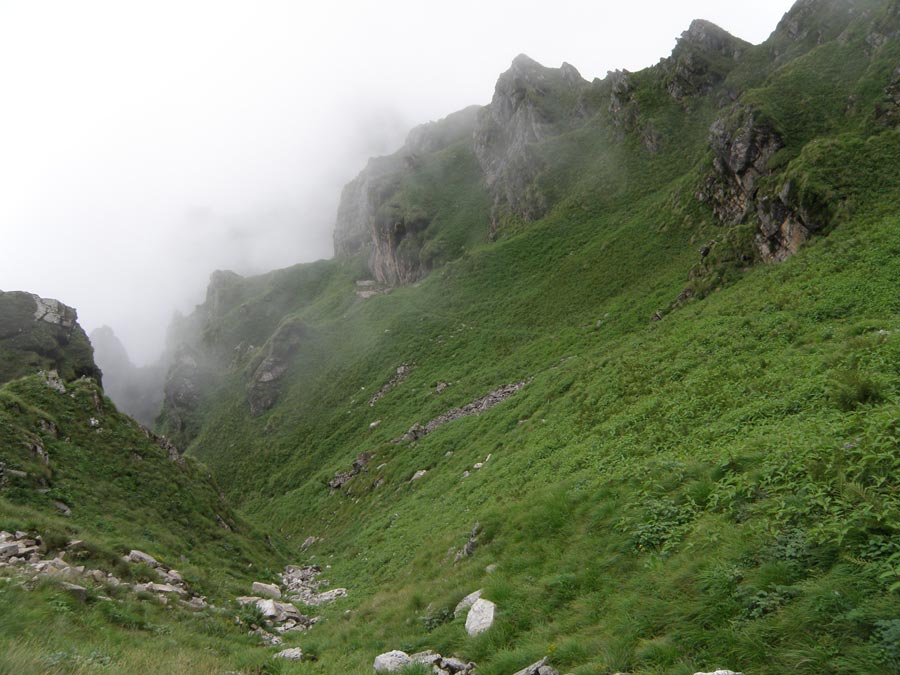
Some respite from climbing as we reached Farsan Vinayak.
Way ahead of Farsan Vinayak.
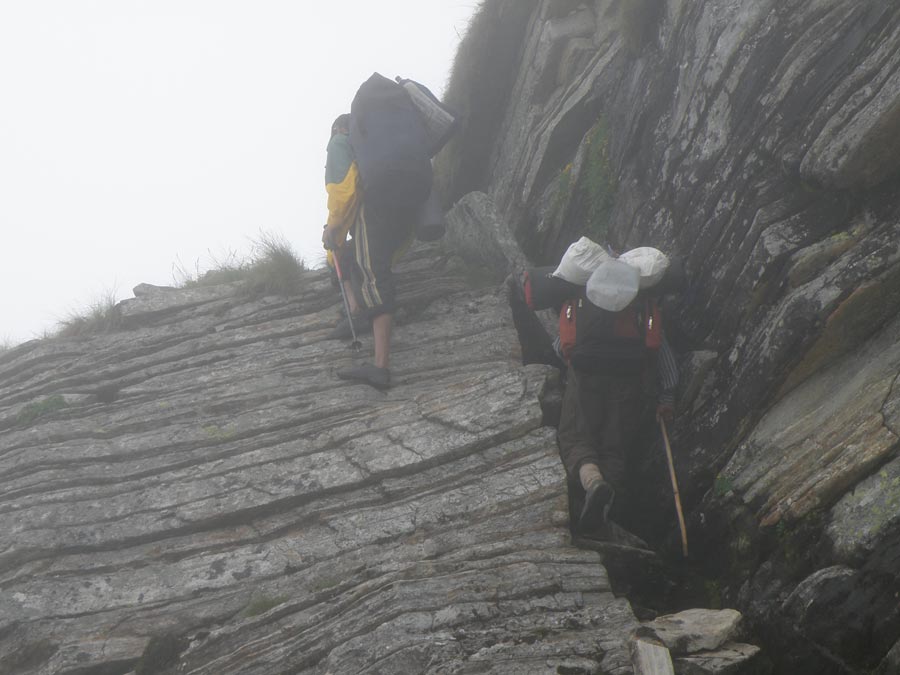
Some easy climbing on wet rock.
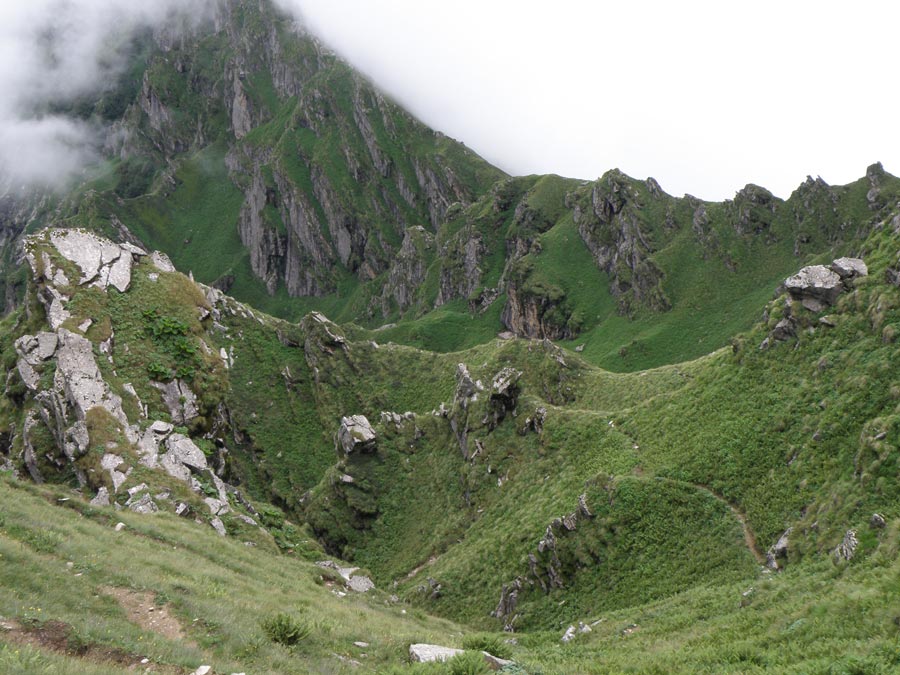
Where is the trail, carefully we crossed this huge rock.
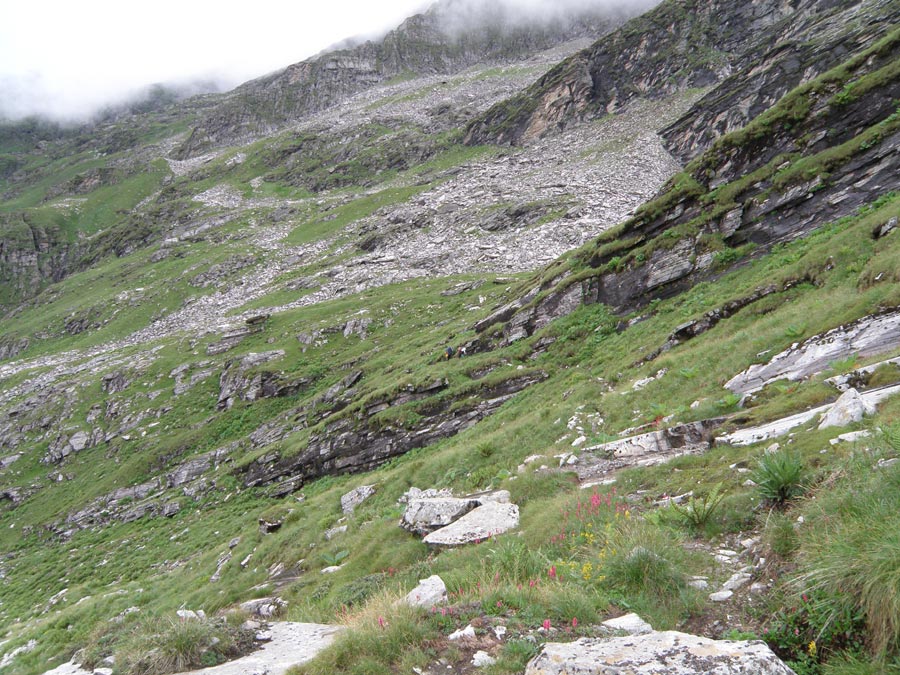
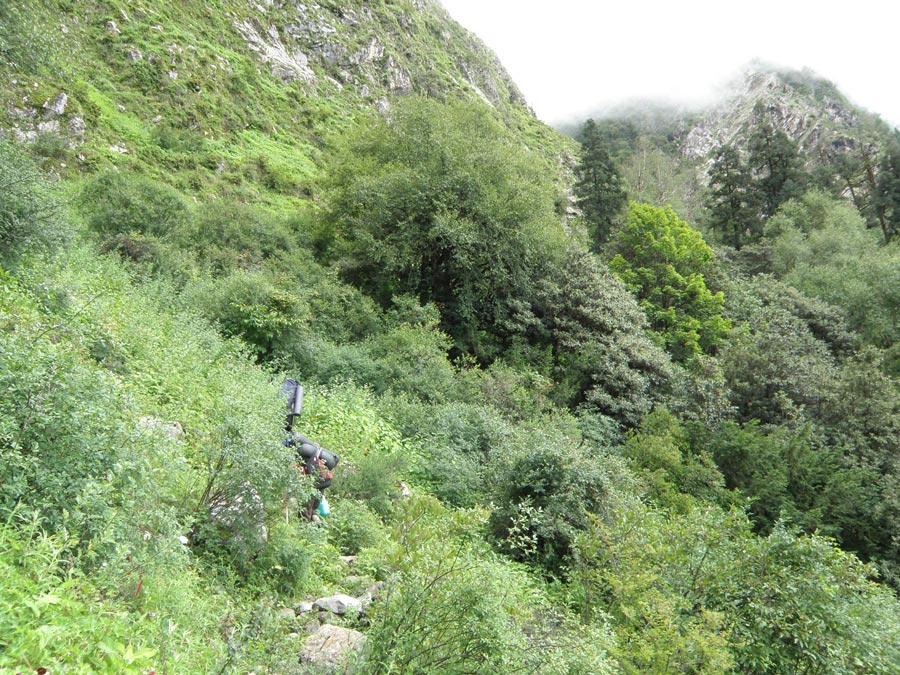
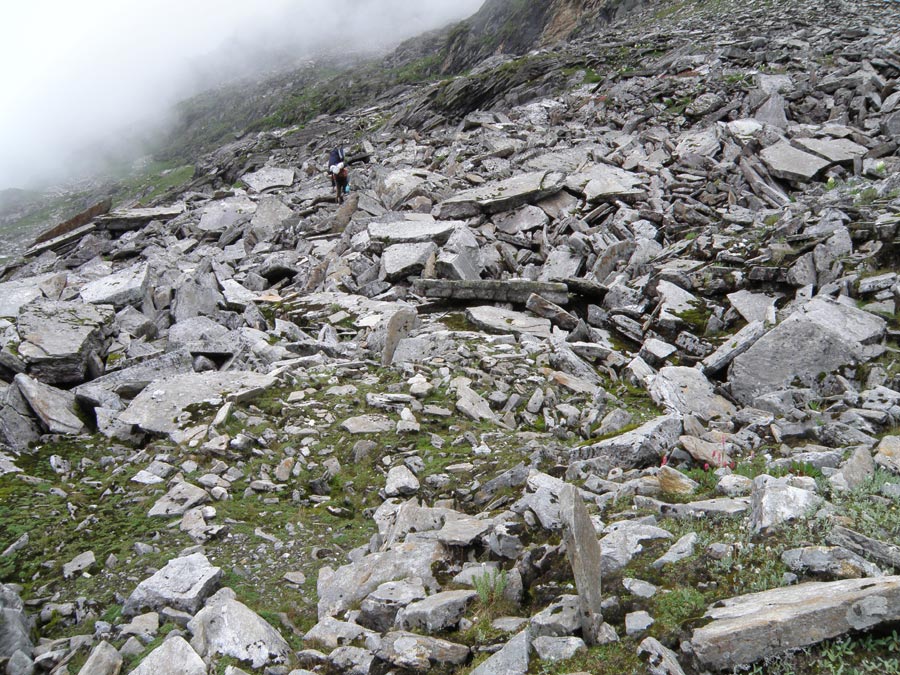
The trail on the boulders of all hue and sizes.
Right in the boulder zone.
Kagbhushandi Tal Trek Story Part I
Kagbhushandi Tal Trek Story Part II
Keep The Mountains Clean