Gangotri to Ghuttu via Auden’s Col Part I
Gangotri to Ghuttu via Auden’s Col (Part I)
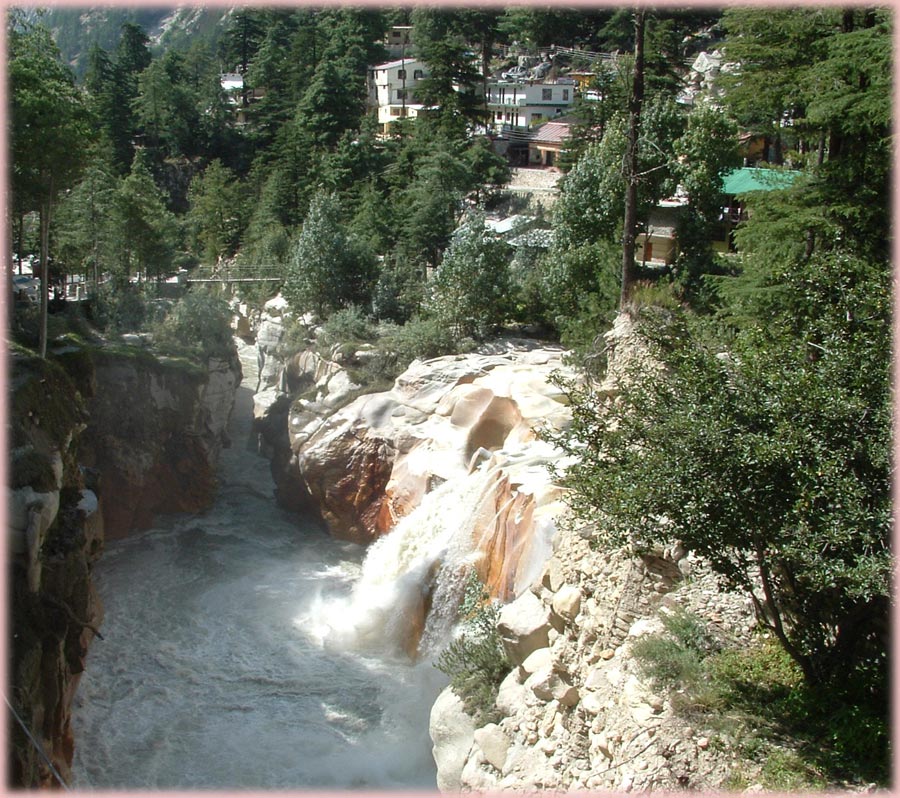
The trek starts from Gangotri., where the Bhagirthi takes the huge leap at Surya Kund.
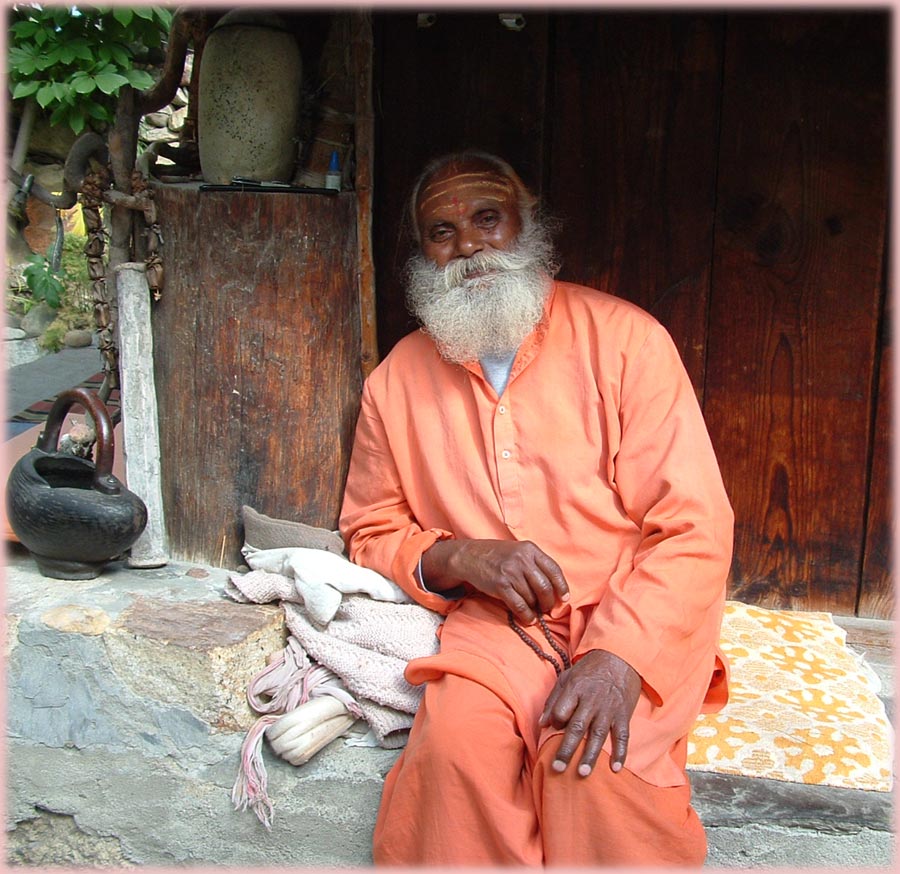
Swami Sundera Nandji is a yogi who has photographed Himalaya in all its glory.
Stays at his Ashram next to Surya Kund.
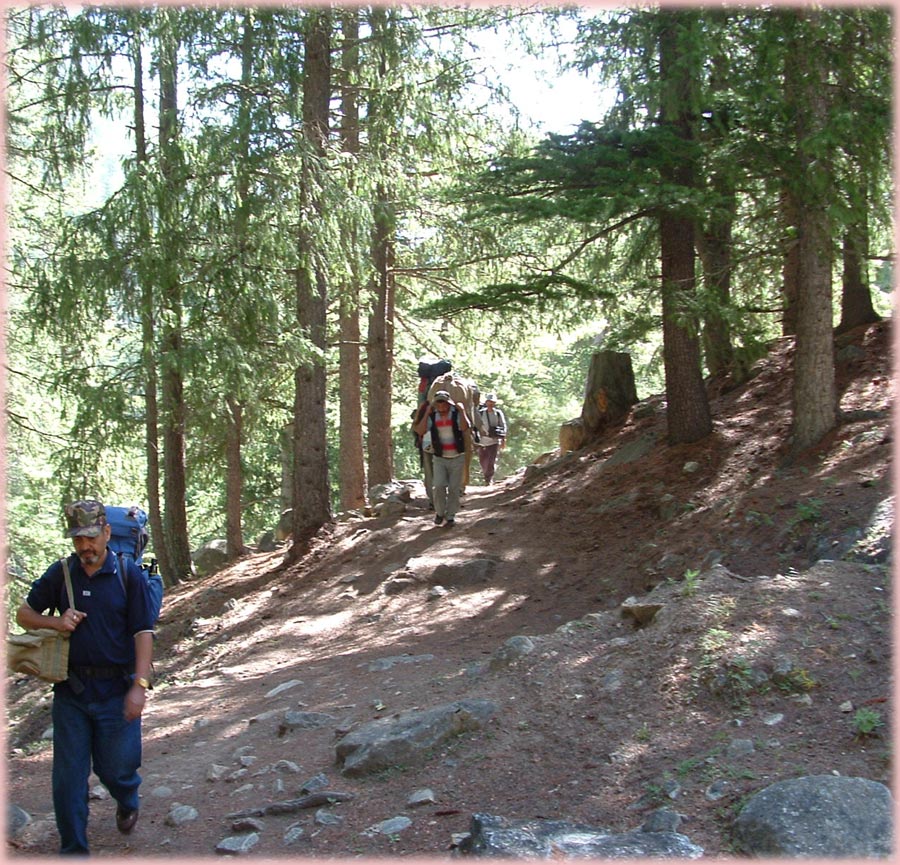
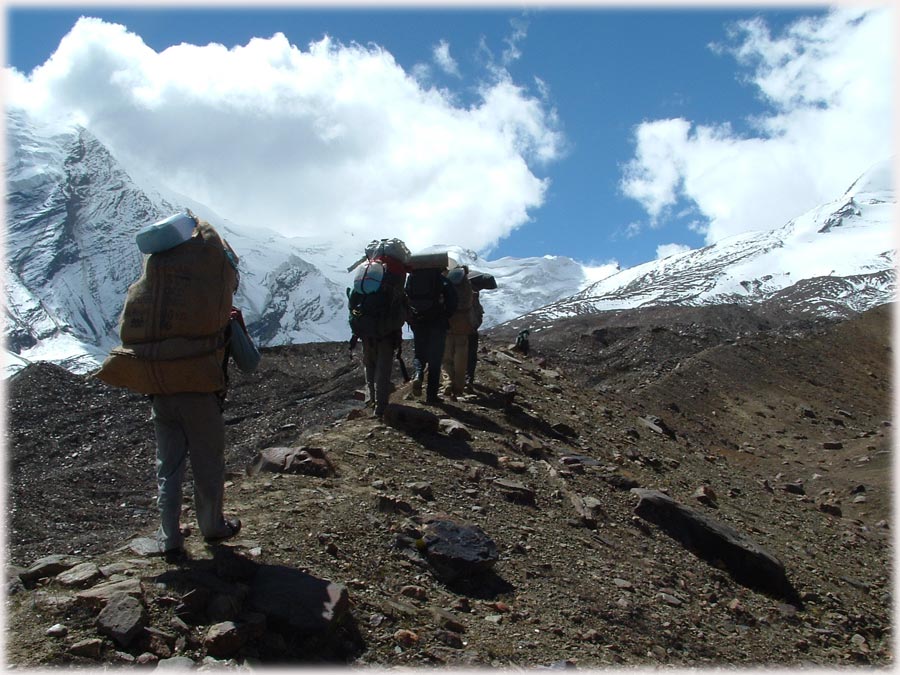
The trek starts with walk along the Bhagirathi’s left bank and then climbs up along the Rudugaira gad on right bank.
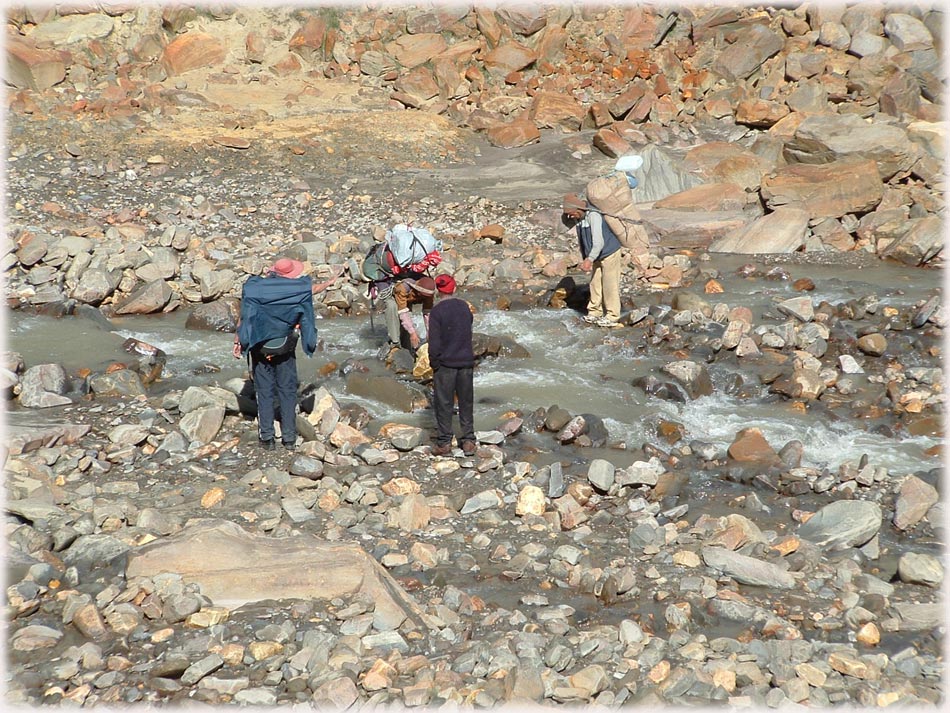
After long and steep climb the trail moves down to the river where we cross over to left bank.
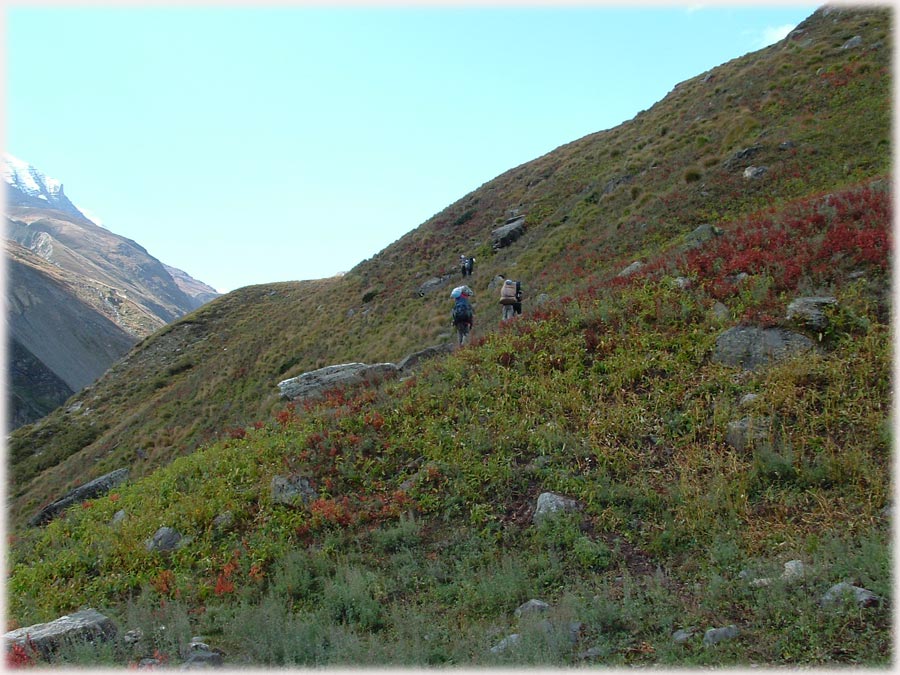
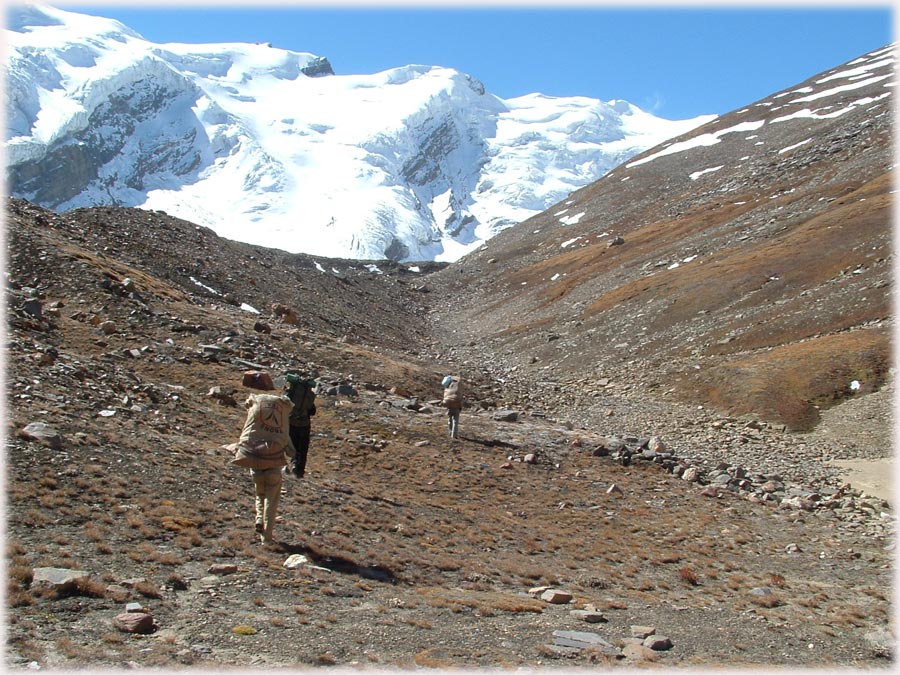
Climb continues along the left bank through green jungle.
Finally we reach the Nala camp and pitch our first camp. Stone fall poseses real danger.
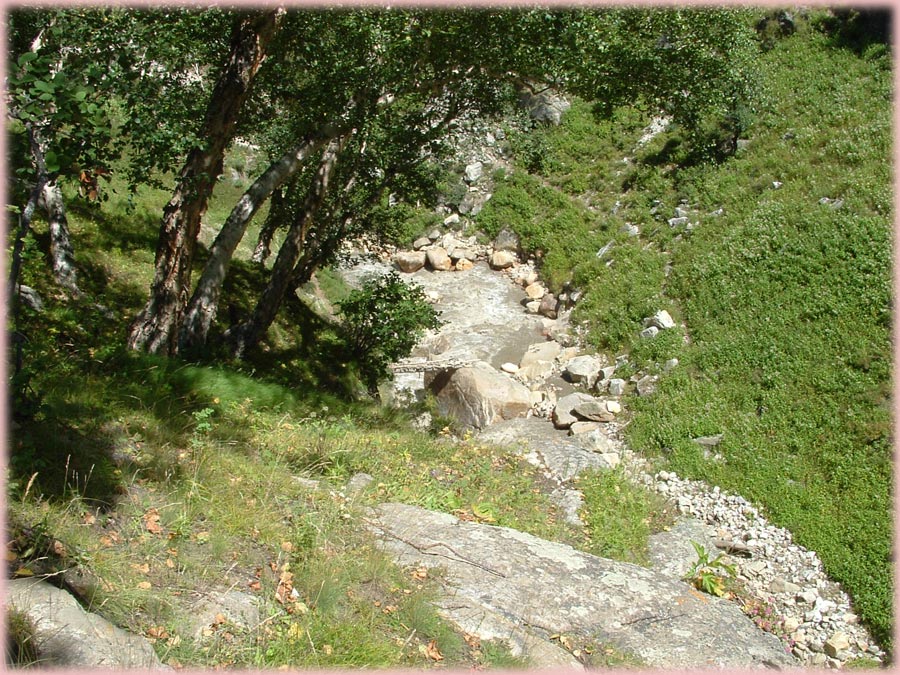
A 200 meters climb starts right from the nala camp.
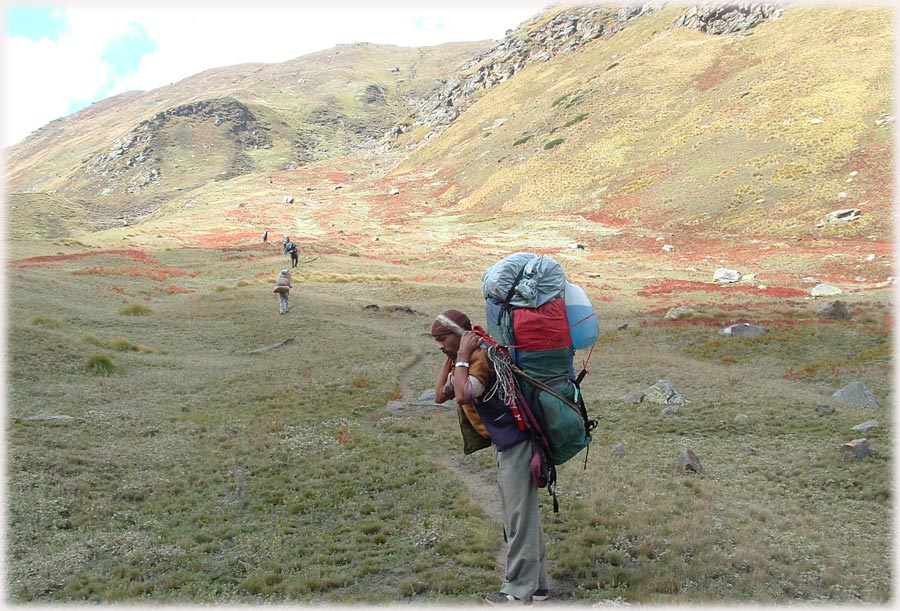
We reach a level ground and thereafter on crossing a nala coming from our right
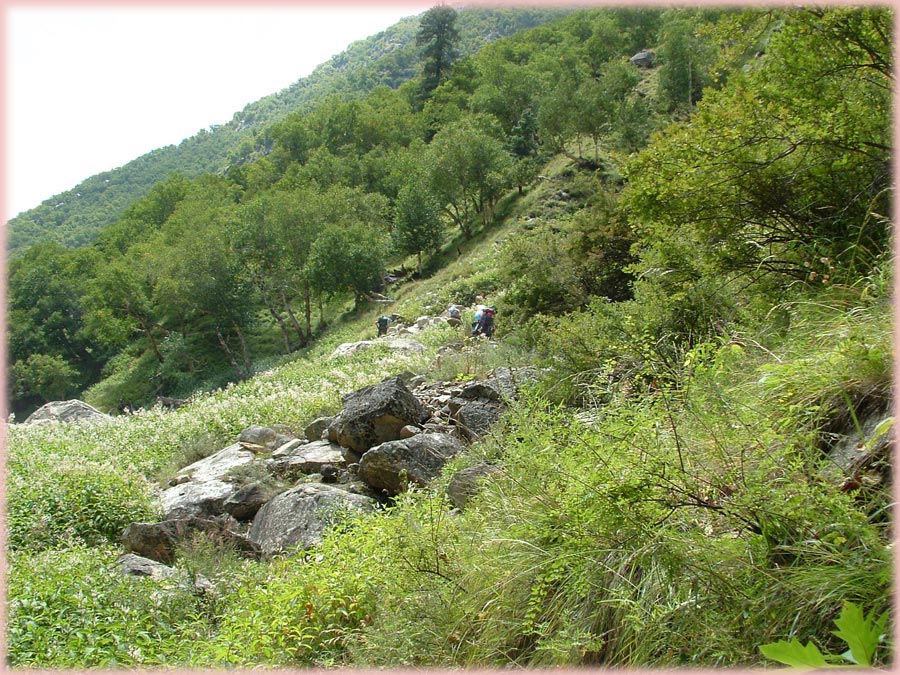
a 300 meters climb awaits us. We have to be right up there.
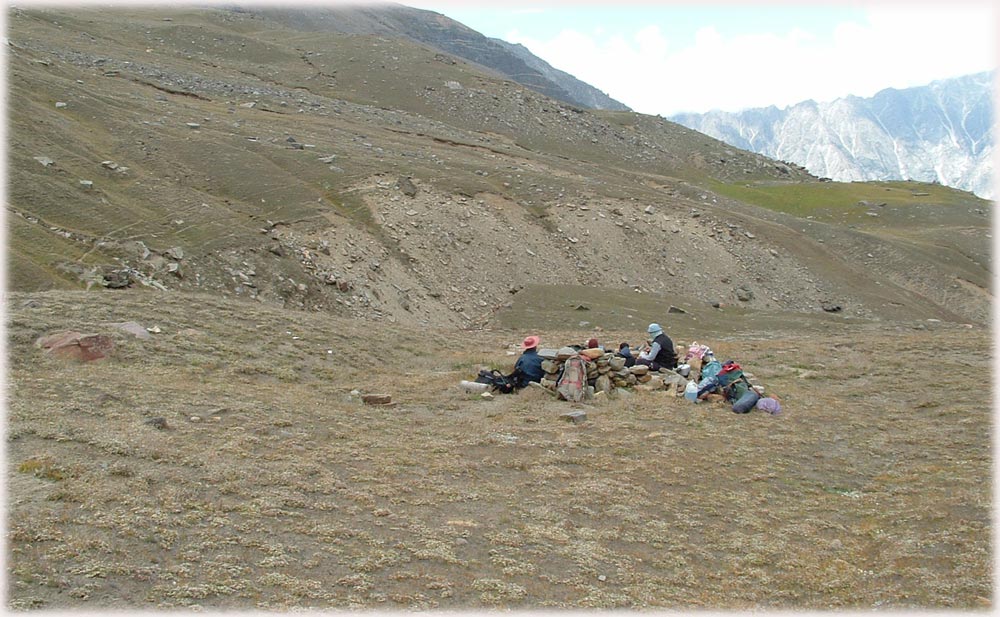
Finally we came up at the green patch, but looking for water came upto the present camping place.
Camp II was setup without further delay, but here also we did not get good water.
This water was used for cooking and next day it was the first hurdle to be crossed.
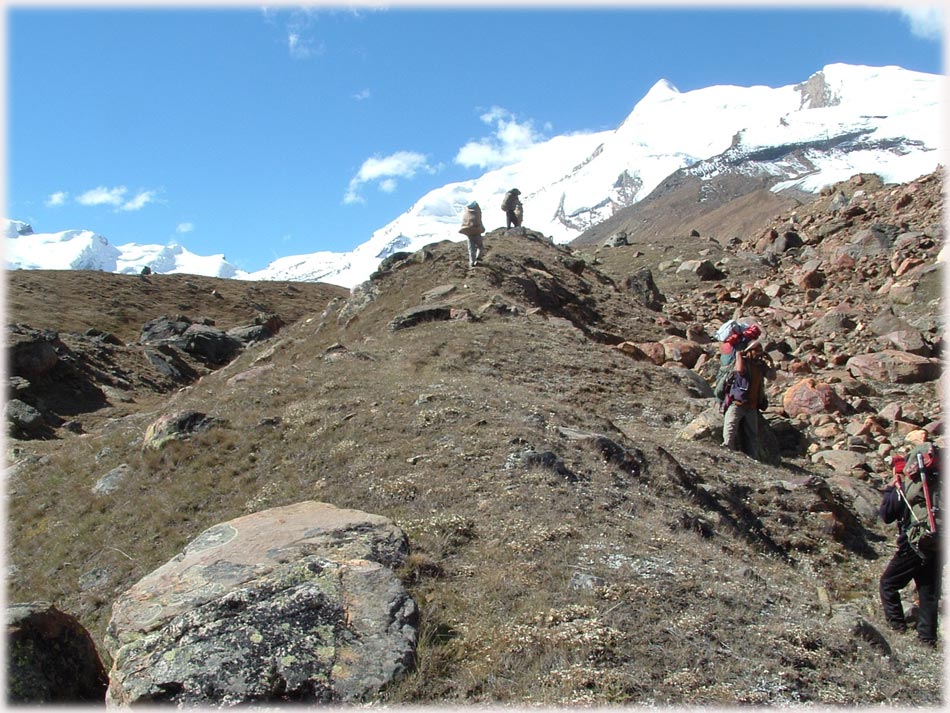
Moving on the ridge we moved towards Gangotri III now in view.
The view opened up and the complete Gangotri group is in front of us.
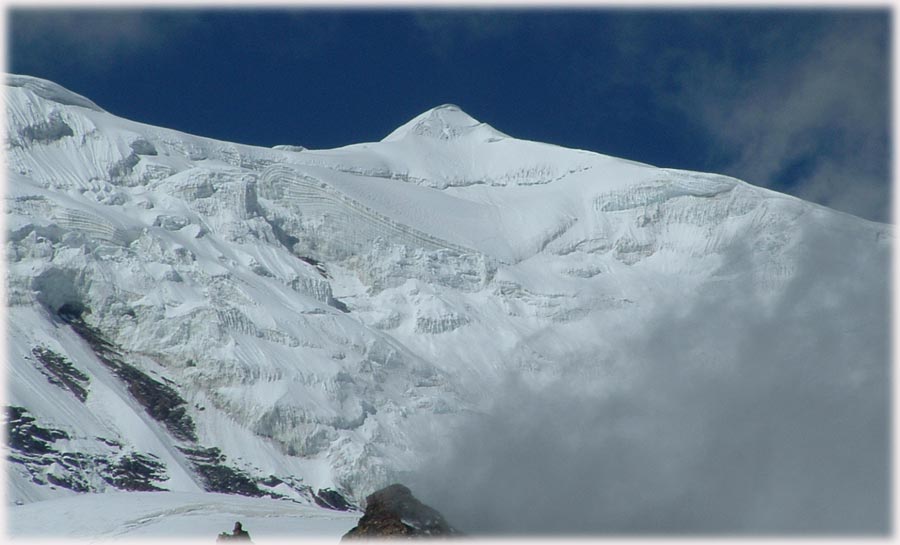
So near yet so far – Gangotri III.

The Gangotri group.

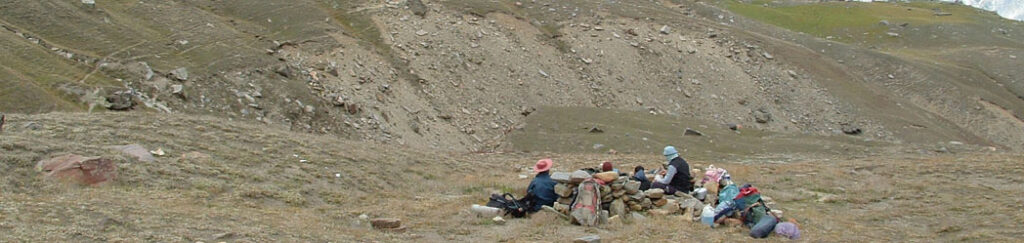
This is what the expeditions leave behind, hope better sense prevails.
Towards our left the Jogin group comes in sight..
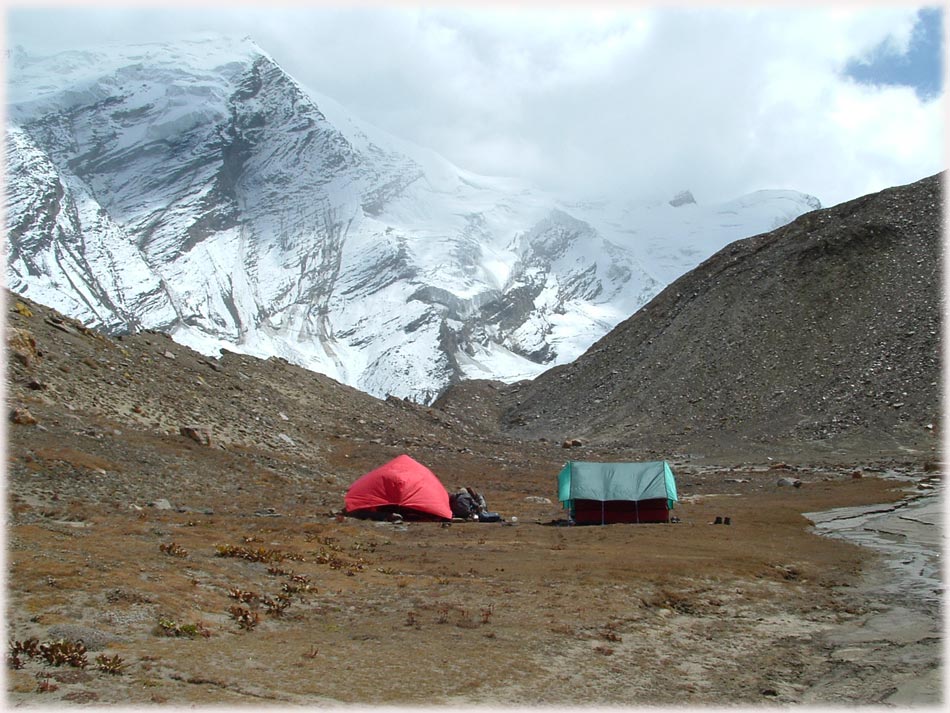
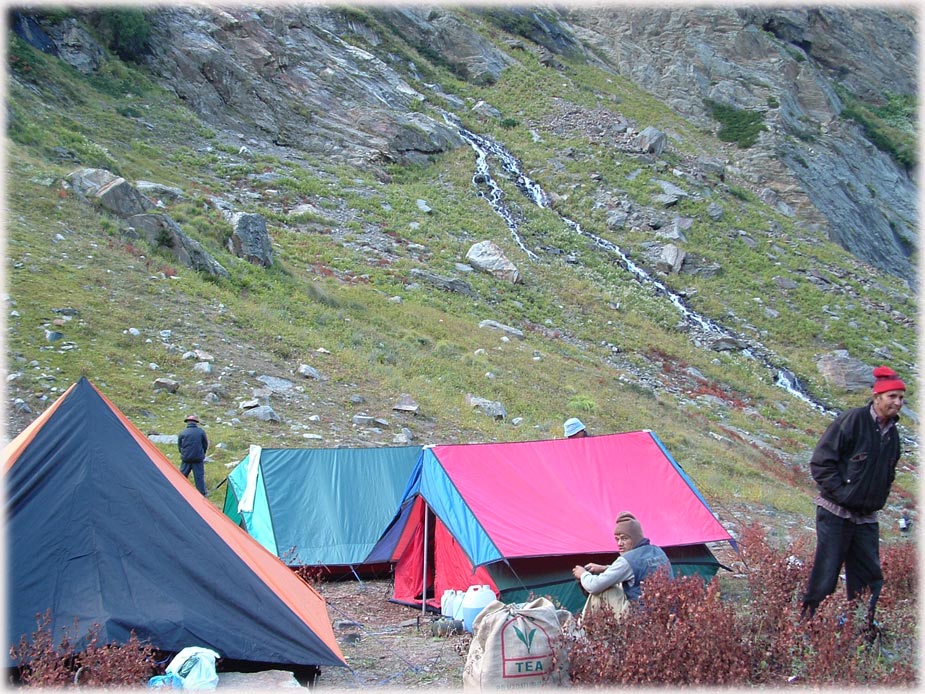
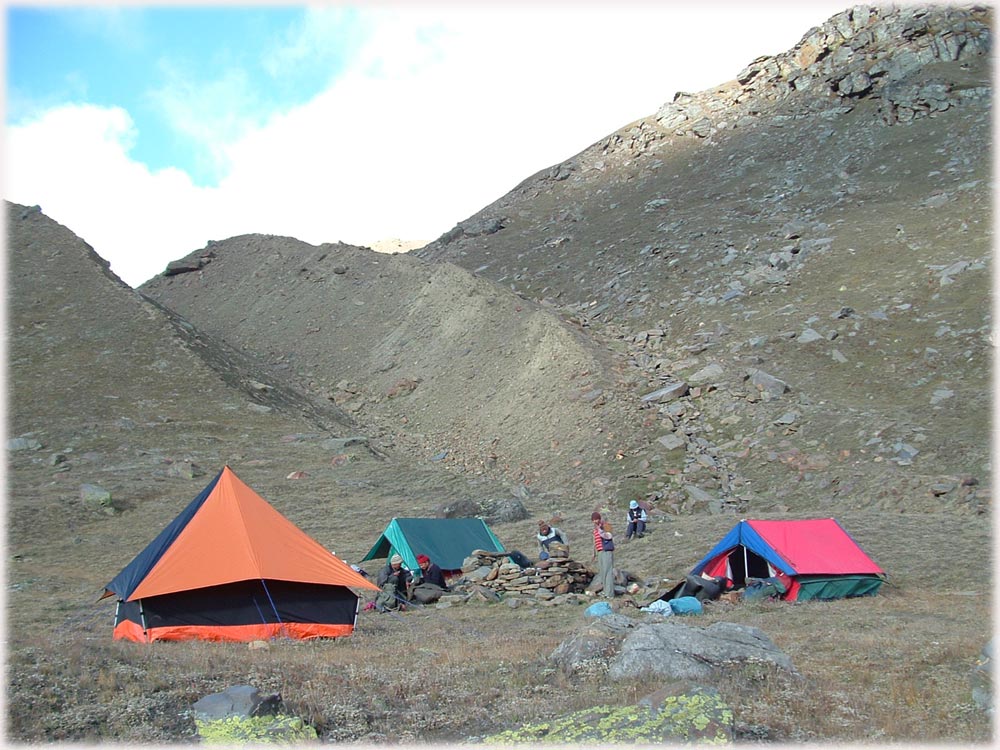
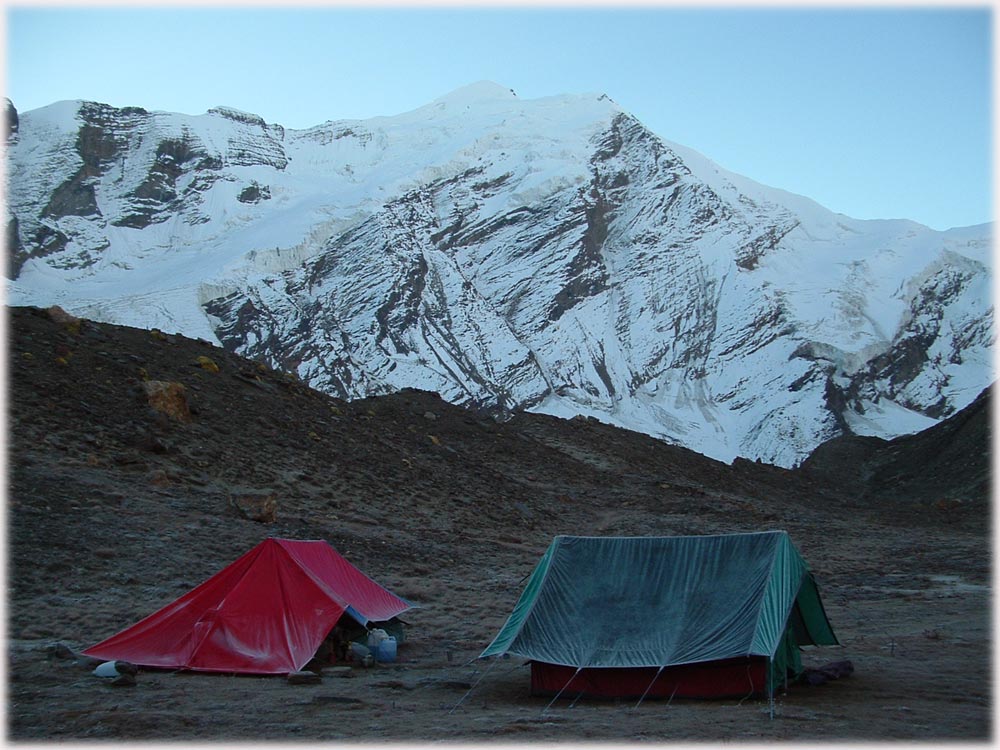
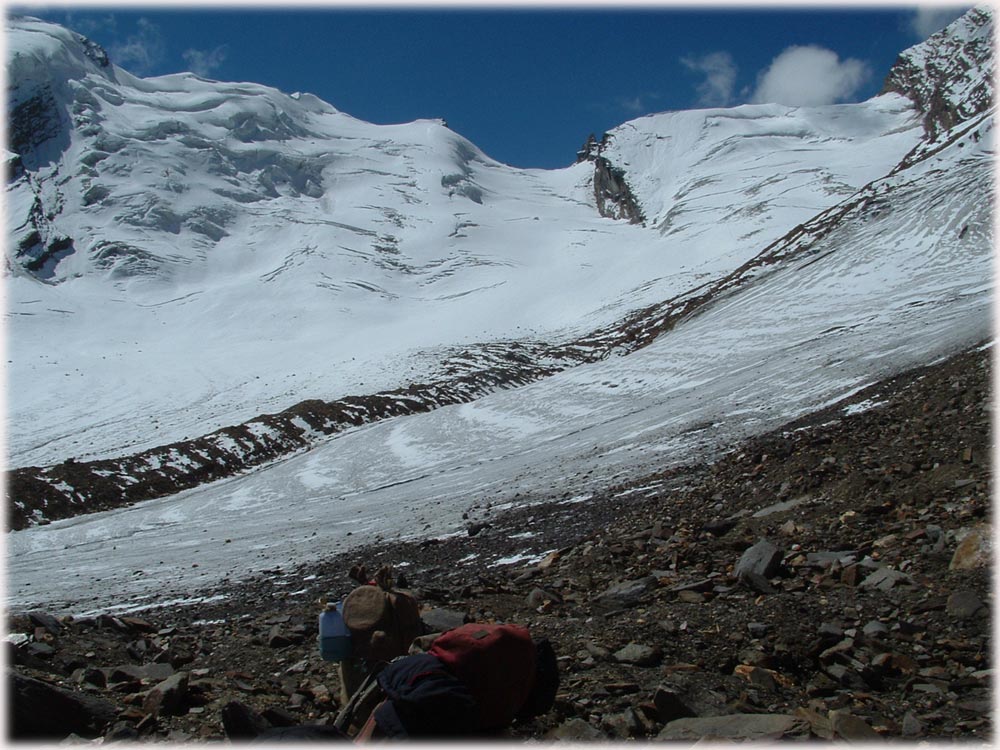
We pitch our tents to establish our camp III in an open sand covered ground. We got very muddy water. Camp should be established after moving for another hour beside the glacier.
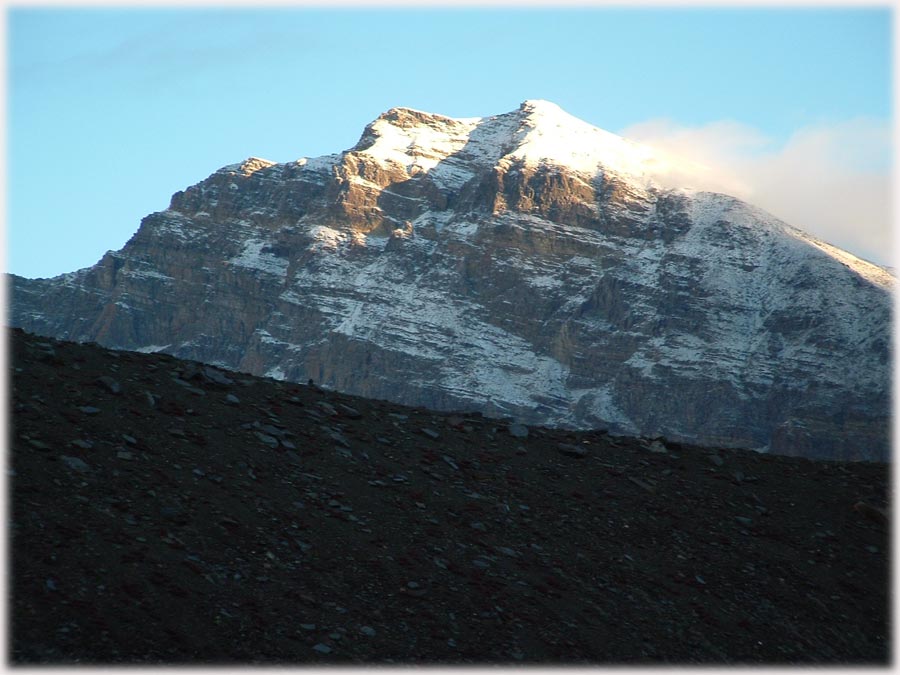
Sunrise on Rudugaira peak, which had a fresh coat of snow during night.
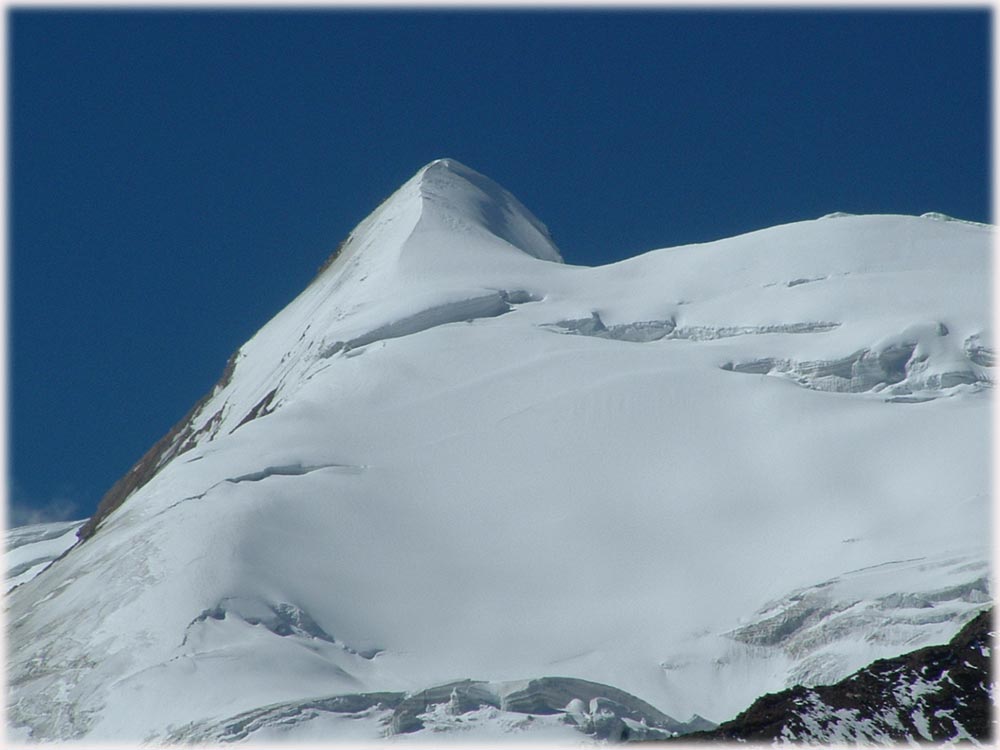
Jogin II as seen from our camp III.
Just moved out of Camp III towards the pass.
First view of the Auden’s col .

It was easy going till the stream running through the glacier ice.
You stray from the path and crevasses are there to greet you with open arms.
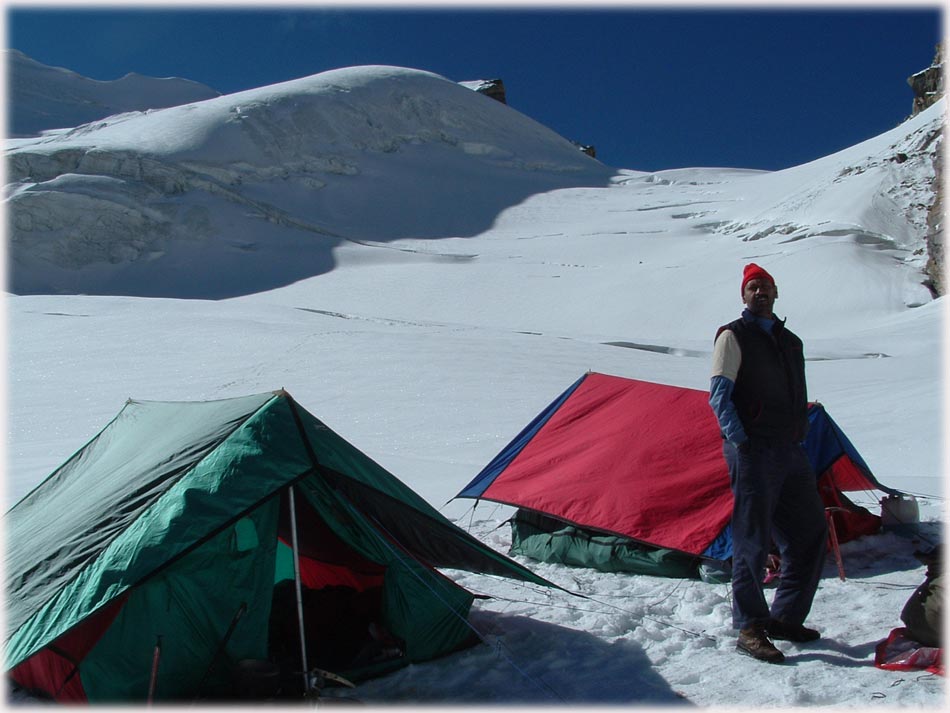
Had to camp at 5200 M between two huge crevasses, 200 meters below the pass.

We had come from the gap where the ridge coming from top meets the small ridge at right angle.
The remaining 200 M took an hour to cover. Kept to the right as we moved up. Left is full of huge crevasses.
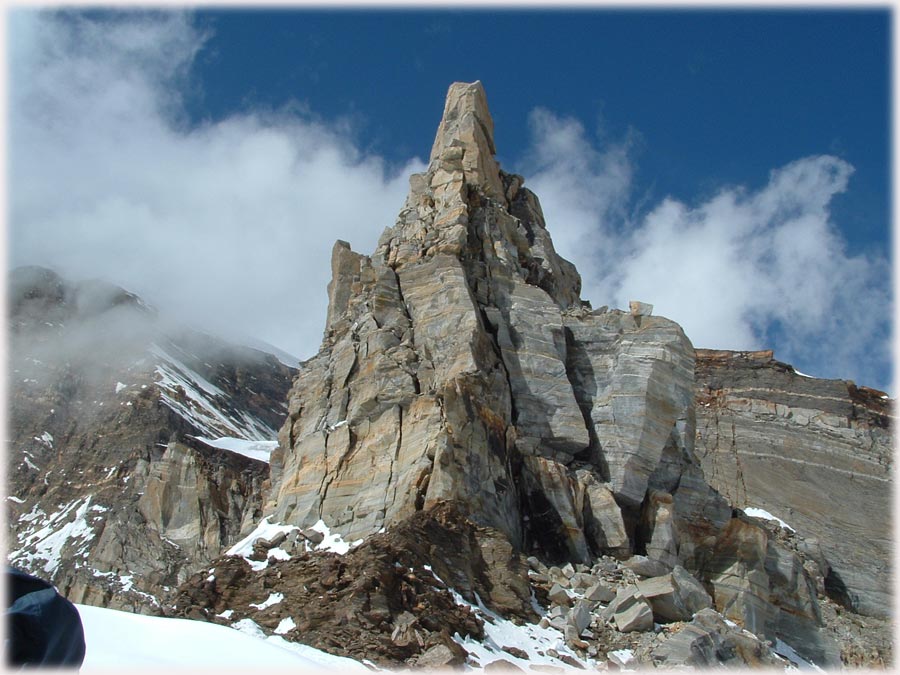
The rock pillar towards our right as we climbed to the top of the Auden’s col.
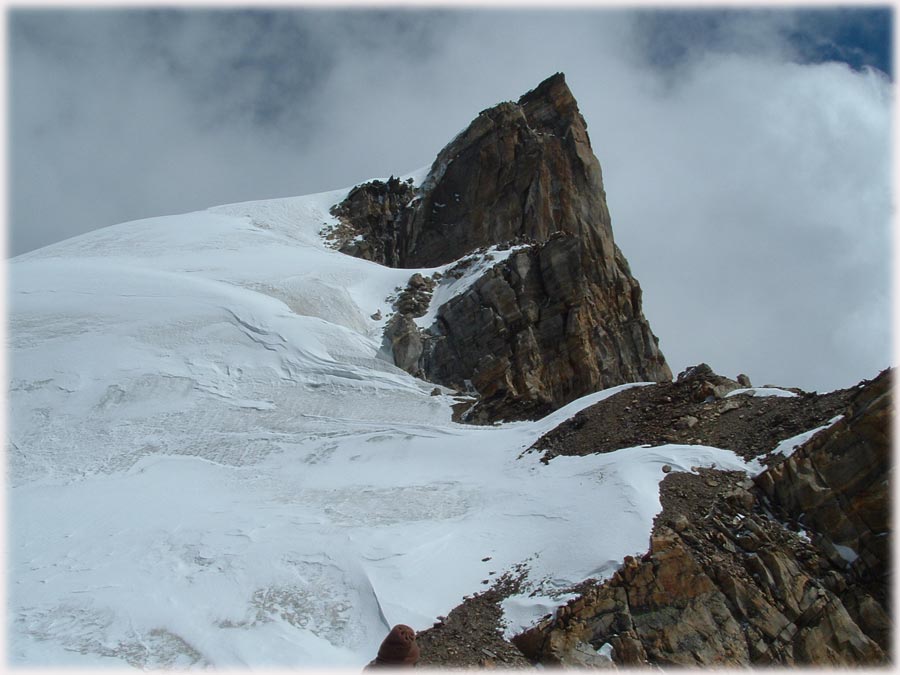
The scene on to our left. We have to move down into the gully next to this tower.
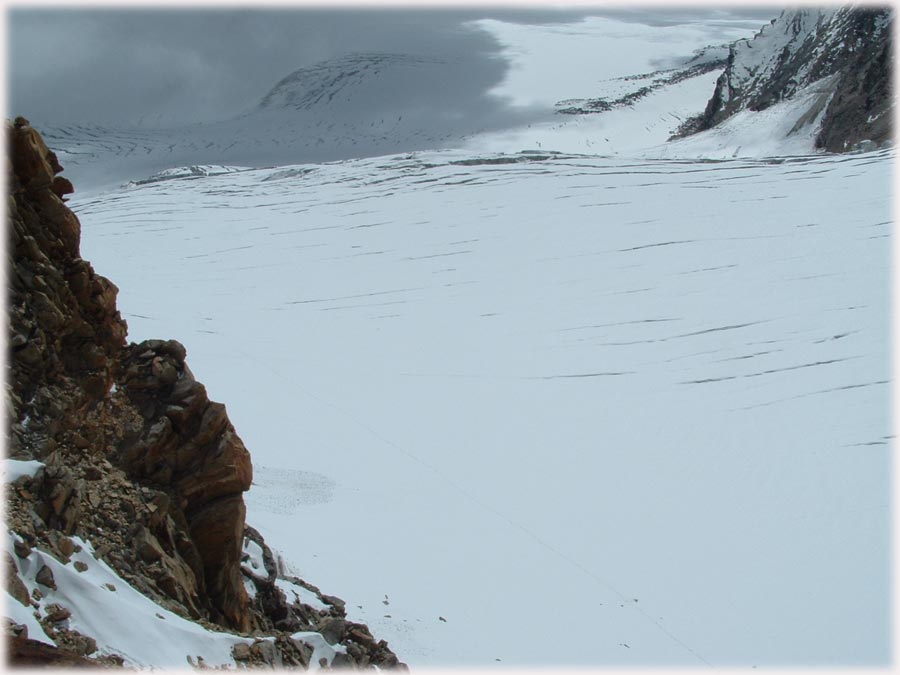
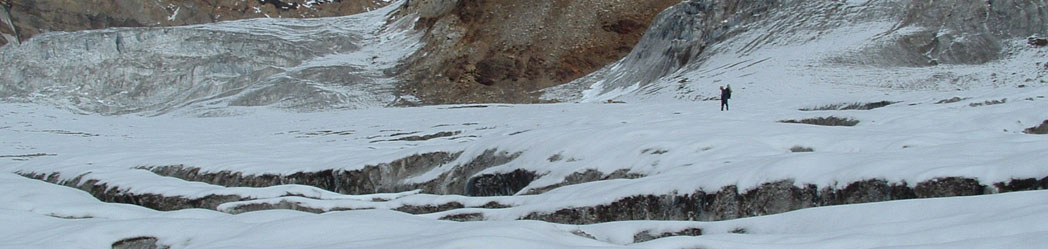
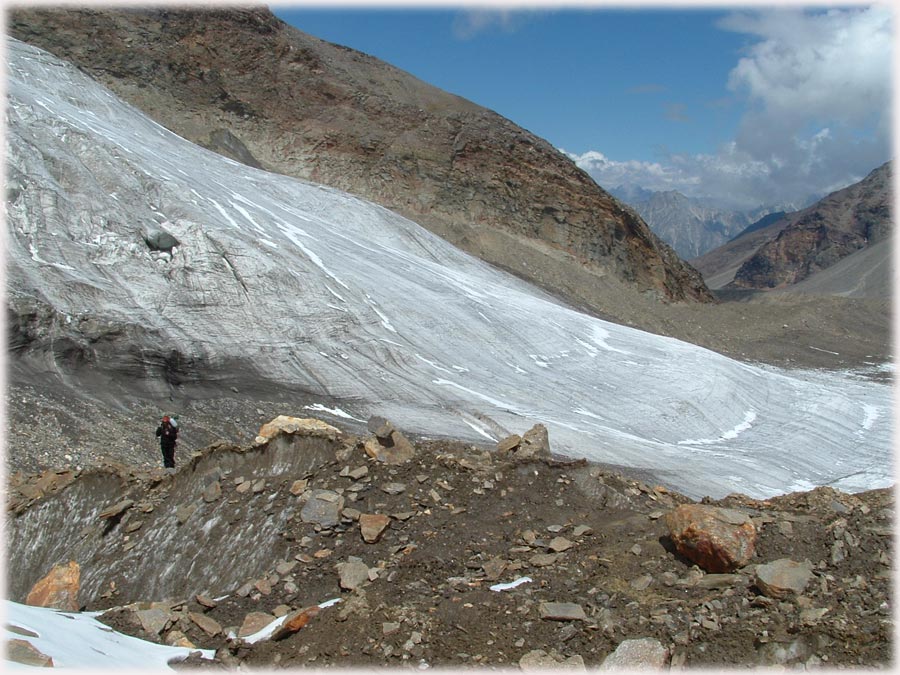
Khatling glacier as seen from the pass.
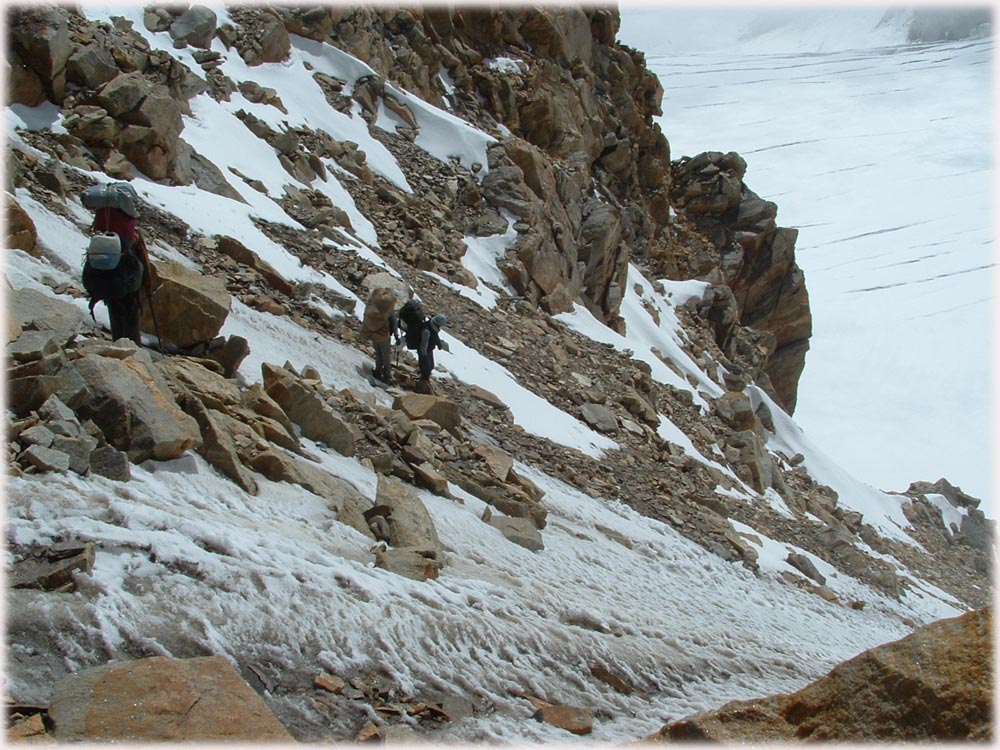
This is the gully we had to climb down to reach the Khatling glacier.
A huge crevasse cuts the slope from the glacier.
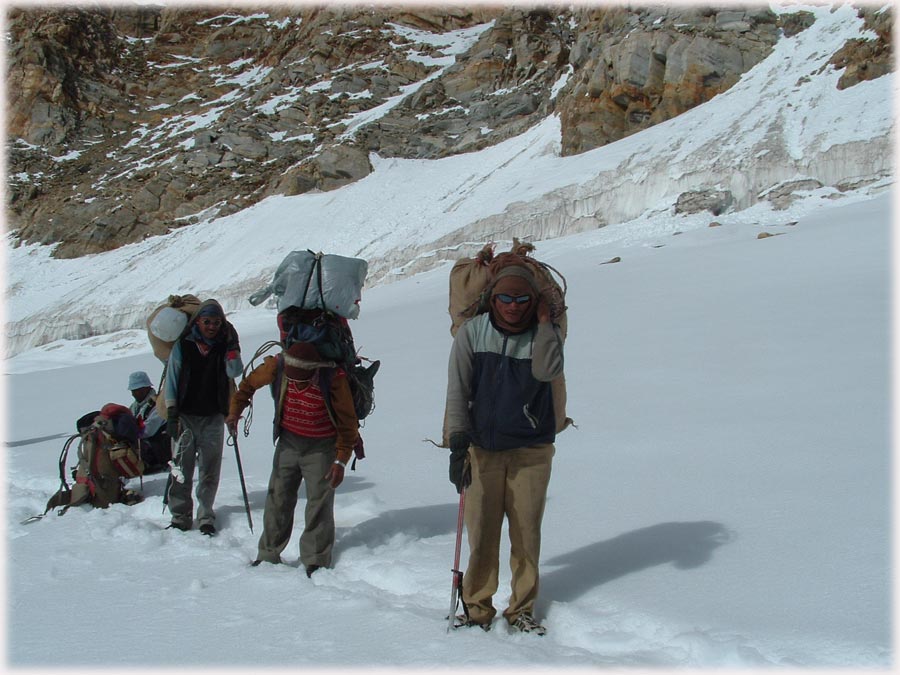
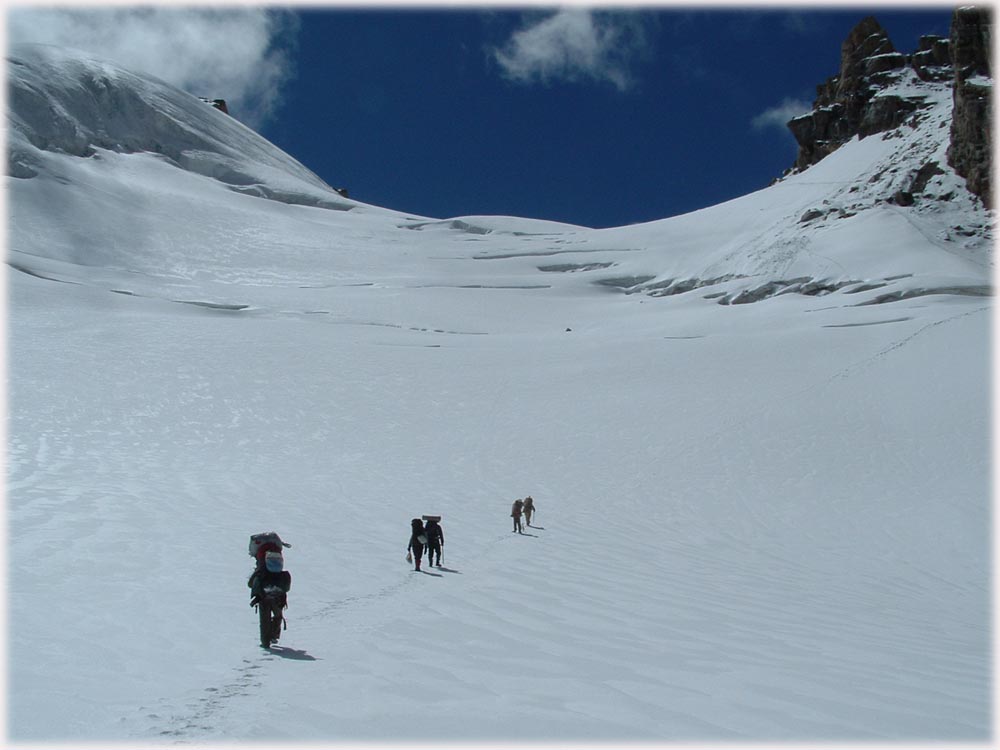
Finally we are on the Khatling glacier with half snow blind porters.
It was baking hot at 36 degree Celsius on the glacier
Keep The Mountains Clean