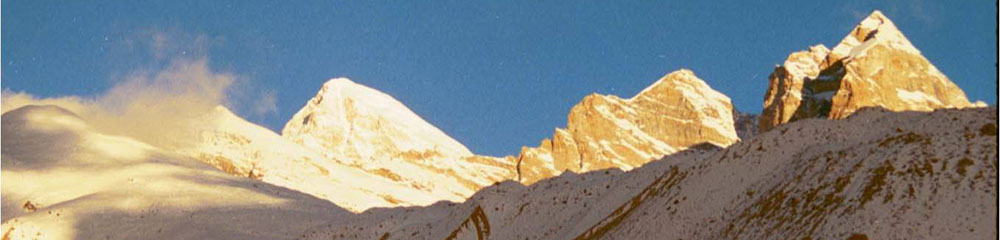
Abi-Gamin
An Expedition to – Abi-Gamin (24550′)
Part II
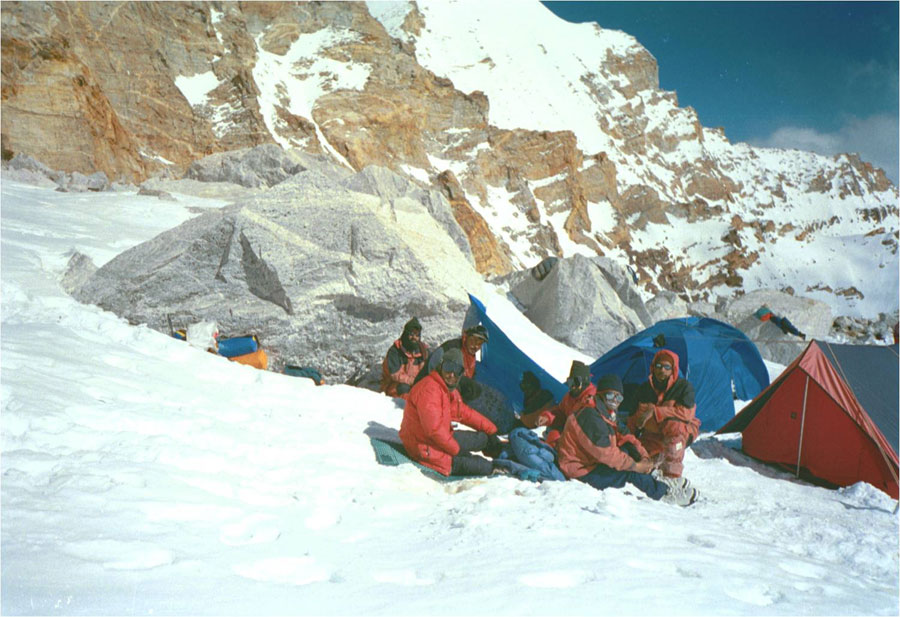
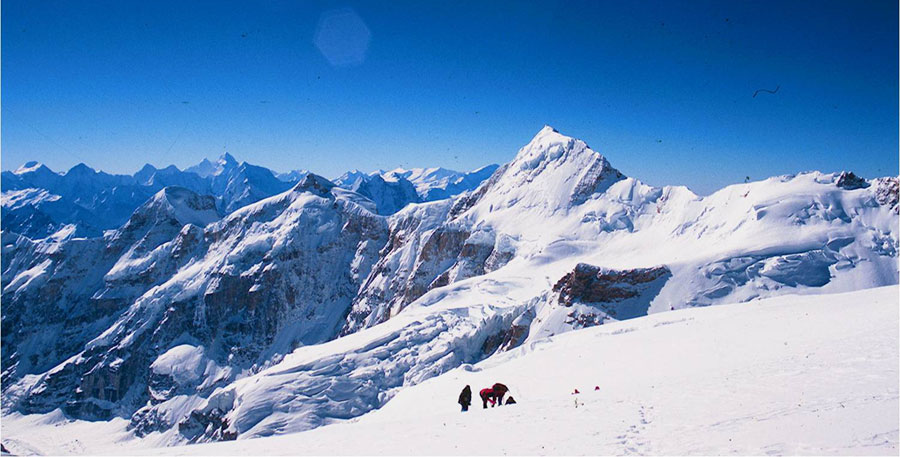
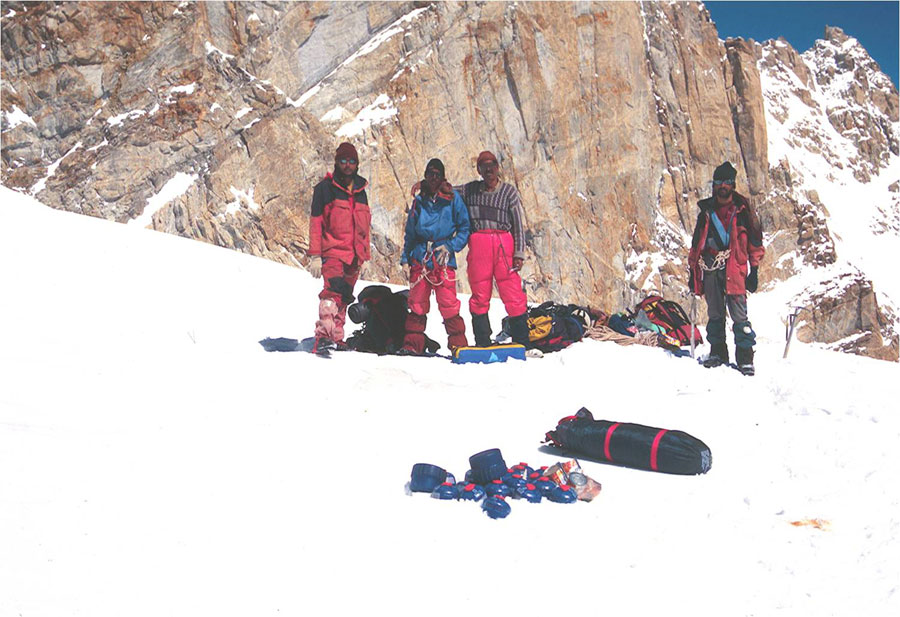
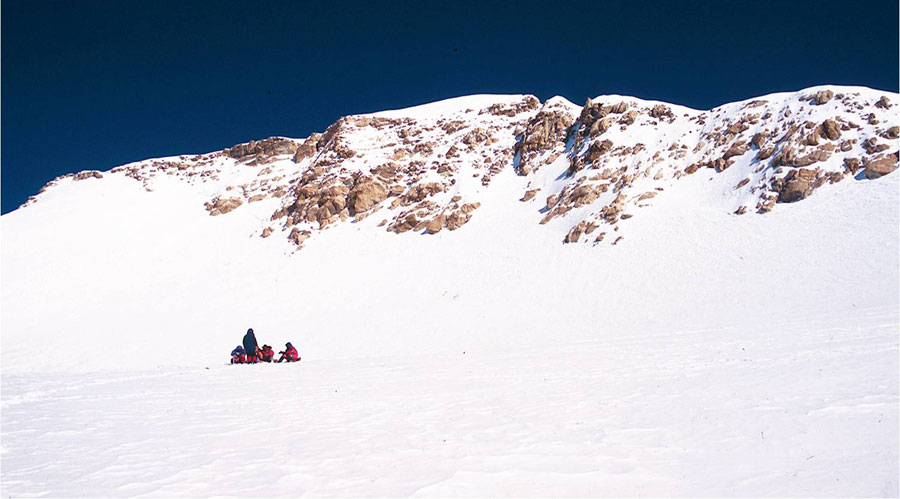
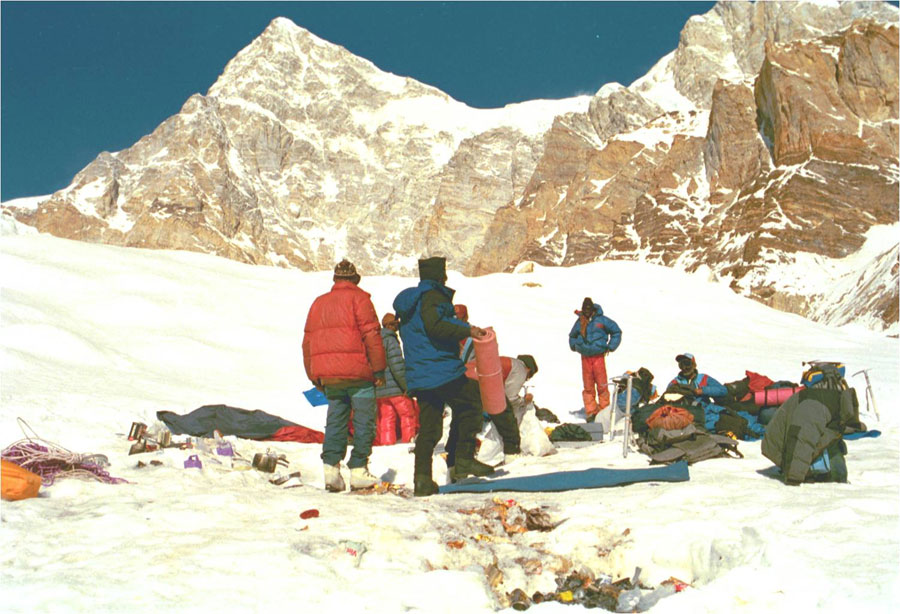
Team members at Camp III (20,300′)
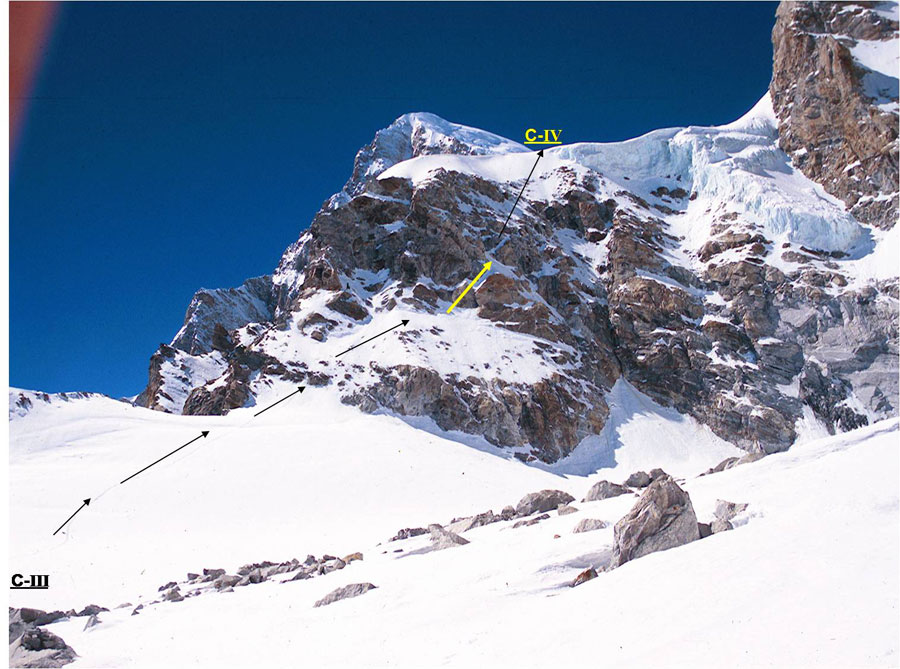
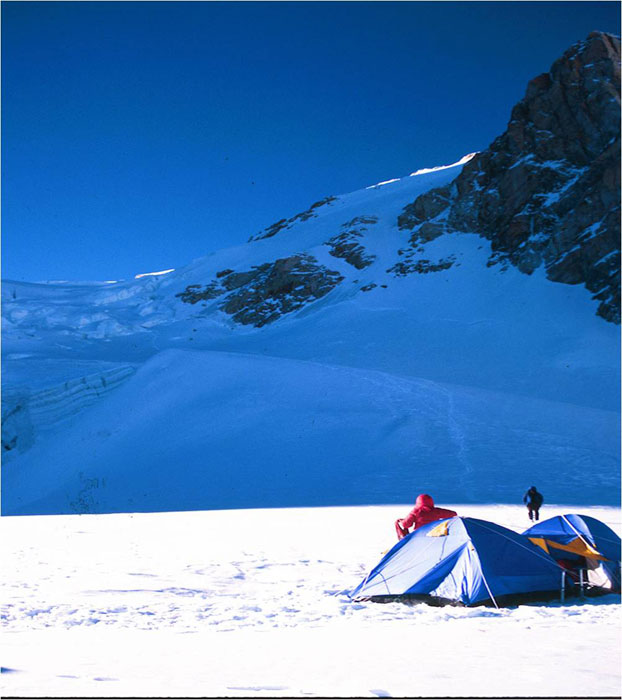
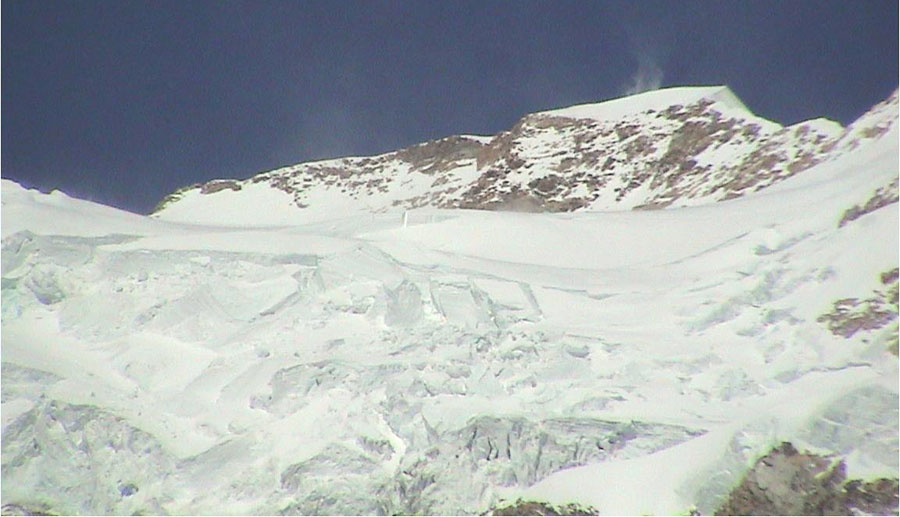
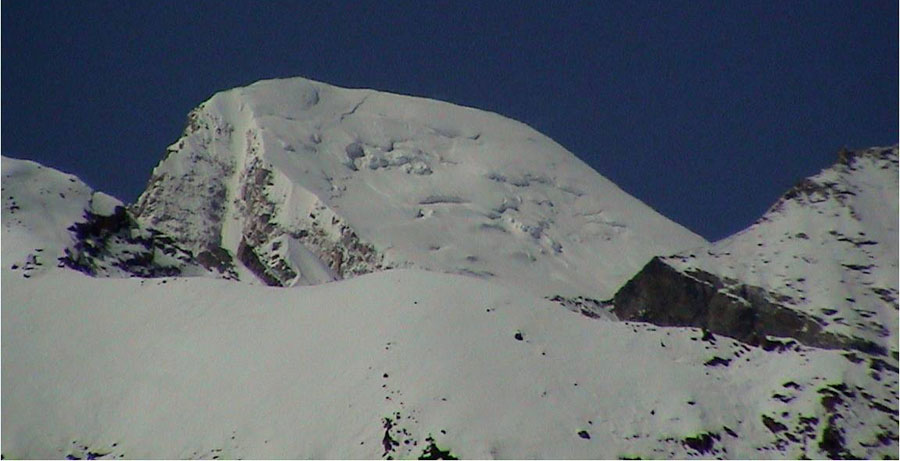
View of route to Camp IV.
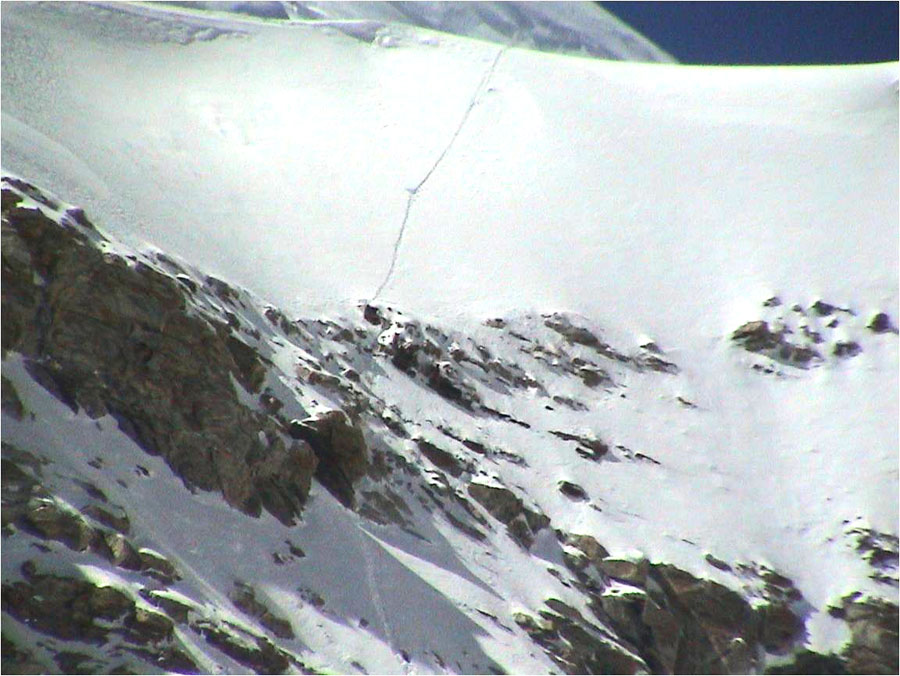
Fixed rope en-route to Camp IV.
Location of Camp IV.
Getting ready for Bivouc.
Shadow is about to reach Camp IV (21,700′).
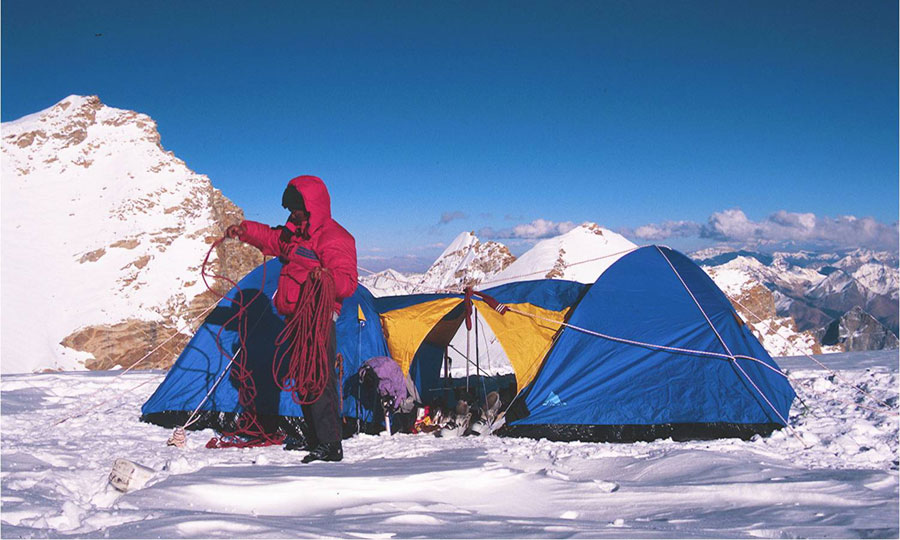
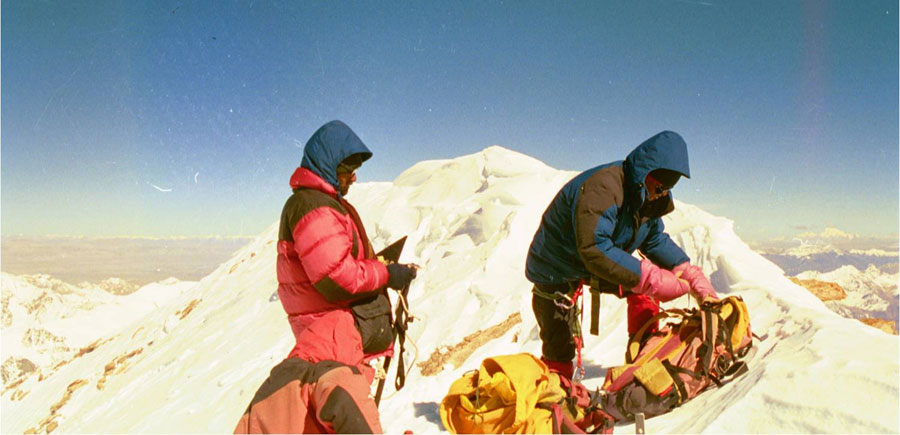
Ropes need to be checked and repacked at Camp IV.
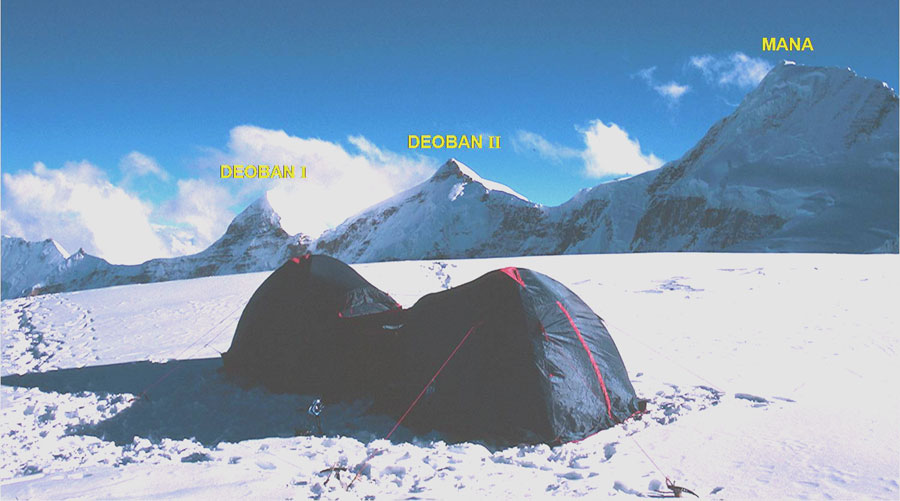
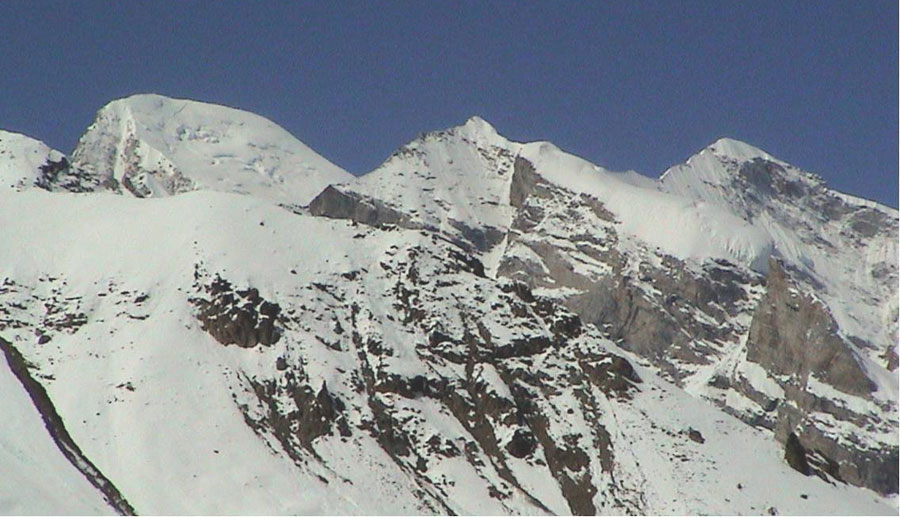
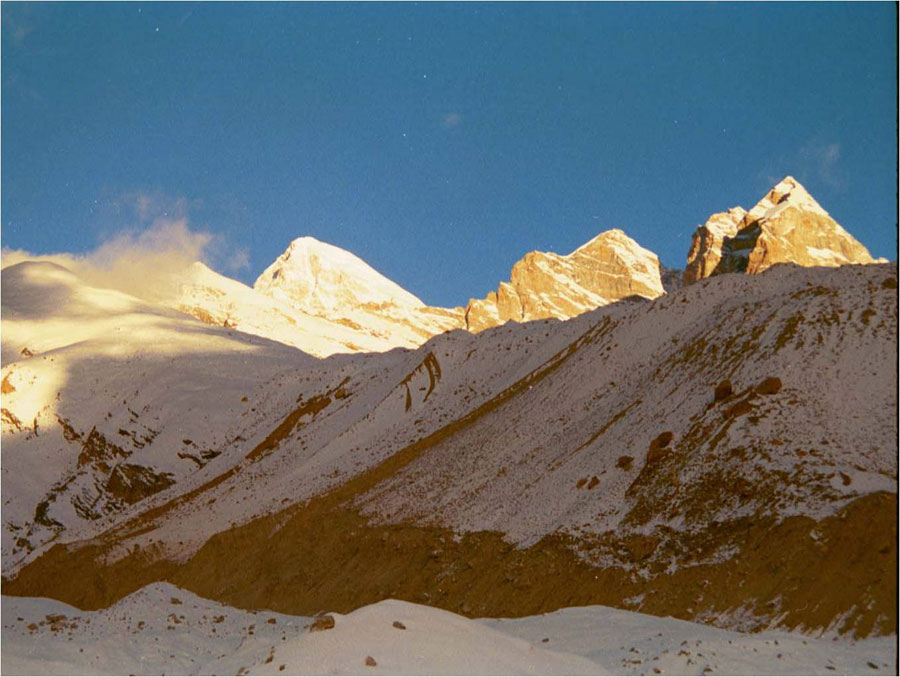
Deoban group and Mana peak in the background of Camp IV.
Our peak is also near by.
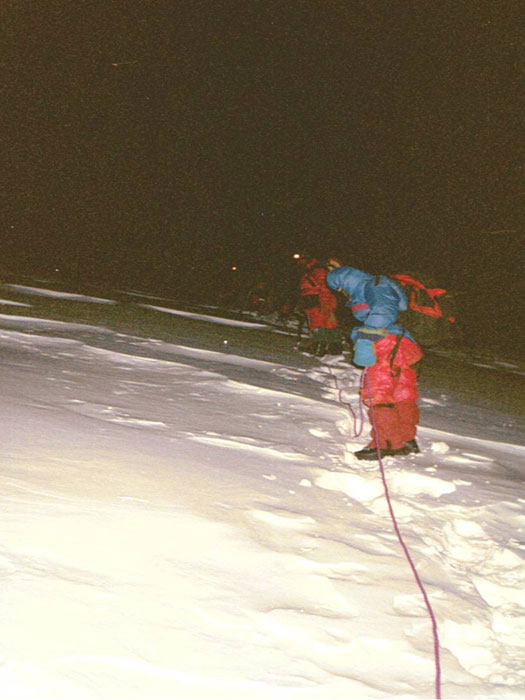
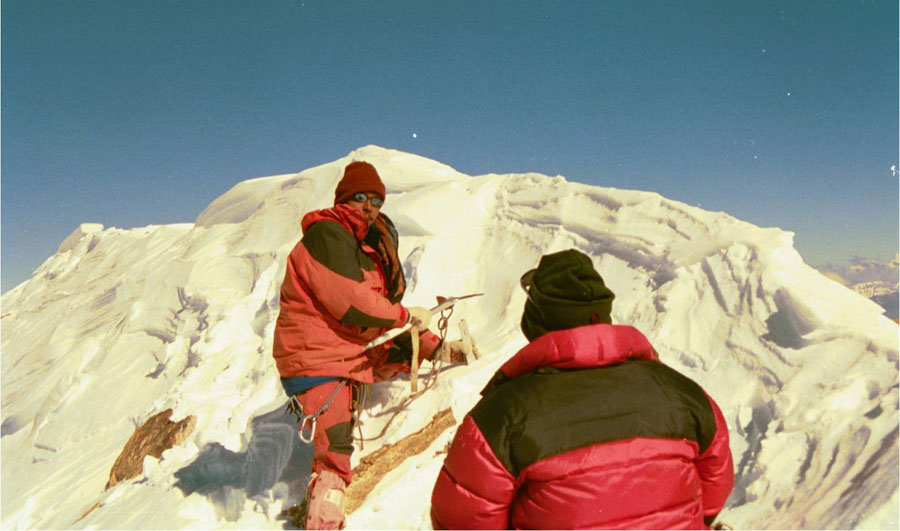
The summit team leaves for the peak at 0200 hrs.
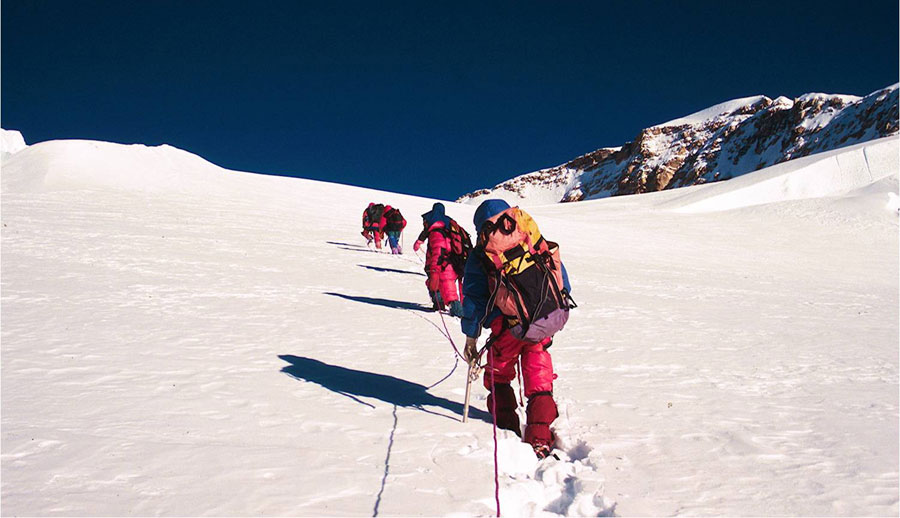
The trod continues towards the goal.
Some rest is best.
At the top of Abi-Gamin at 1400 hrs.
Something should be left to mark the climb.
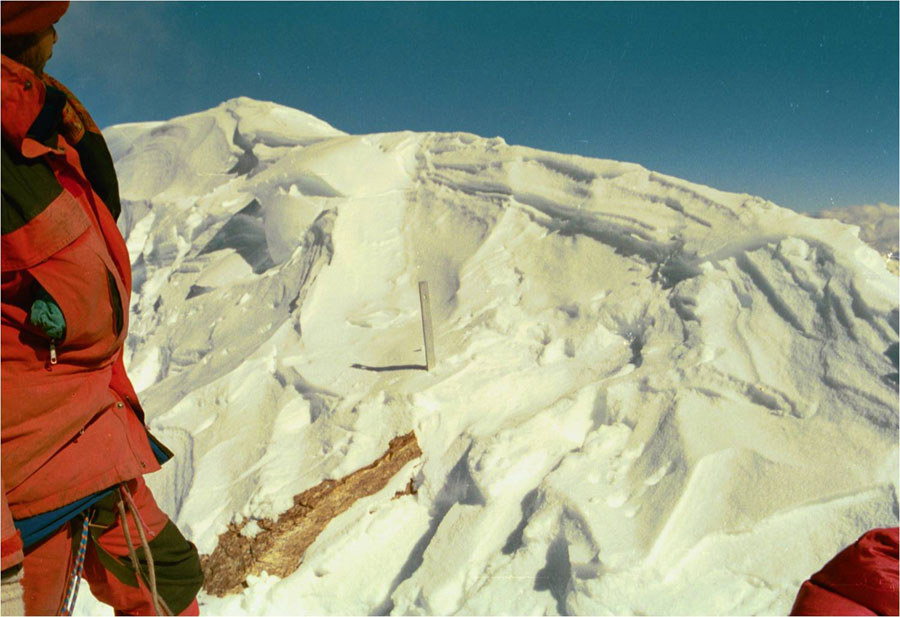
Engraved snow picket on Summit.
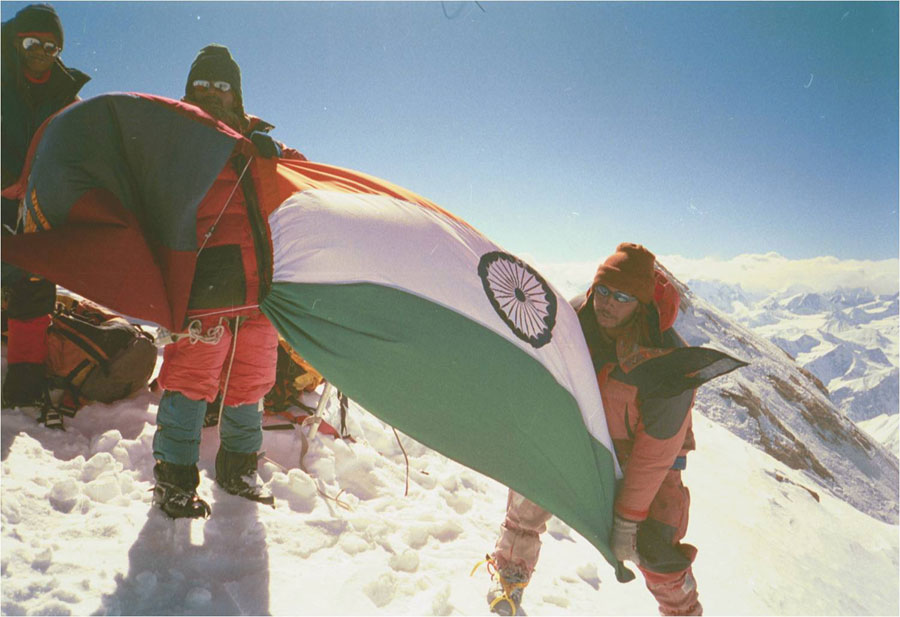
The Indian flag flies on top.
View of Kamet from the summit of Abi-Gamin.
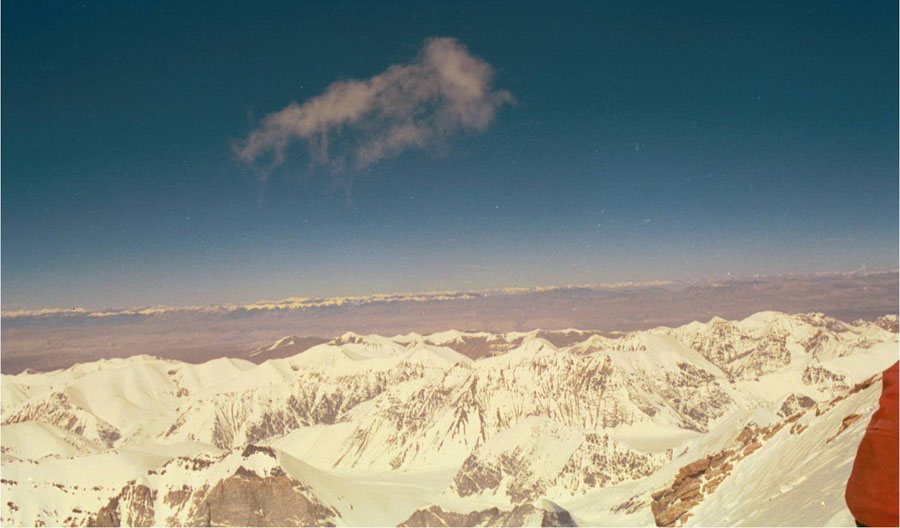
And the Tibetan plateau from the top.

Camp V at 23,000′.

Well Kamet dominates nearby.
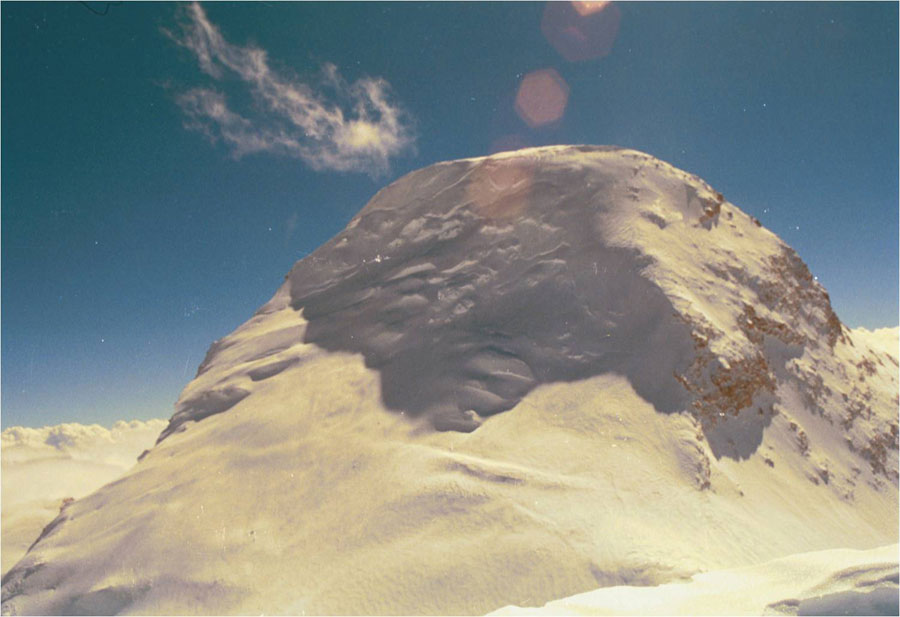
Kamet
A close-up of Kamet.
Winding up of higher camps and the expedition is over.
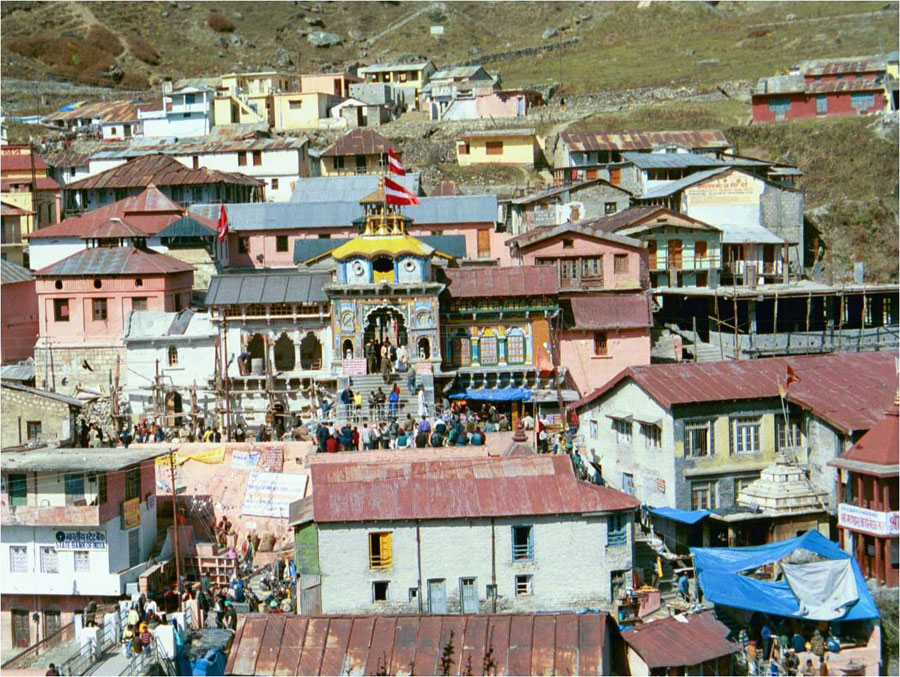
A visit to the Badrivishal temple, Badrinath at the end of the Expedition.
The mountains wait for the next visit.
Note: Photos by PH Reddy.
Keep The Mountains Clean
