Sample Page
An Expedition to – Abi-Gamin (24550′)
Part I
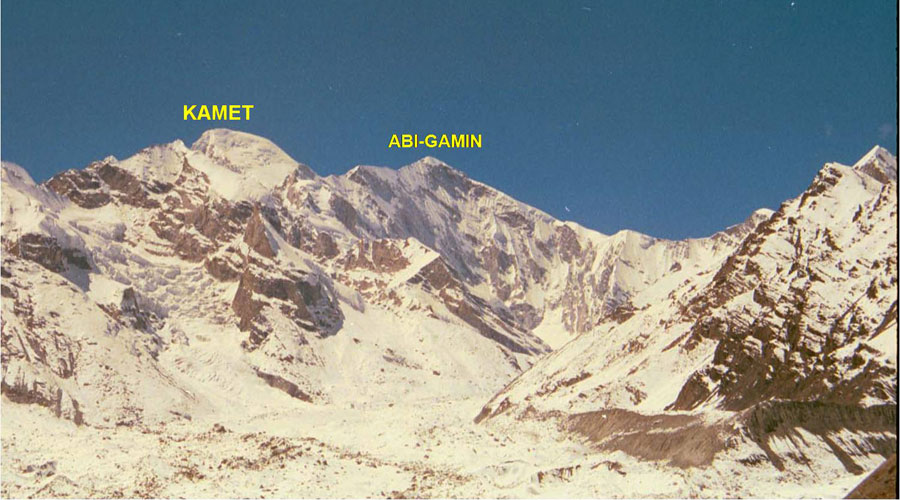
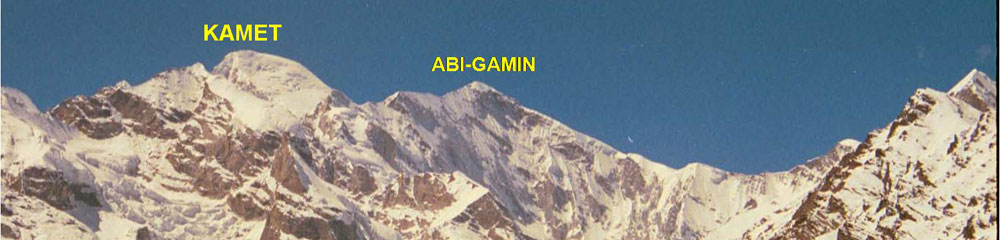
Kamet and Abi-Gamin – The giants of Garhwal Himalaya on the Indo-Tibet Boarder.
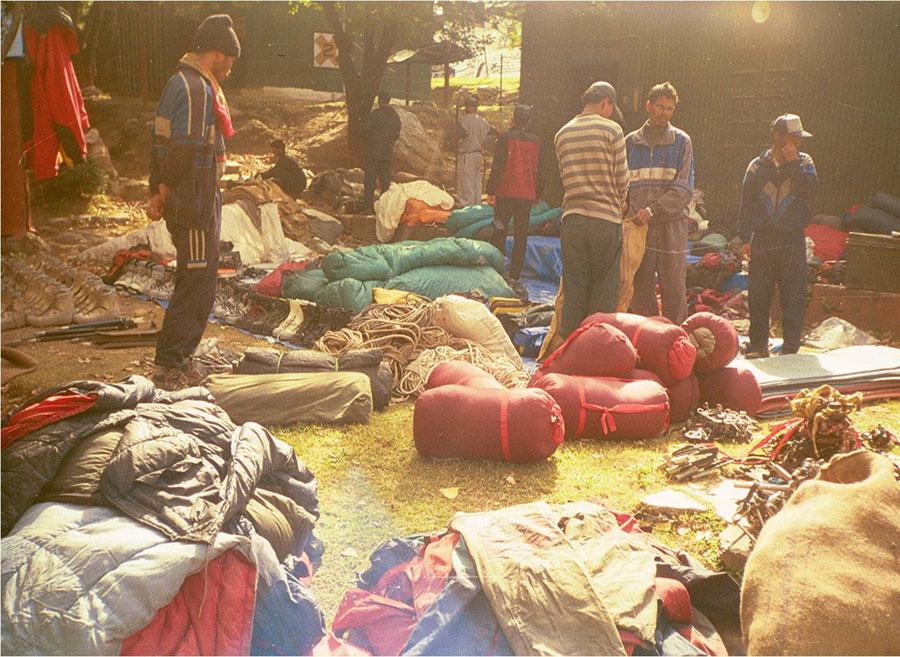
Packing of expedition stores.
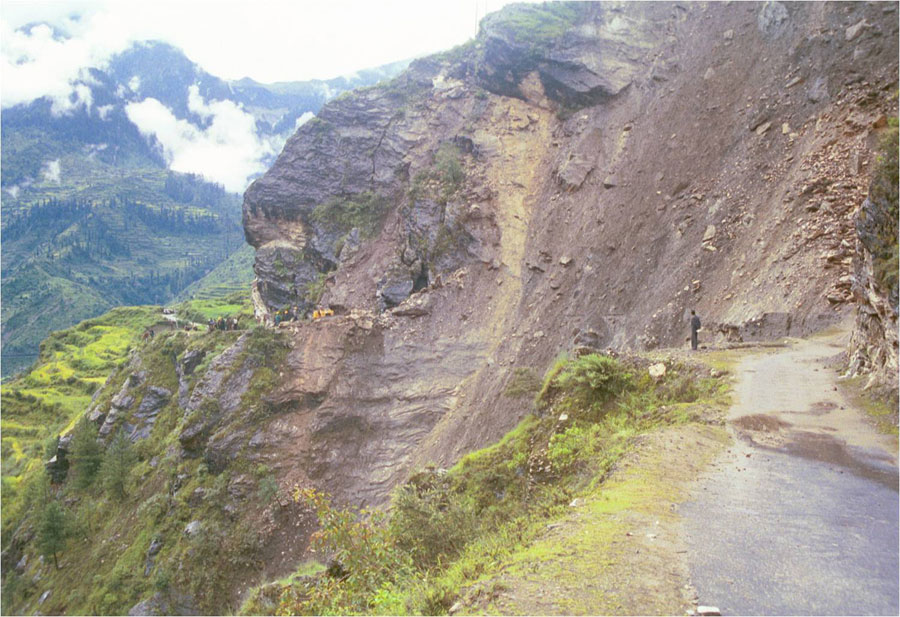
Well the road has gone down to the river.
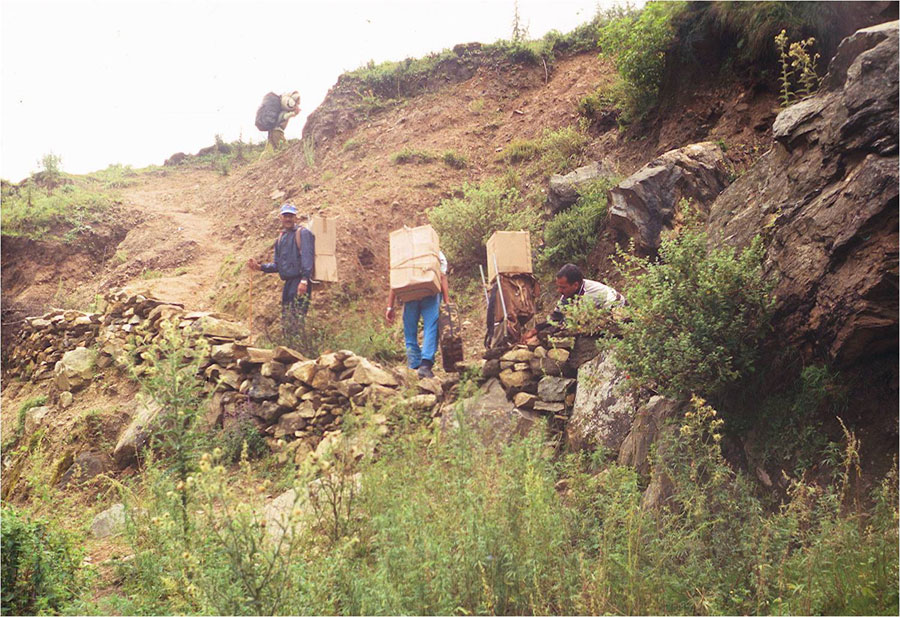
So what else, unload and backpack the entire load across the landslide.
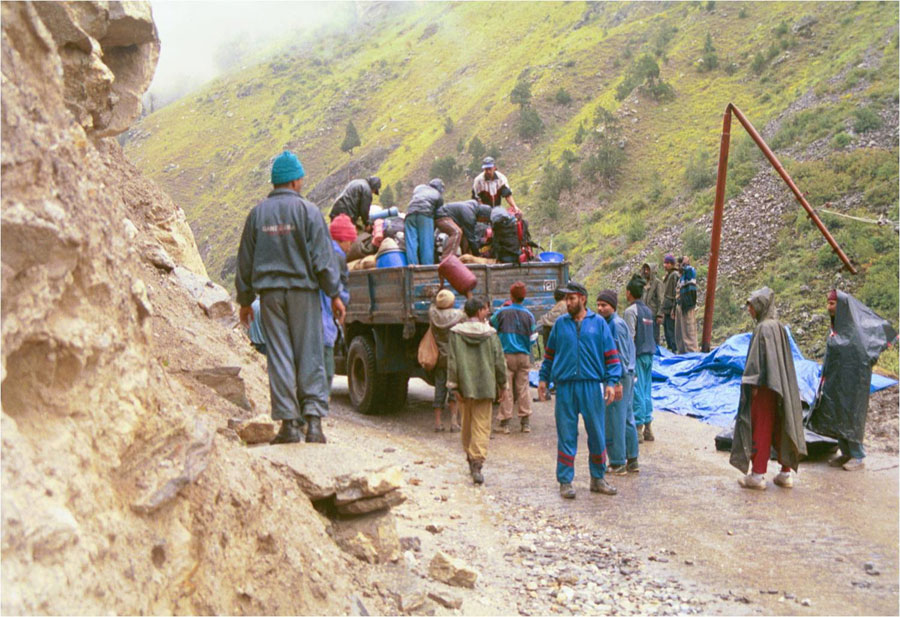
Again reload the stores onto the dumper.

Finally the road head – Bampa (10,500′)
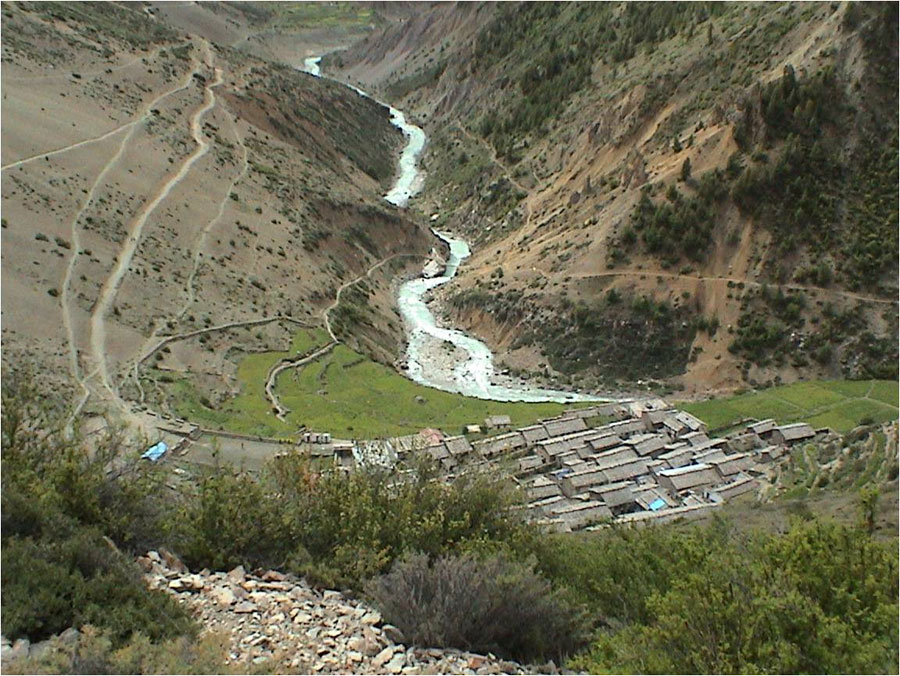
Niti village
River stops the team and requires setting up of intermediate camp.
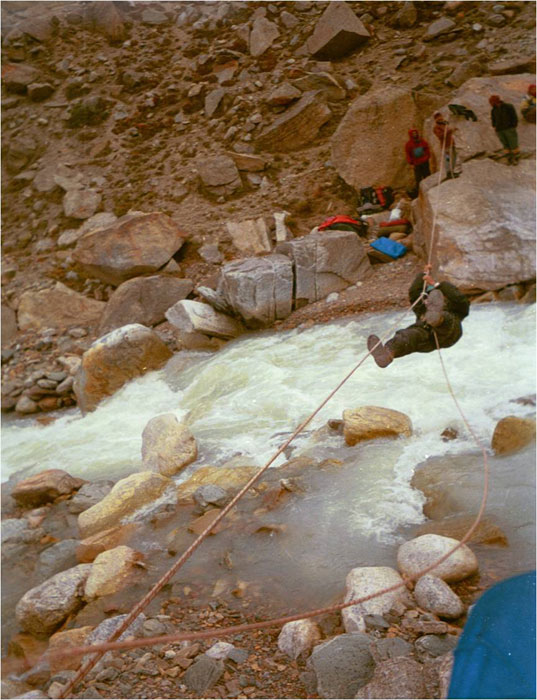
River crossing starts the next day.
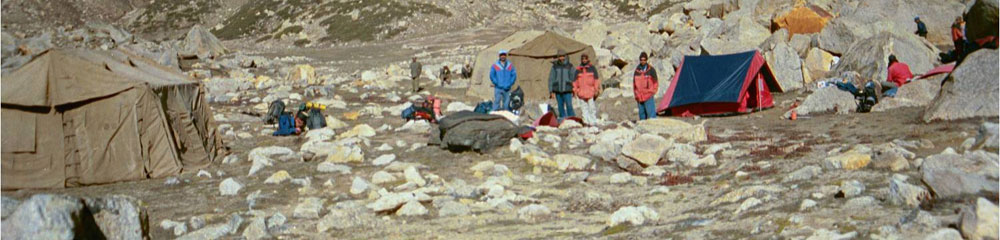
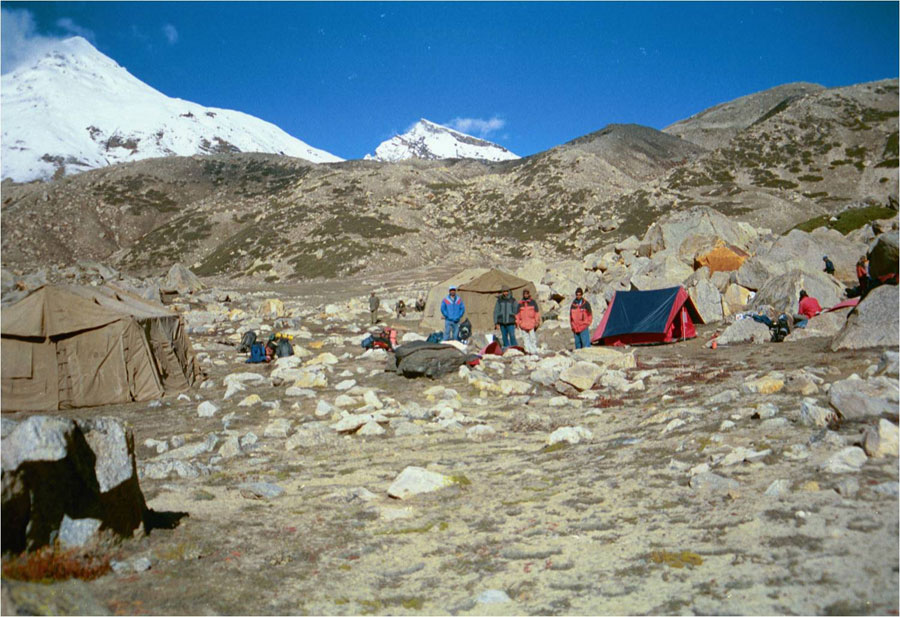
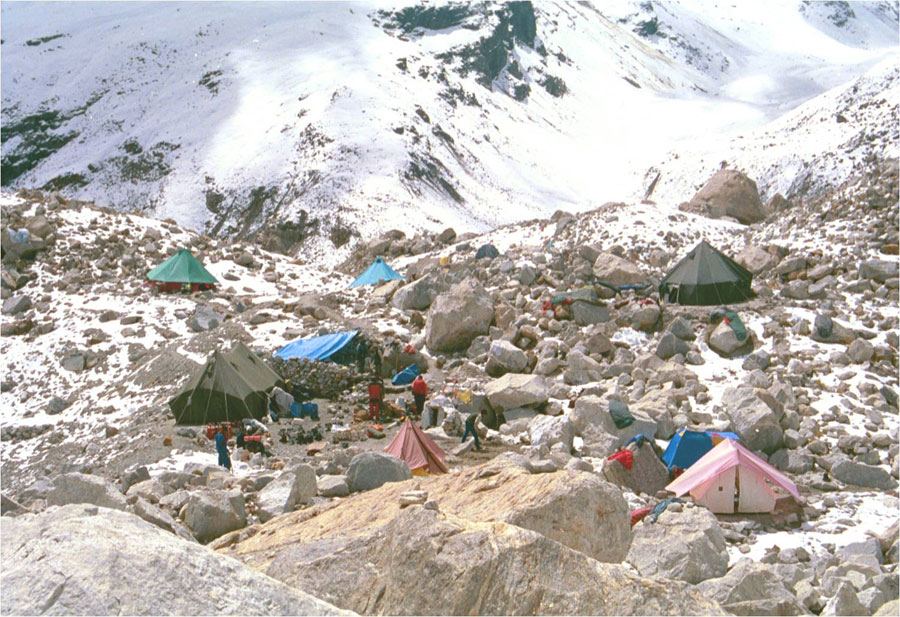
The advance party waits at the Base Camp (15,500′).
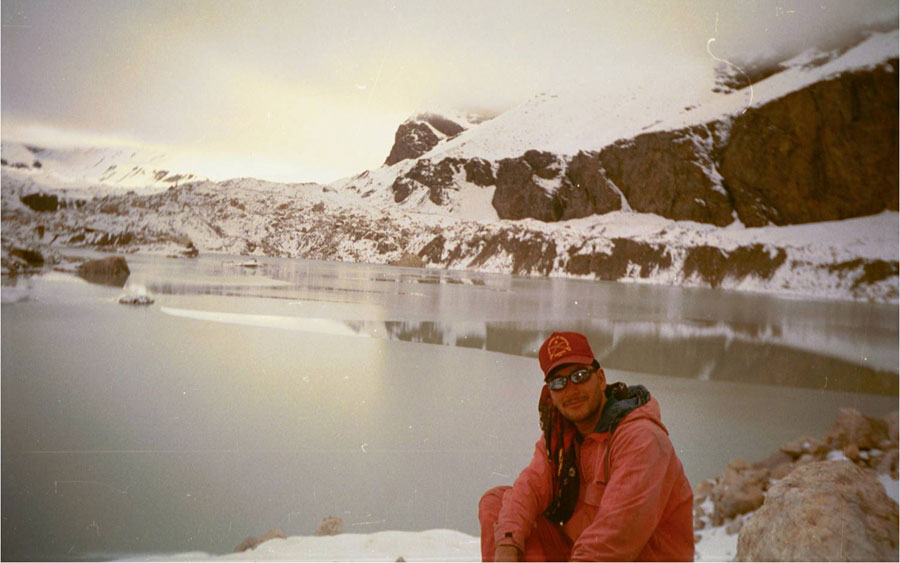
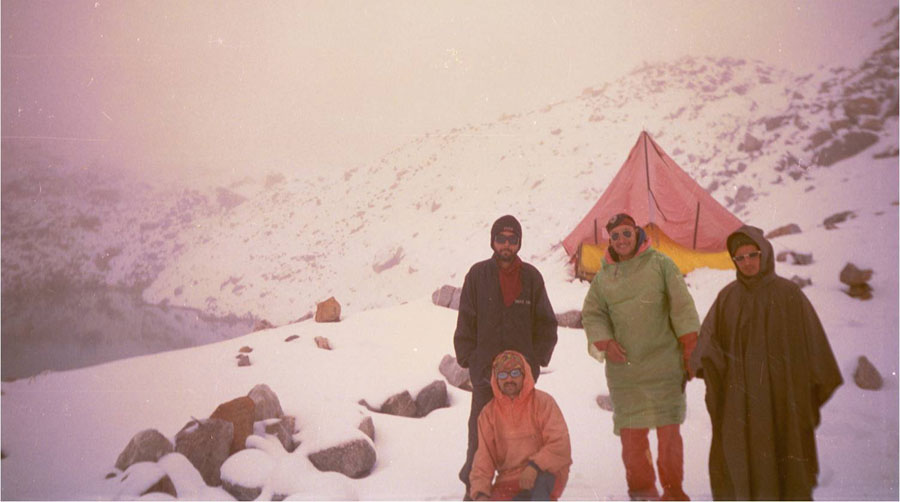
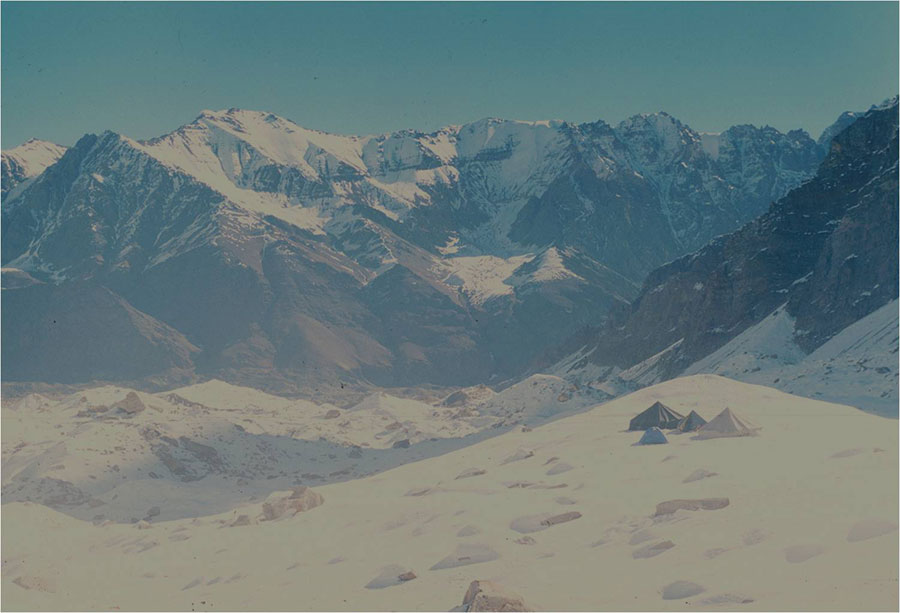
Vasudhara Tal with lots of fresh snow.
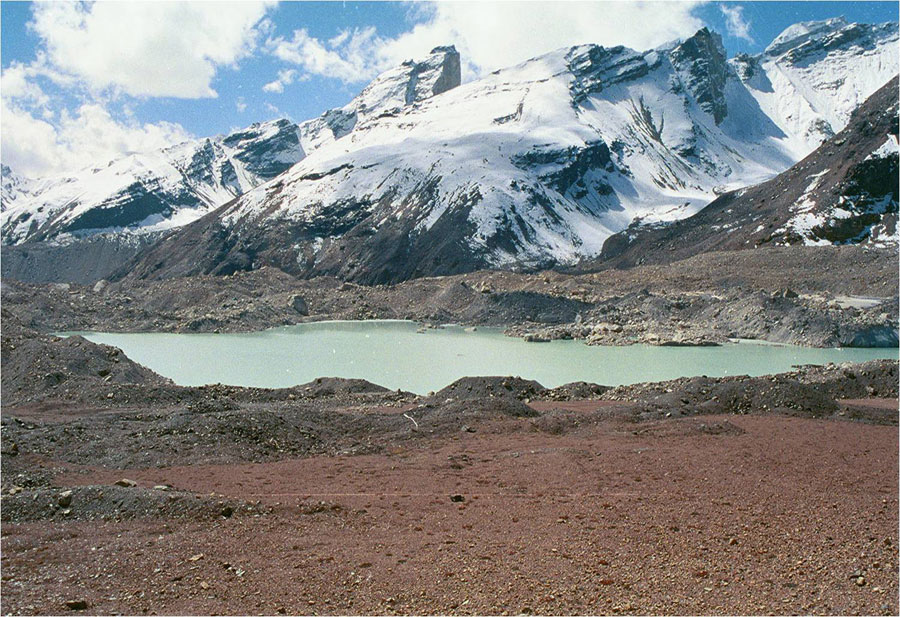
Vasudhara tal.
Once the complete team reaches the Base Camp, it is full of activity.
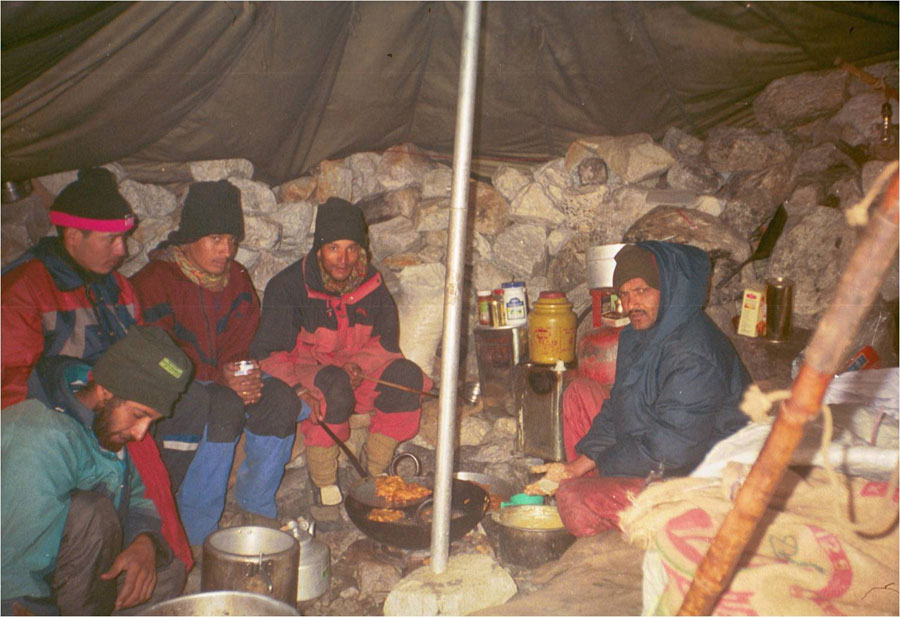
Kitchen is the best place of any Base Camp.
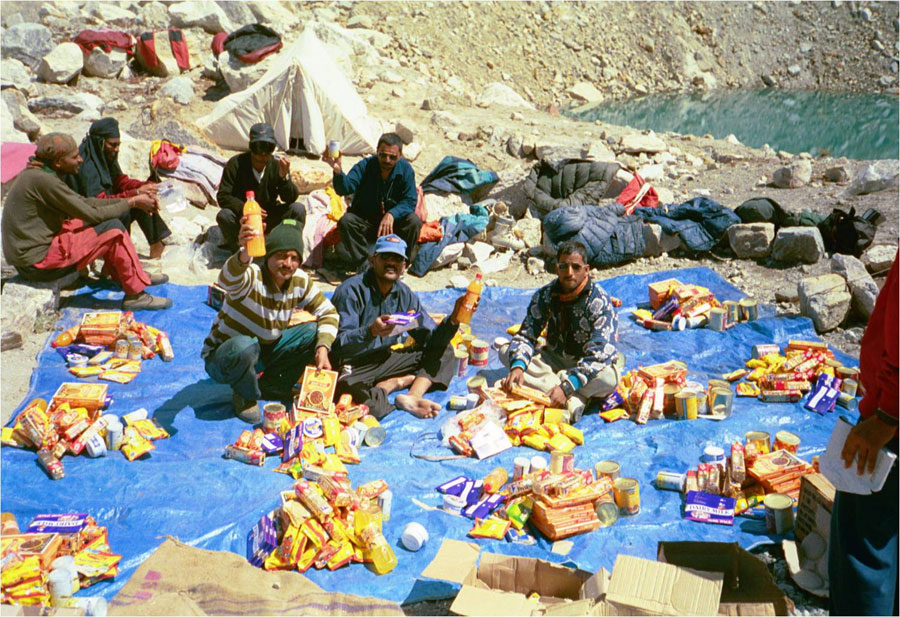
Repacking of stores at the Base Camp.
View en-route to Camp I.
Camp I at 17,200′.

Camp I.
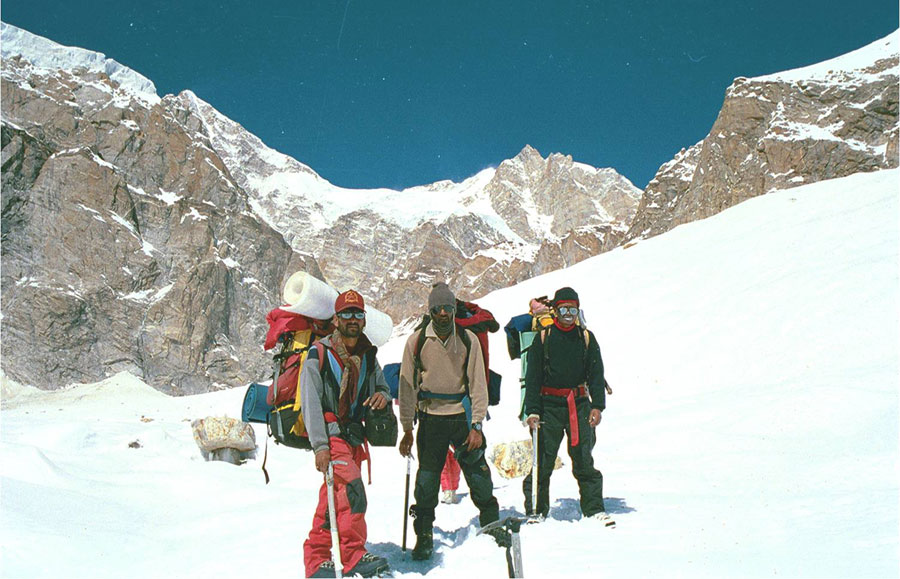
The team members leave for establishing Camp II
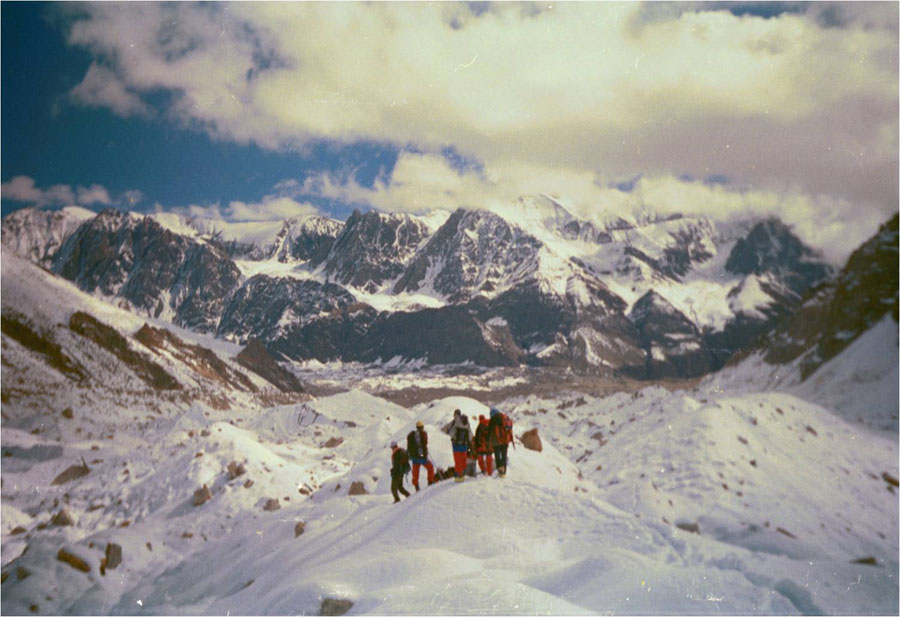
Rest a while to catch breath and the surrounding scenes.
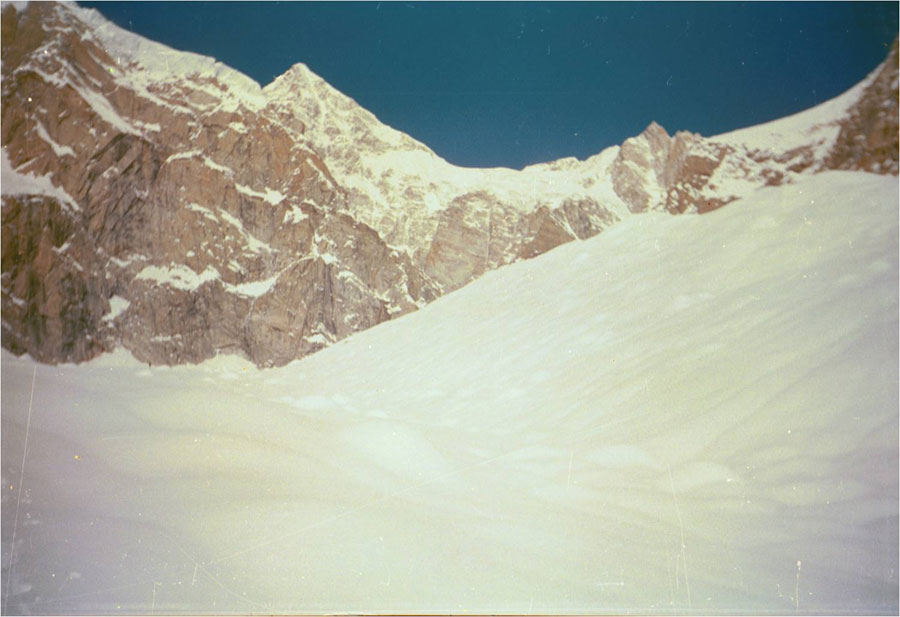
View of Kamet – Abi Gamin from East Kamet glacier.
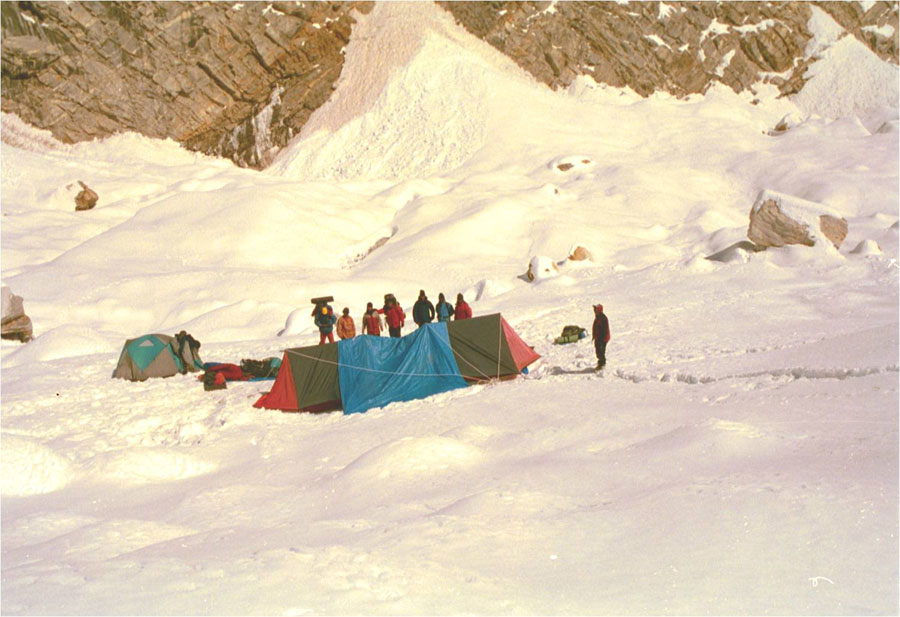
Camp II is set at 18,700′.

The start of East Kamet glacier.

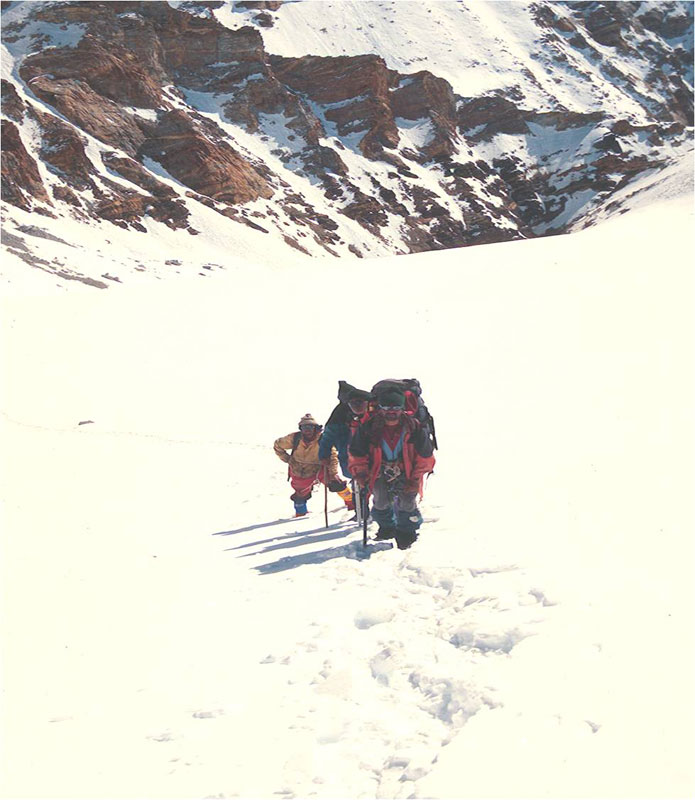
The route opening to Camp III.
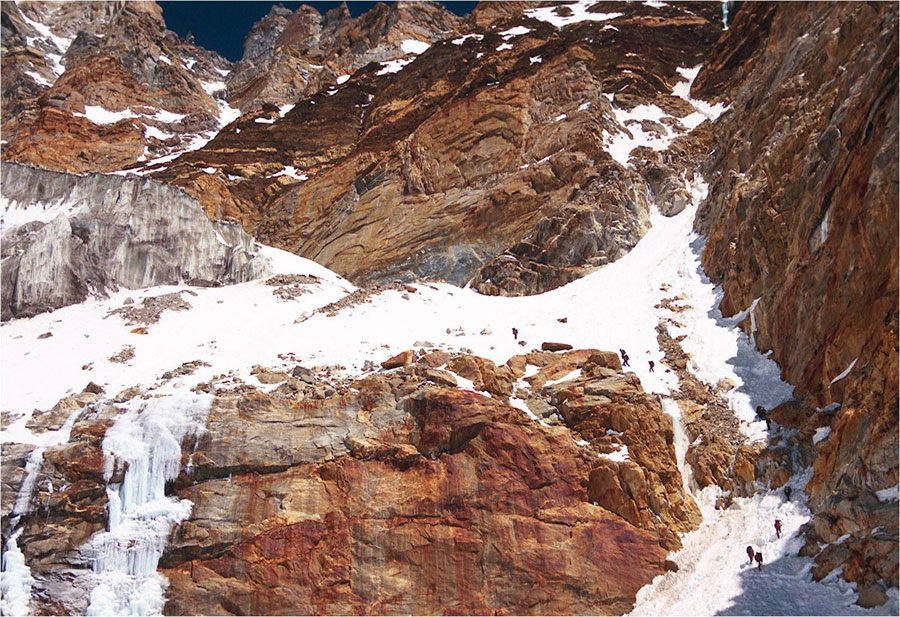
View of gully en-route to Camp III.
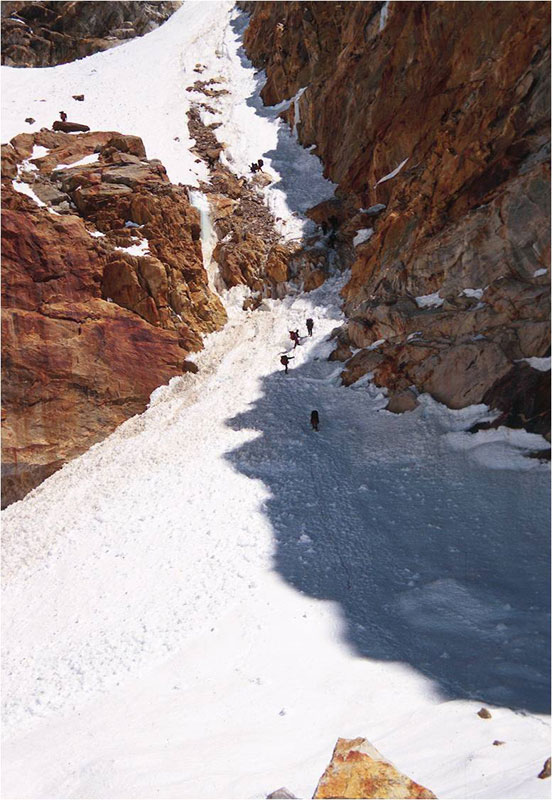
Well the gully is dangerous due to rock fall.
Note: Photos by PH Reddy.
Keep The Mountains Clean